background image

18

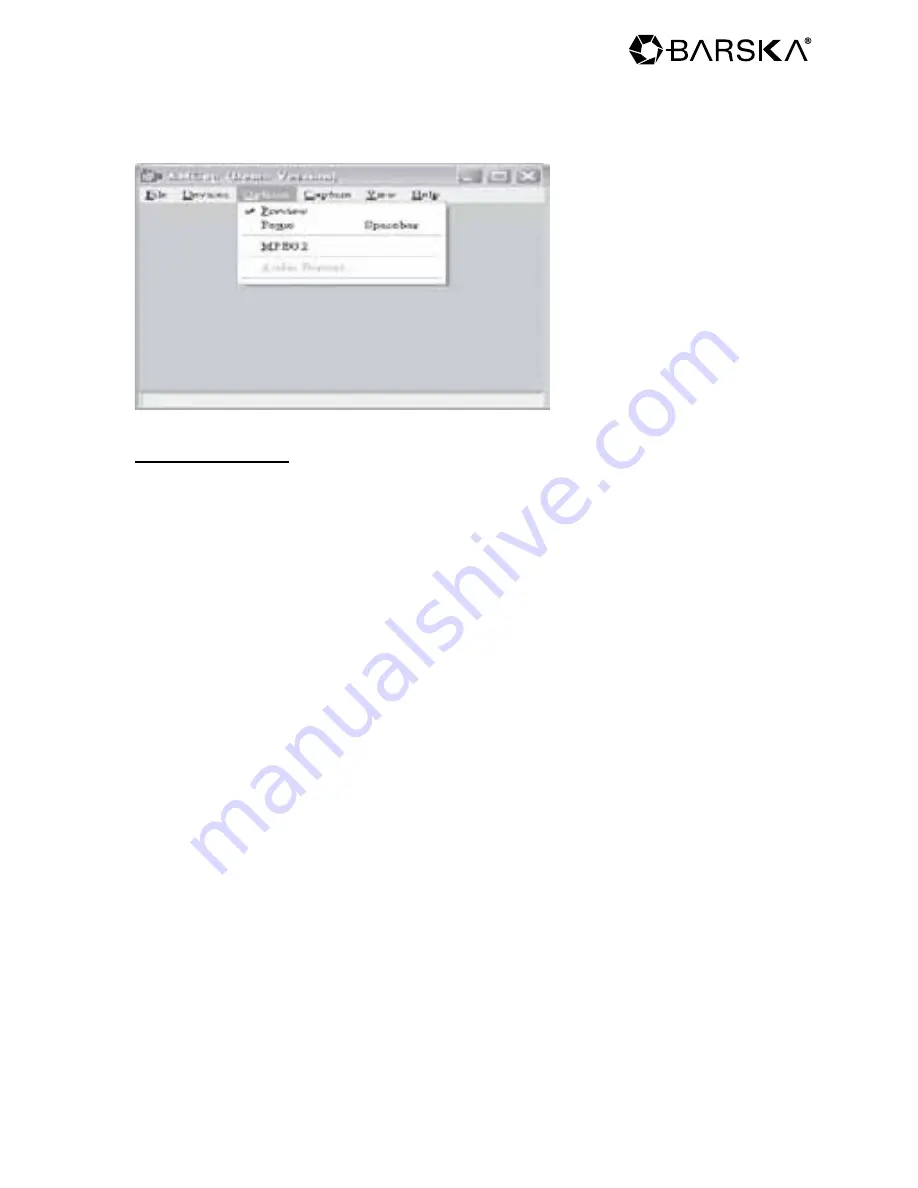
5. Please select “option” then “preview” (see sample below), and 

    it will start the PC Cam function 

Using PC Cam

1. When you select PC Cam, link the USB cable to the PC’s USB 

    slot, the PC will be in sync with the unit automatically, wait for 

    the video images to appear, the unit is now in sync with the 

    PC.

Note: Image may be hazy unless the photographic distance 

of binocular is more than 60ft/18m away, not suitable for close 

distance.

w w w . b a r s k a . c o m

Meijer.com

Содержание Point 'n View

Страница 1: ...1 Point n View Binocular and Digital Camera Owners Manual w w w b a r s k a c o m Meijer com ...

Страница 2: ...2 For more information about BARSKA and our optic products please visit www barska com Meijer com ...

Страница 3: ...e Balance ISO Color Mode Color Saturation Image Sharpness Preview Function Time Stamp Burst Format Button Beep Language Automatic Shut Off System Reset Light Frequency Date USB Online Using Binocular as a PC Camera Installing CD PC Cam Warranty Information Table Of Contents 4 5 6 7 8 9 10 10 10 11 11 12 12 12 13 13 13 14 14 14 15 15 15 16 16 16 17 18 19 w w w b a r s k a c o m Meijer com ...

Страница 4: ... Set Button 5 Focus Knob 6 Diopter Adjustment 7 Eyepiece Parts of the Binocular 8 Objective Lens 9 On Mode Button 10 Barrel 11 USB Port 12 SD Slot 13 Battery Compartment 14 Tripod Adaptor Screw w w w b a r s k a c o m SD Card not included Meijer com ...

Страница 5: ...Zoom 1x 4x 6 Exposure and White Balance Automatic 7 Display 1 5 TFT LCD color Screen 8 Interface USB 1 1 9 Power Supply 4 AAA Alkaline Batteries 10 Language Traditional Chinese Simplified Chinese English France Germany Japanese Spanish Portuguese Italian Binocular Specifications 1 Magnification 8x 2 Objective Lens 32mm 3 Eye Relief 14mm 4 Exit Pupil 3 9mm 5 Angular Field of view 6 3 Included Acces...

Страница 6: ... field with both of your eyes 4 Choose your target object 5 Looking with only your left eye turn the focus knob until the object you are looking is focused 6 Looking with only your right eye turn the diopter scale until the object you are looking is focused 7 Now looking with both eyes turn the focus knob to focus on both far and near objects WARNING NEVER USE YOUR BINOCULAR TO LOOK AT THE SUN Loo...

Страница 7: ...2 Enlarges image button 1 Video mode key 2 Menu options key 3 Hold down for 2 seconds then it will be in menu mode 1 Press once Photograph mode 2 Press twice Video mode 3 Press once more Preview photos 4 Press four times Taking mode 5 Menu switch catch set 6 Hold down for 3 seconds to turn unit off w w w b a r s k a c o m Meijer com ...

Страница 8: ...s screen 2 You are now in photograph mode press the shutter to take pictures 3 To turn unit off hold down on button about 3 seconds and unit will turn off 4 Automatic shutdown Automatic shut down time can be set in the menu option See page 15 for more information Deleting Picture 1 Go into preview mode 2 Select picture to be deleted by using the arrow keys 3 Hold set button down Delete menu will a...

Страница 9: ...nd will start the video when you press the shutter 3 Press mode button once more it will return to the photograph mode Taking Video w w w b a r s k a c o m Deleting Video 1 Hold down set key to bring delete menu to screen 2 Select video to be deleted by using the arrow keys 3 Hold set button down Delete menu will appear 4 Press set button you can delete a single video or all videos press set key t...

Страница 10: ...y Setting Press mode button select Quality then press menu options to select the quality needed then press set button press it once more it will return to taking pictures mode Scenes Effect Setting Press mode button select Scene mode then press menu options to select the effect needed then press set button press it once more it will return to taking pictures mode w w w b a r s k a c o m Meijer com...

Страница 11: ...hen press set button press it once more it will return to taking pictures mode White Balance Setting Press mode button select white balance then press menu options to select the value needed then press set button press it once more it will return to taking pictures mode w w w b a r s k a c o m Meijer com ...

Страница 12: ...ing Press mode button select Color then press menu options to select the value needed then press set button press it once more it will return to taking pictures mode Color Saturation Setting Press mode button select saturation then press menu options to select the value needed then press set button press it once more it will return to taking pictures mode w w w b a r s k a c o m Meijer com ...

Страница 13: ...iew Function Setting Press mode button select Preview then press menu options to select on or off then press set button press it once more it will return to taking pictures mode Time Stamp Setting Press mode button select stamp then press menu options to select the time display mode then press set button press it once more it will return to taking pictures mode w w w b a r s k a c o m Meijer com ...

Страница 14: ...Setting Press mode button select Format then press menu options to select cancel or execute then press set button press it once more it will return to taking pictures mode Button Beep Setting Press mode button select Beep then press menu options to select on or off then press set button press it once more it will return to taking pictures mode w w w b a r s k a c o m Meijer com ...

Страница 15: ...Time Setting Press mode button select Auto off then press menu options to select the time Value then press set button press it once more it will return to taking pictures mode System Reset Setting Press mode button select Sys Reset then press menu options to select cancel or execute then press set button press it once more it will return to taking pictures mode w w w b a r s k a c o m Meijer com ...

Страница 16: ...utton select Date input then press menu options to select off or set then press set button press it once more it will return to taking pictures mode USB Online Setting Press mode button select USB then press menu options to select PC Cam or Disk Drive then press set button press it once more it will return to taking pictures mode Installation of CD must be done first see page 17 w w w b a r s k a ...

Страница 17: ...d this image on the computer screen please select NEXT of each dialog box the PC will complete installation gradually 3 Wait until the last image appears and press Finish you have finished installation 4 Make sure your PC is connected to the binocular by the USB cord to start this software or warning window below will be appear on the screen w w w b a r s k a c o m Meijer com ...

Страница 18: ...Cam link the USB cable to the PC s USB slot the PC will be in sync with the unit automatically wait for the video images to appear the unit is now in sync with the PC Note Image may be hazy unless the photographic distance of binocular is more than 60ft 18m away not suitable for close distance w w w b a r s k a c o m Meijer com ...

Страница 19: ...tional and updated information please visit our website at www barska com Please email info barska com or call 1 888 666 6769 for Return Merchandise Number RMA before any returns NOTE All merchandise received without a valid RMA will be returned to shipper at his her own expense Please include all of the following when returning BARSKA products for service and or replacement 1 Please write your co...

Страница 20: ...20 w w w b a r s k a c o m 2010 BARSKA BC155 Meijer com ...

Отзывы: