w w w . b a r s k a . c o m
w w w . b a r s k a . c o m
8
9
Biometric Safe
Biometric Safe
Low Battery Warning
1. When the door is closed and 3 repetitive beeps are heard, and
Indicator Lights (D) flash red, it indicates the batteries are low
2. Replace batteries immediately
- Open safe, remove Battery Compartment cover and all 4 AA batteries
- Insert 4 new AA batteries and restore Battery Compartment cover
NOTE: All registered fingerprints remain stored
Care And Maintenance
- To maximize the security and performance of the safe, keep Fingerprint
Scanner (C) clean; use a dry cloth to remove any smudges or prints off
the Fingerprint Scanner (C) after each use
- Test registered fingerprints every 6 months
- Keep liquids away from the control panel. Spills on the control panel will cause
damage and possibly electric shock
- Secure safe in a proper area to prevent from falling and causing damage
or injury
- DO NOT disassemble the product. For all repairs, contact BARSKA
Customer Service
- DO NOT use chemicals or cleaning agents to clean the safe
Mounting Instructions
The safe must be mounted to a wall. Be aware of the load bearing. Failure to do
so can result in personal injury and/or damage to property. Use appropriate tools
when performing work and always use eye protection
1. Select the location where your wall safe will be
installed. Please keep in mind that you should:
• Choose a location that is convenient for you, but
will not be easily located by others
• Avoid exterior walls
• Be sure to check for electric, telephone and cable TV
wires, heating ducts, or plumbing. It is important
to avoid all such obstructions to prevent damage
to your home during installation NOTE: Barska is
not responsible for any damage incurred
during installation.
2. Locate two adjacent studs in the wall. Various stud-finders are available at
your local hardware and home improvement stores.
3. Measure and cut out the wall to fit the dimensions of the wall safe.
About 13.8”x 30”, use a pencil to draw the cutout before actually cutting; then
using a scroll saw, sabre saw or utility knife, cut out and remove the marked
section of drywall.
4. Measure the cabinet and the distance between the wall studs exposed by the
hole you have just cut. This will help you determine the thickness of any
shims required.
NOTE: A shim is a thin, often tapered piece of wood used as filler between two
materials – in this case, between the safe and wall studs. If your walls are on
16” center and the studs are of the normal 1-1/2” thickness, the shims required
will be 1/4” thick. Locate the shims on either side of the opening, centering
them vertically in the opening. Nail them in place. If your stud spacing or
thickness is other than normal, shims of different thickness may be required.
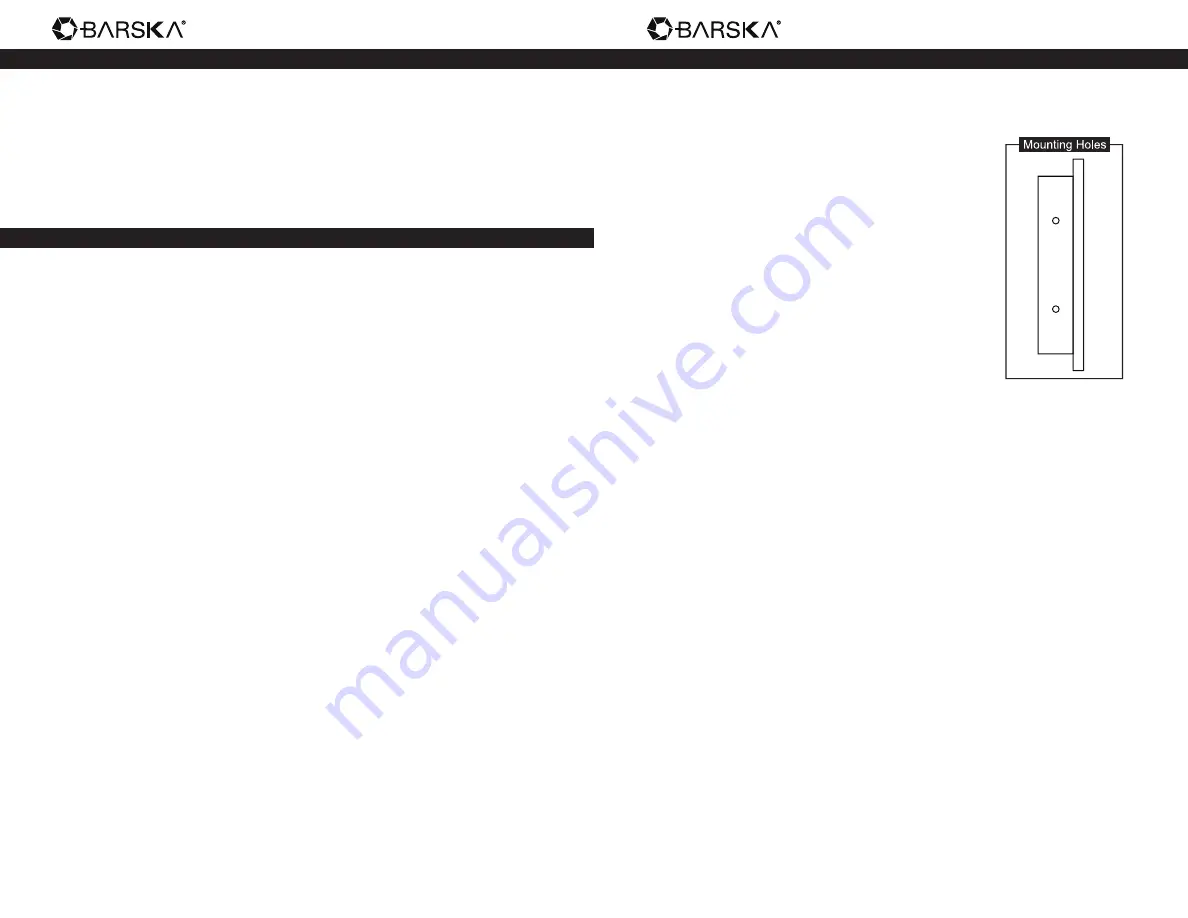
5. Insert the safe and mark the mounting holes location on the wood, remove the
safe, and drill an initial hole, put the safe back in and screw in the four screws,
make sure to put all four screws in before tightening them. Ensure the safe is
mounted securely.
As with any security device, your ingenuity in concealing the safe plays a large
part in deterring theft. Conceal your wall safe installation appropriately. DO NOT
disclose the location of the safe.


