________________________________________________________________________________________
© Barix AG 5/2018, all rights reserved. All information is subject to change without notice. All mentioned trademarks belong to their
respective owners and are used for reference only. Barix, Instreamer and SonicIP are trademarks of Barix AG, Switzerland, and are
registered in certain countries.
1 Hardware Installation
Step 1
Plug the earphone (a) or standard
headphones into the mini jack (D)
Step 2
Plug a standard network cable (e) into the network
port (G) of the Instreamer ICE and the other end into
your switch. You can also use a crossover network
cable (not included) for a direct connection to your
PC
Step 3
Connect the Power supply (b) to the device (H) and
then to the electricity grid
Step 4
Connect the RCA stereo cable (c) between the Line-
in (E) and your feeding audio source
Step 5
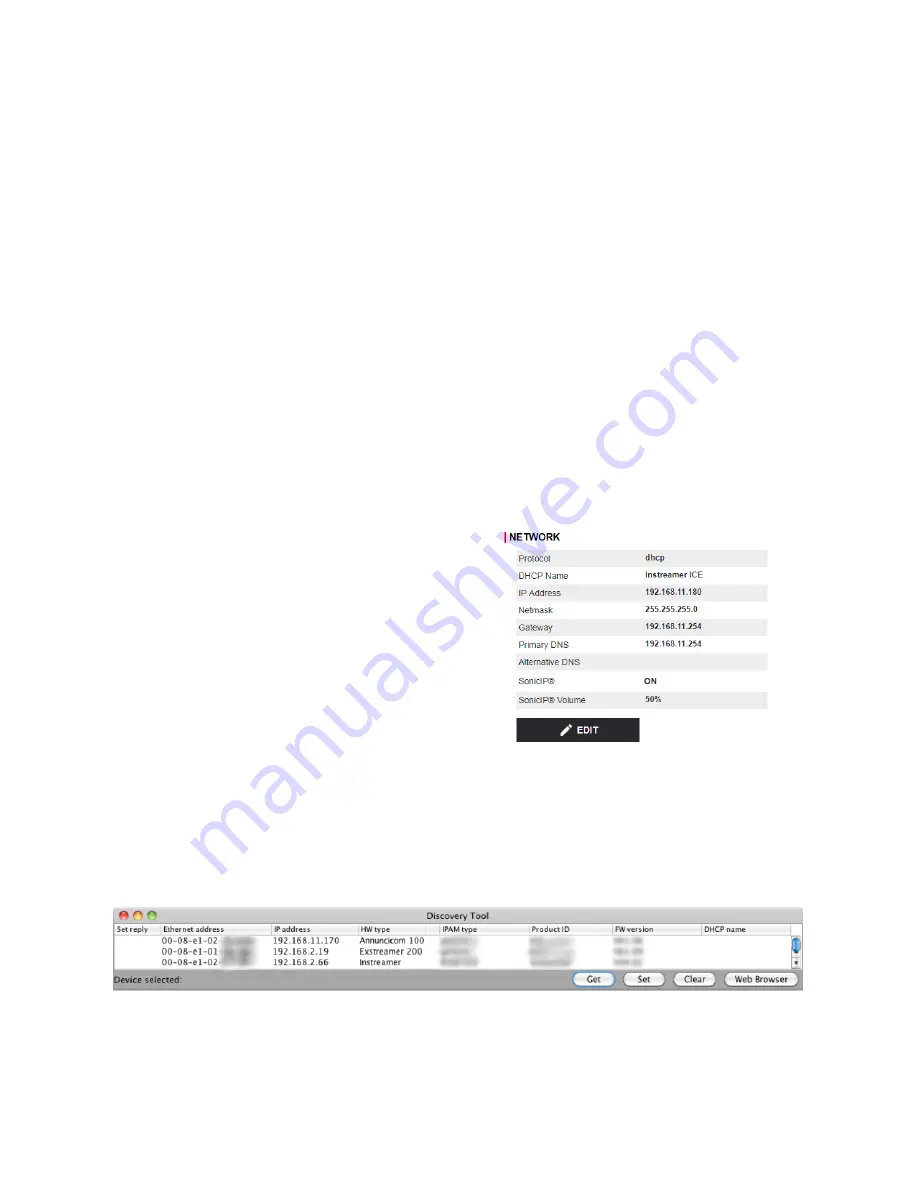
i) The Instreamer ICE will now acquire an IP
address (DHCP is required) and announce it
over the headphones output
ii)
If you did not connect any "earphone" in step 1,
use the “Barix Discovery Tool” Java application
(download the latest version from barix.com) on
your computer (Windows, Mac or Linux) and
click the “Get” button to find out which IP address
was attributed to the device (see picture at the
bottom of the page). Make sure that the Ethernet
address (MAC) matches that of your device (see
label on the bottom of the device). You may also
use the Discovery Tool to change the device's IP
address by double-clicking the existing IP,
modifying it and clicking on "Set".
2 Device Configuration
Step 1
Open a browser and point it at the IP address of
your device
Step 2
To login to your device for the first time, check the
bottom of your device for a sticker: on it, you will
find the password that works with both profiles:
"admin" and "user".
Step 3
If you wish, you can go to "Status", click on
"Manage Passwords" and change the password
of the "admin" and "user" profiles. The default
password for the "Icecast admin" is
barix_icecast
Step 4
Go to "Network" and change the network
configuration of your device. On defaults it's set
on "DHCP"
If you choose a static IP address following
parameters should be set:
•
IP Address
•
Netmask
•
Gateway
•
Primary DNS (usually)


