


WiFi Installation
•
To connect your heater to the WiFi, the first step is to download the Smart Life app onto your smart phone or tablet. You can find the app by
searching “Smart Life” in the Google Play or Apple app store.
• Download and install the app. Unless you already have a Smart Life account, you will need to create an account by tapping Register.
• The device will automatically determine your country, although you can change this if necessary. Enter your phone number or email address. If
you enter a phone number, a verification number will be sent to your phone: enter this number to verify, then create a password. If you enter your
email address, you’ll just need to create a password.
•
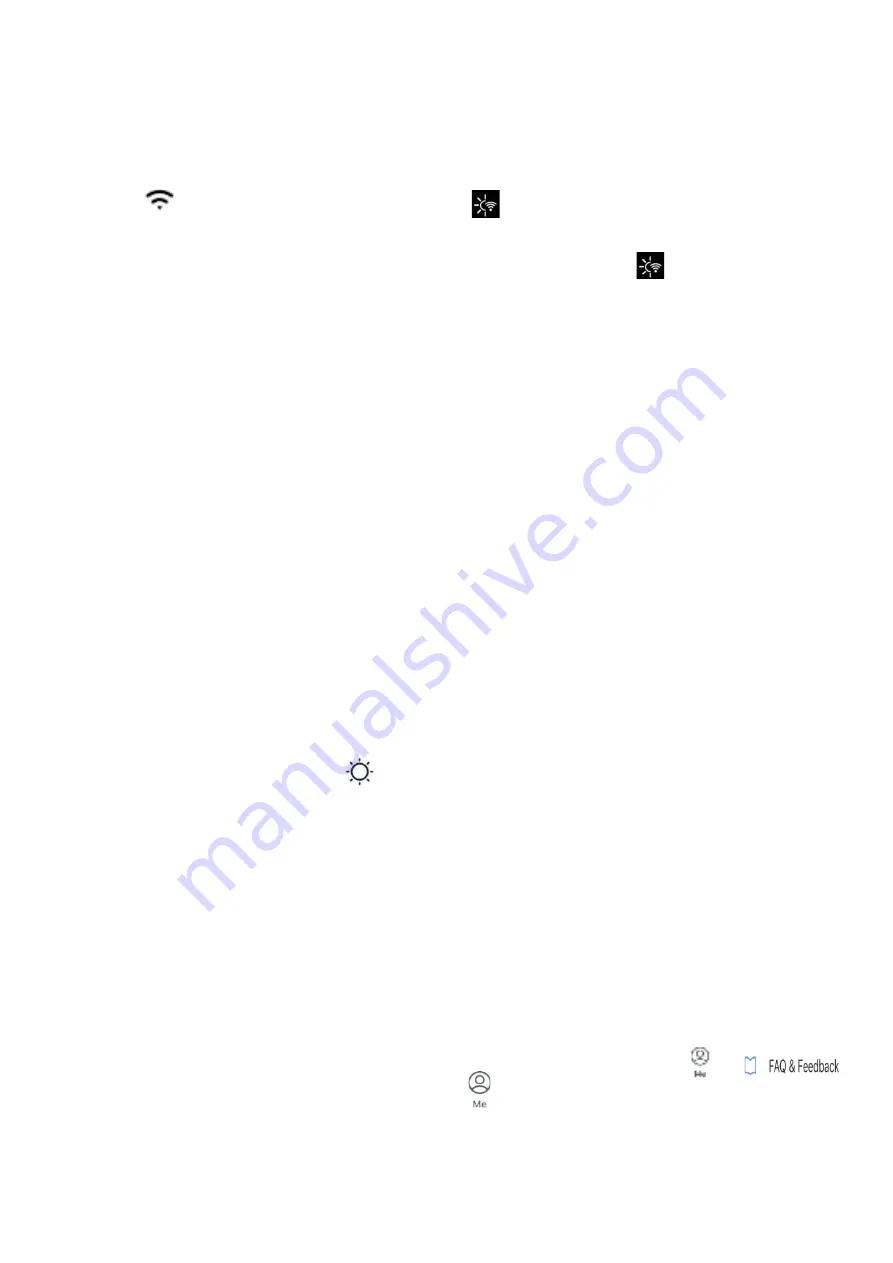
To add your heater to the app, first put the heater in WiFi connection mode. The heater is in WiFi connection mode when the WiFi icon is flashing.
If the wifi icon is not flashing, go to standby mode and hold down the button for three seconds.
•
Once the WiFi icon is flashing, go to the app and press Add a Device. Select the device type (Small Appliances > Heater) and confirm that the
indicator is flashing. You will then be prompted to enter your WiFi password. This allows the app to find your heater using your WiFi.
• The app will then display its connecting screen.
NOTE
if the heater is failing to connect, press and Hold the
button for three further
seconds. It will then switch to its secondary connection mode. The heater has two connection modes: one where the WiFi icon flashes slowly
(once per second) and one where the WiFi icon flashes fast (three times per second). Most devices will connect on the fast flashing mode.
•
The heater will beep and display a solid WiFi icon when the device is connected. The app will confirm that the heater has been added. You can
now name the device, share it with family members, or proceed to scheduling your heating.
App Operation
• You can use the app to control multiple devices. The status of your devices is shown on the device list:
• Offline (device is turned off at wall / rocker switch)
• Turned Off (device is in standby mode)
• Turned On (device is in heating mode)
• When the heater is online, tap the device name to go to the control interface.
NOTE
: when the heater is offline, you will not be able to control it
with the app.
• You can change the heater’s current mode by tapping the mode buttons. You can adjust the mode’s temperature using the + and – buttons when
you’re on that mode.
Scheduling Heating
• You can program your heating by creating a schedule of “events”, where the heater switches on or off. These events can be temporary, like setting
a timer, or they can be recurring, so the heater switches on at the same time every week. You can set an unlimited number of events, switching
the heater on and off across the week.
• For every event, you must set a start time. Then, choose whether you want it to repeat. Select “Only Once” if you just want to set a timer for now.
If you want the event to repeat, select which days you want it to occur. Finally, choose whether you want the heater to switch on or off. Make sure
you confirm your settings at every stage and press save to keep the event.
• Each event will appear in your schedule. You can activate and de-activate events using the toggle. You can also delete events by swiping left and
tapping Delete.
• The heater will beep when it begins a new heating event. The heater will heat at whatever mode it was last set to: you cannot schedule mode
changes. Note, if you change the heater’s setting during an event – i.e. turning it on when it is scheduled to be off – the heater will remain as it is
until the next scheduled event.
Smart Features
• The “Smart” section of the SmartLife app allows you to add functions that make your heating easier and more intuitive to control. The Smart
section can be reached be pressing the Smart icon at the bottom of the app.
• Scenarios:
Scenarios are customisable commands that bring all your devices together to perform set actions. They appear as shortcuts on the
app which you can trigger by tapping the image, offering a quick and easy means of co-ordinating your heating. For example, you could create a
“Heat Boost” scenario that, at one tap, switches all your panel heaters on, at high power mode, at 30 °C.
• To create new scenarios, press the
+
button while on the Scenario screen. You can add as many heaters as you want to a scenario. You can
control whether they switch on or switch off, what mode they run on, and what temperature they are set to. Any device controlled by the SmartLife
app can be added to a scenario.
• Automation:
Automation allows you to set up actions that are triggered by external events. Triggers include the weather, temperature, humidity,
sunset, sunrise and your location. You can add multiple actions and multiple triggers for each automation event, so you could, for example, set all
your heaters to come on at 21 °C if you arrive home when it’s snowing! To create new scenarios, press the button while on the Scenario screen.
• Voice Integration:
• Smart Life is compatible with both Amazon Alexa and Google Home.
•
To connect, first download the SmartLife skill onto your Alexa or Google home app. You can then link your Alexa or Google home app with your
SmartLife app. Depending on your device, your voice control app may discover your devices automatically, or you may need to prompt it to do so.
•
Once the SmartLife skill is enabled and linked with your SmartLife app, you should get notifications whenever you add a new heater or scenario.
The notification will tell you what to say to control the heater or scenario by voice.
•
You can find quick guides and
FAQ
s to connecting the app to both Google Home and Alexa in the
FAQ
section. Press then
• Sharing:
You can share control of your devices with family members. Go to then Family Management then Add Member.
• Add your new family member’s email address or phone number to send an invitation.
NOTE
: you can only share to numbers and email addresses
that are connected to app-compatible devices: smart phones or tablets.
• When you add new members you can choose whether or not to set them as an administrator. Members added as administrators will have all
family permissions, including the facility to delete the family. Members not set to administrator can control scenarios and devices but cannot add
or remove them.


