8. GUI – Installation
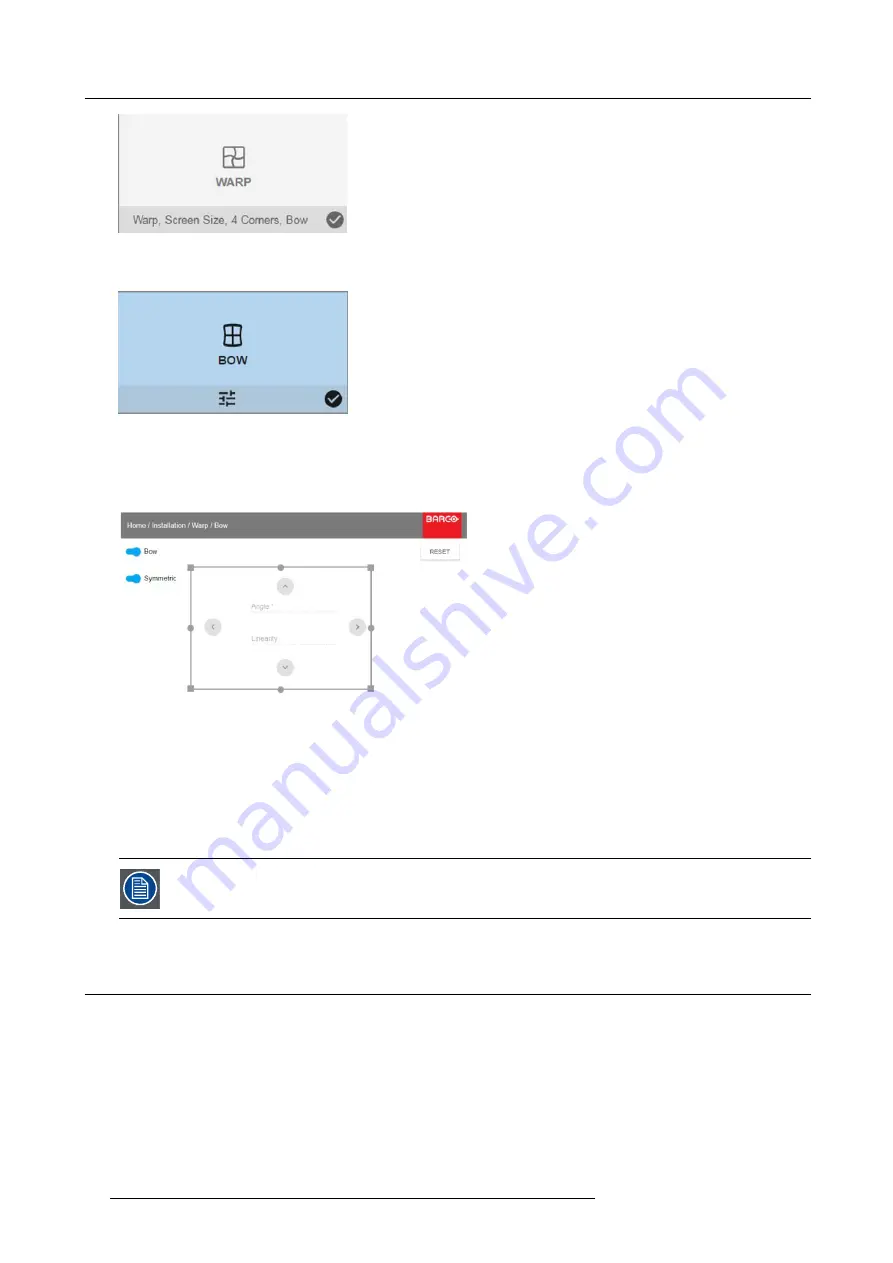
Image 8-15
Installation menu, Warp
2. In the Warp menu, select
Bow
.
Image 8-16
Warp menu, Bow
A check symbol at the bottom right corner indicates that the bow function is activated.
3. To enable Bow correction, make sure the
Bow
slider is set to
On
.
The slider is enabled when set to the right and when it is colored blue.
Image 8-17
Bow adjustment
4. To enable a symmetric adjustment, make sure the
Symmetric
slider is set to
On
.
The slider is enabled when set to the right and when it is colored blue.
5. Select an adjustment point and use the arrow keys to adjust.
When selecting a mid point of an edge, the bow angle can be adjusted.
When selecting a corner point, the linearity can be adjusted.
To reset the bow adjustments, select
Reset
and press the OK button.
8.4
Blending
About Blending
Blending is used in multi channel installation to have a seamless transition between the channels. Image blending gives the appear-
ance of a single view, thus achieving realistic immersion for the majority of wide screen applications.
The principle is that the light intensity in the blend zone from each projector will be adjusted individually, so that the rendering on the
screen are perceived as from one projector.
From the start (offset) position, you can blend zone size per edge (left, top, right, bottom). For each edge there will be a drop-off
curve for the blend zone.
48
R5906112 UDX SERIES 24/05/2017
Содержание UDX 4K32
Страница 1: ...UDX series User Manual R5906112 01 24 05 2017...
Страница 4: ......
Страница 16: ...1 Safety 12 R5906112 UDX SERIES 24 05 2017...
Страница 40: ...5 Graphic User Interface GUI 36 R5906112 UDX SERIES 24 05 2017...
Страница 56: ...8 GUI Installation Image 8 24 Laser power adjustment 52 R5906112 UDX SERIES 24 05 2017...
Страница 68: ...9 GUI System Settings 64 R5906112 UDX SERIES 24 05 2017...
Страница 70: ...10 Status menu 66 R5906112 UDX SERIES 24 05 2017...
Страница 72: ...11 Maintenance 68 R5906112 UDX SERIES 24 05 2017...


