13. Projector Control
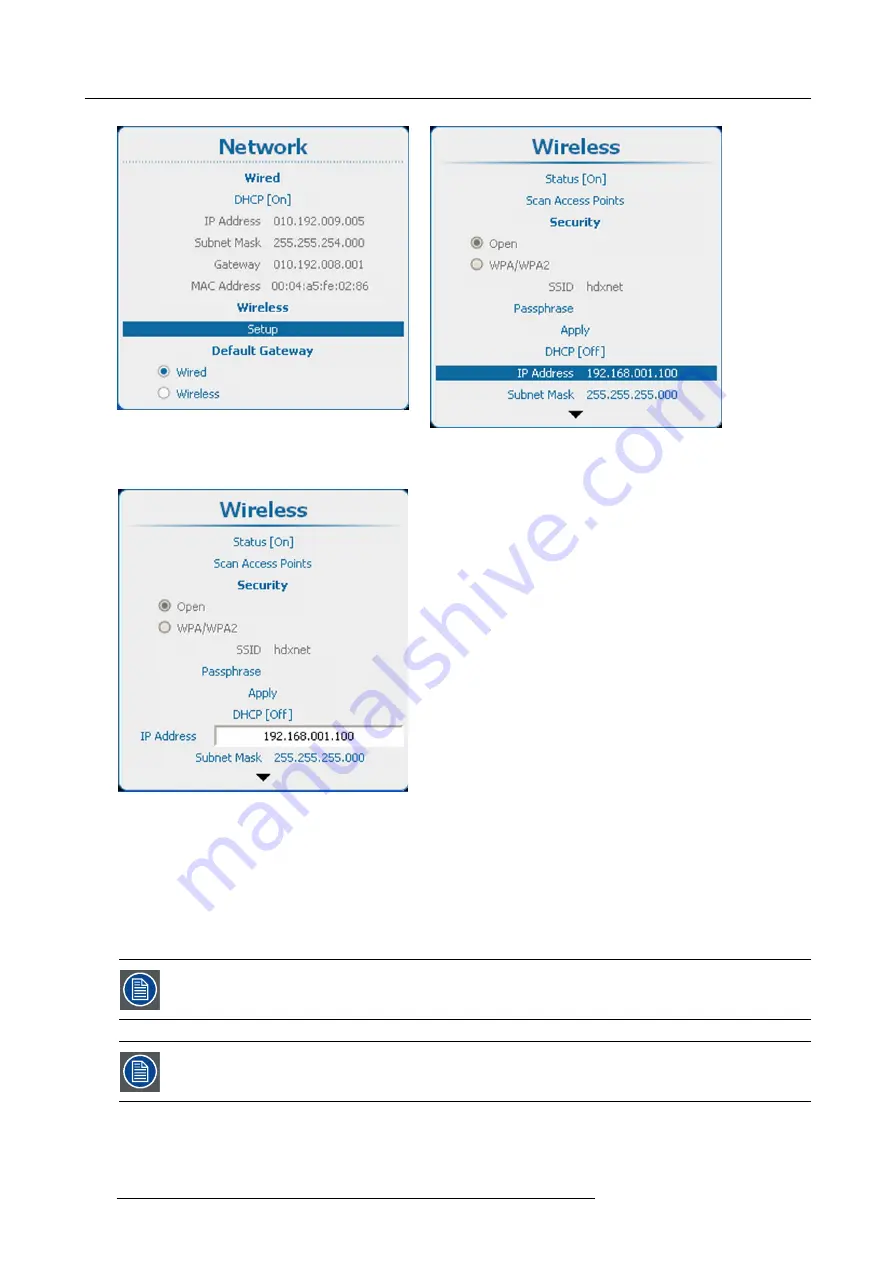
Image 13-45
Network, wireless
Image 13-46
Network, wireless
2. Use the
▲
or
▼
key to select
IP Address
and press
ENTER
to activate the input box.
Image 13-47
Wireless IP address input
3. Press
ENTER
to open the
Wireless
menu.
4. Use the
▲
or
▼
key to change the selected character.
Use the
◄
or
►
key to select another character.
Note:
Digits can be entered with the digit keys on the remote control or the local keypad. When a digit is entered in that way,
the next character will be selected automatically.
13.5.10 Wireless subnet mask set up
Can only be used with a wireless network module installed.
Subnet for
Wired
and
Wi
fi
must be different !
How to set up
1. Press
Menu
to activate the menus and select
Projector Control
→
Network
→
Wireless Setup
.
234
R5905032 HDX SERIES 20/11/2014
Содержание HDX series
Страница 10: ...Table of contents 6 R5905032 HDX SERIES 20 11 2014...
Страница 16: ...1 Safety 12 R5905032 HDX SERIES 20 11 2014...
Страница 26: ...2 General 22 R5905032 HDX SERIES 20 11 2014...
Страница 50: ...3 Physical installation 46 R5905032 HDX SERIES 20 11 2014...
Страница 58: ...4 Input Communication 54 R5905032 HDX SERIES 20 11 2014...
Страница 108: ...8 Input 104 R5905032 HDX SERIES 20 11 2014...
Страница 138: ...9 Image 134 R5905032 HDX SERIES 20 11 2014...
Страница 156: ...10 Layout 152 R5905032 HDX SERIES 20 11 2014...
Страница 168: ...11 Lamp 164 R5905032 HDX SERIES 20 11 2014...
Страница 294: ...14 Service 290 R5905032 HDX SERIES 20 11 2014...
Страница 296: ...15 Maintenance 292 R5905032 HDX SERIES 20 11 2014...
Страница 308: ...16 Servicing 304 R5905032 HDX SERIES 20 11 2014...
Страница 310: ...A Dimensions 306 R5905032 HDX SERIES 20 11 2014...
Страница 316: ...B Specifications 312 R5905032 HDX SERIES 20 11 2014...
Страница 320: ...C Standard source files 316 R5905032 HDX SERIES 20 11 2014...
Страница 324: ...D DMX chart 320 R5905032 HDX SERIES 20 11 2014...
Страница 334: ...F Environmental information 330 R5905032 HDX SERIES 20 11 2014...


