8. Input
Image 8-65
Main window
Image 8-66
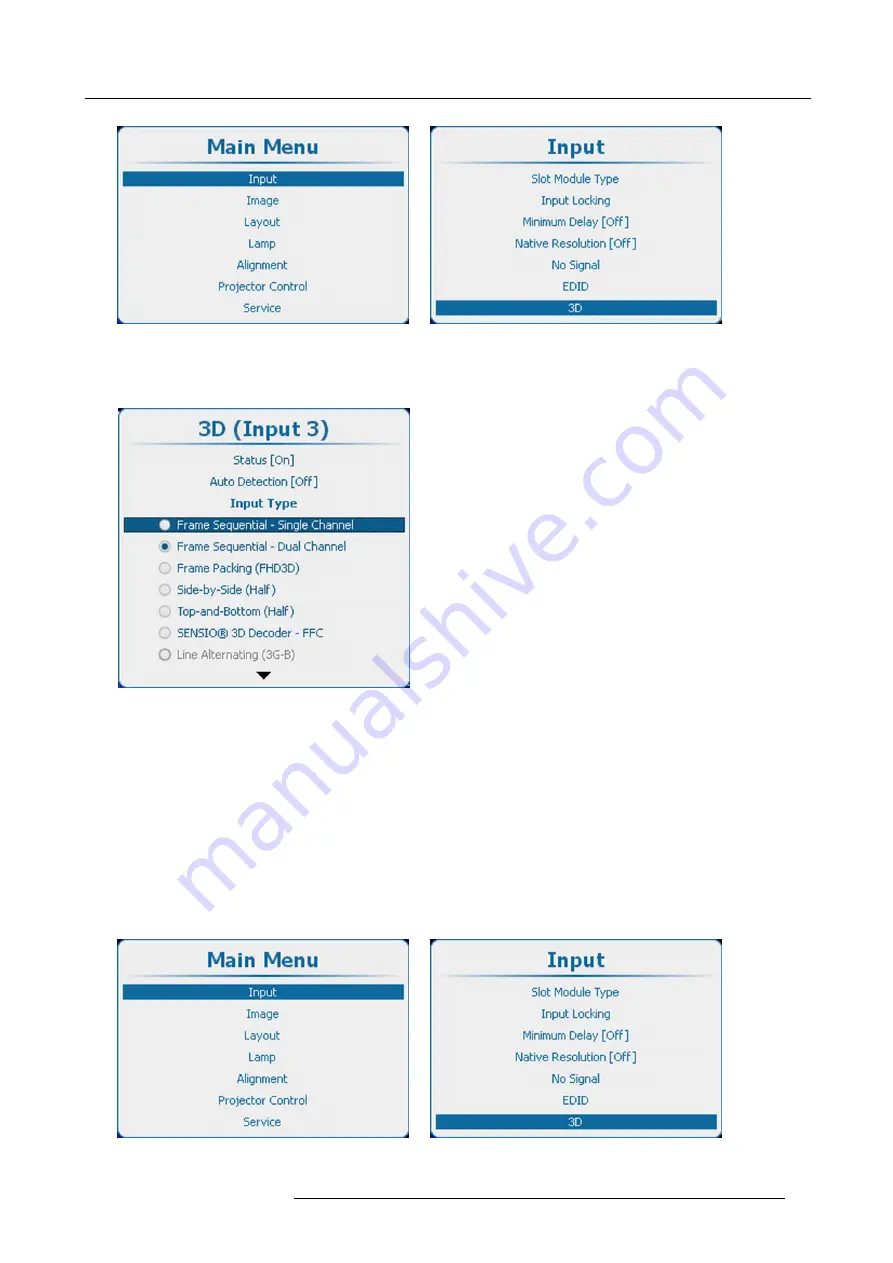
Input, 3D
2. Press
ENTER
to open the 3D menu
3. Use the
▲
or
▼
key to select the desired input type.
Image 8-67
3D, input type
4. Press
ENTER
to activate.
8.9.5
3D second input
What can be done?
3D content can be entered into the projector via a single channel (one input) or via 2 channels (2 inputs). When entering content via
2 channels, the second source must be indicated in the 3D menu.
This selection is only possible when a 2 channel 3D input is chosen.
How to make selection
1. Press
Menu
to activate the menus and select
Input
→
3D
→
Second input
.
Image 8-68
Main window
Image 8-69
Input, 3D
R5905032 HDX SERIES 20/11/2014
99
Содержание HDX series
Страница 10: ...Table of contents 6 R5905032 HDX SERIES 20 11 2014...
Страница 16: ...1 Safety 12 R5905032 HDX SERIES 20 11 2014...
Страница 26: ...2 General 22 R5905032 HDX SERIES 20 11 2014...
Страница 50: ...3 Physical installation 46 R5905032 HDX SERIES 20 11 2014...
Страница 58: ...4 Input Communication 54 R5905032 HDX SERIES 20 11 2014...
Страница 108: ...8 Input 104 R5905032 HDX SERIES 20 11 2014...
Страница 138: ...9 Image 134 R5905032 HDX SERIES 20 11 2014...
Страница 156: ...10 Layout 152 R5905032 HDX SERIES 20 11 2014...
Страница 168: ...11 Lamp 164 R5905032 HDX SERIES 20 11 2014...
Страница 294: ...14 Service 290 R5905032 HDX SERIES 20 11 2014...
Страница 296: ...15 Maintenance 292 R5905032 HDX SERIES 20 11 2014...
Страница 308: ...16 Servicing 304 R5905032 HDX SERIES 20 11 2014...
Страница 310: ...A Dimensions 306 R5905032 HDX SERIES 20 11 2014...
Страница 316: ...B Specifications 312 R5905032 HDX SERIES 20 11 2014...
Страница 320: ...C Standard source files 316 R5905032 HDX SERIES 20 11 2014...
Страница 324: ...D DMX chart 320 R5905032 HDX SERIES 20 11 2014...
Страница 334: ...F Environmental information 330 R5905032 HDX SERIES 20 11 2014...


