7. Random Access
Setting up the Shape for Projector 1
1. Use the combination of
ENTER
and the cursor key
←
or
→
to select
right all
2. Push the cursor key
↑
or
↓
to select % of image. (menu 7-113)
3. Push the cursor key
←
or
→
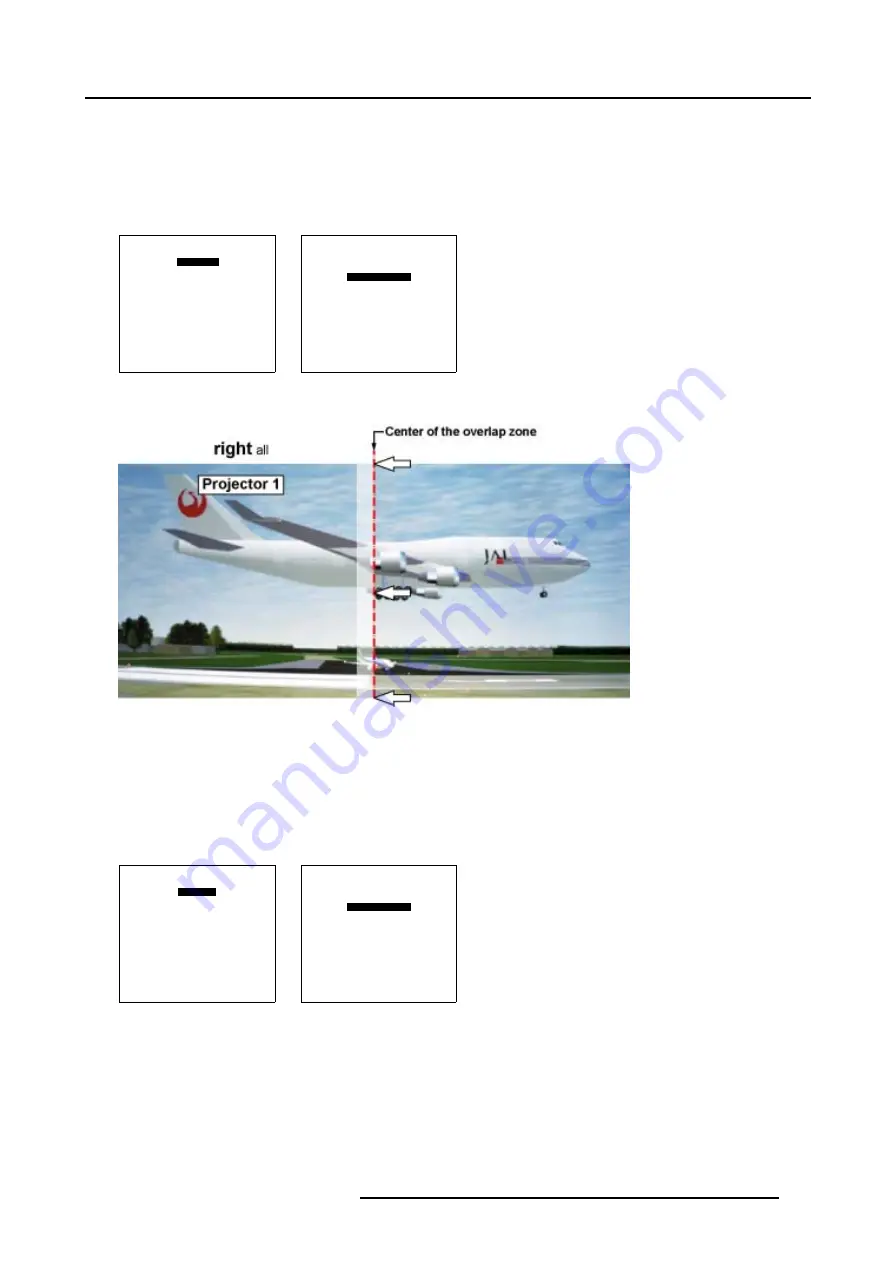
to coincide the right side of the image of Projector 1 with the center of the overlap area. (image 7-47)
4. Use the subpixel selections for fine adjustments.
SHAPE
right all
% of image = 0
%% of image = 0
Menu 7-112
SHAPE
right all
% of image = 0
%% of image = 0
Menu 7-113
Image 7-47
Basic Shape set up for Projector 1
Setting up the Shape for Projector 2
1. Use the combination of
ENTER
and the cursor key
←
or
→
to select
left all
2. Push the cursor key
↑
or
↓
to select % of image. (menu 7-115)
3. Push the cursor key
←
or
→
to coincide the left side of the image of Projector 2 with the center of the overlap area. (image 7-48)
4. Use the subpixel selections for fine adjustments.
SHAPE
left all
% of image = 0
%% of image = 0
Menu 7-114
SHAPE
left all
% of image = 0
%% of image = 0
Menu 7-115
R5976780 GALAXY SXGA+ SERIES 14/10/2005
111
Содержание Galaxy 12 High Brightness+ R9040370
Страница 4: ......
Страница 13: ...2 Packaging and Dimensions Image 2 4 Top View Dimensions R5976780 GALAXY SXGA SERIES 14 10 2005 9...
Страница 14: ...2 Packaging and Dimensions 10 R5976780 GALAXY SXGA SERIES 14 10 2005...
Страница 44: ...4 Connections 40 R5976780 GALAXY SXGA SERIES 14 10 2005...
Страница 51: ...5 Getting Started Image 5 6 RCU to IR Sensors R5976780 GALAXY SXGA SERIES 14 10 2005 47...
Страница 60: ...6 Special Features 56 R5976780 GALAXY SXGA SERIES 14 10 2005...
Страница 132: ...7 Random Access 128 R5976780 GALAXY SXGA SERIES 14 10 2005...
Страница 166: ...9 Service Mode 162 R5976780 GALAXY SXGA SERIES 14 10 2005...
Страница 168: ...10 Standard Source Files 164 R5976780 GALAXY SXGA SERIES 14 10 2005...


