The Lamp does not strike
The Lamp does not strike
The image appears dim
The image appears dim
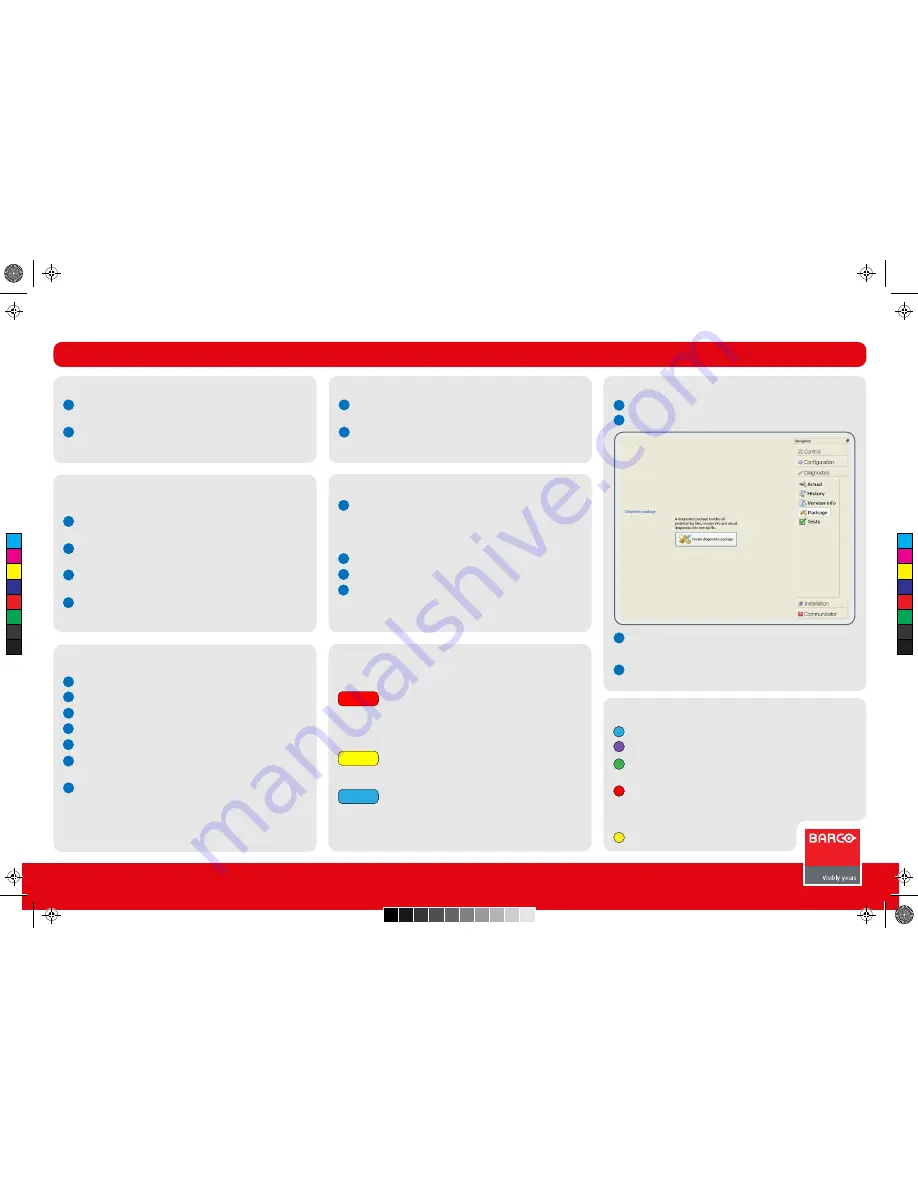
Creating a Diagnostic Package
Creating a Diagnostic Package
Button backlight colors
Button backlight colors
DP2K S-series
Quick Start Guide
1
1
1
2
3
4
2
2
Press
Standby
button. Between each strike attempt, allow 10
seconds (if lamp is cold) or 1 minute (if lamp is hot).
If after te third attempt the lamp does not strike, check with
communicator for errors, then contact the theatre’s techni-
cian.
In Communicator or on the Touch panel, select Control tab
and press Service button.
Check the Current Light Output reading. If the light output
does not indicate at least 11 Fl, contact the theater technician
In Communicator, press Diagnostic tab and click Package.
Click on Create diagnostics package.
1
2
3
4
Reselect the proper
Macro
button on the projector for the
current movie.
Use the
Test Pattern
button to select color bars. Check that
red, green and blue can all be seen.
Reselect the current
Macro
button again for the current
movie.
Restart the projector and server and try to replay the movie.
Let the lamp cool down for at least 1 minute prior to
restarting
1
2
3
4
5
6
7
Check to see if the lamp is on and the dowser is open.
Check that the lens cap is removed.
Verify that the correct macro is selected.
Verify that the server is playing.
Verify the operation of the projector with a Test pattern.
Check all connection between projector and server. Try
playing different content.
Restart projector and server. Try to play the movie again. Let
the projector lamp cool down for at least one minute prior to
restarting.
Red = Error condition.
Restart the projector if the
status light turns green, problem is resolved. Check
Communicator or Touch panel for ‘red’ marked error
messages. If you find an error, report it ot the
theatre technician.
Yellow = Warning condition.
Check Communicator or
Touch panel for ‘yellow’ marked warning messages
and take action accordingly.
Blue = Maintenance notification.
Check Communi-
cator or Touch panel for ‘blue’ marked messages
and perform the suggested maintenance.
1
2
3
4
Check the booth’s ambient temperature.
These must be between:
* 50 - 95 degrees Fahrenheit
* 10 - 35 degrees Celsius
Check that the extraction system is operating.
Check that the filters are clean.
Contact the theater technician.
Browse to the storage location, accept the proposed file
name or change the name.
Click Save to create the diagnostics package. Once finished,
send this package to a technician for analyse purposes.
Troubleshooting
Content is distorted or not playing with the
correct color
The projector indicates an overheating error
There is no image on the screen
The projector status light is solid red, yellow
or blue
Button enabled. Default backlight color.
Button pressed. Request is ongoing.
Standby
,
Sleep
,
Macro
= function is activated
Dowser
= dowser open, Test pattern = no pattern selected.
Standby
= lamp is off, Dowser = dowser closed
Test pattern
= test pattern selected
Shift
,
Zoom
,
Focus
= end of range
Macro
= error in at least one step
Numeric buttons =
Key
button pressed.
Trained projectionist
7
C
M
Y
CM
MY
CY
CMY
K
r5905465_00_userguide.pdf 7 17-12-2012 9:20:17


