B. Barco Control Manager
Image B-10
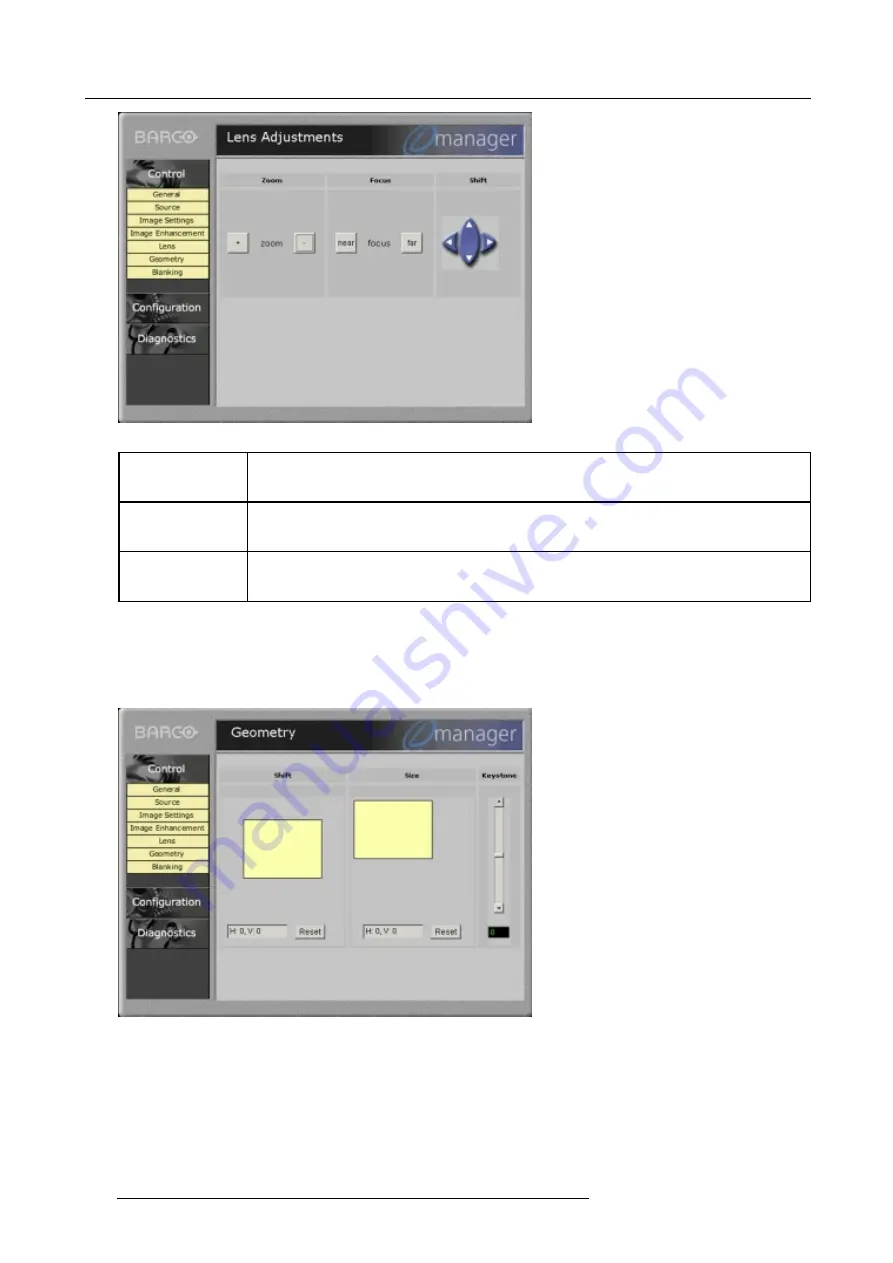
Lens Adjustment
Zoom
click on ’+’ to zoom out
click on ’-’ to zoom in
Focus
click on ’near’ for a image which is focussed in front of the screen
click on ’far’ for a image which is focussed behind the screen
Lens shift
click on the arrow up or down to shift the image in a vertical direction
click on the arrow left or right to shift the image in a horizontal direction
B.4.7
Geometry adjustment
What can be adjusted
Shift, Size and Keystone can be adjusted.
Image B-11
Geometry adjustment
Shift adjustment
1. Click and drag the yellow screen in the direction you want to shift the image (steps of 8 pixels). The black screen indicates its
initial position. The shift values are given in a text box below the shifted image.
Or,
Click once with the mouse on the shift screen and use the cursor keys on the keyboard to shift the image (steps of 1 pixel). The
black screen indicates its initial position. The shift values are given in a text box below the shifted image.
116
R5976483 BARCOSLM R6 17092002
Содержание BARCOSLM R6
Страница 1: ...BARCOPROJECTION BARCOSLM R6 R9001901 OWNERS MANUAL 17092002 R5976483 01 ...
Страница 4: ......
Страница 8: ...Table of contents 4 R5976483 BARCOSLM R6 17092002 ...
Страница 13: ...2 Packaging and Dimensions Image 2 4 Top view dimensions R5976483 BARCOSLM R6 17092002 9 ...
Страница 14: ...2 Packaging and Dimensions 10 R5976483 BARCOSLM R6 17092002 ...
Страница 28: ...3 Installation Guidelines 24 R5976483 BARCOSLM R6 17092002 ...
Страница 40: ...4 Connections 36 R5976483 BARCOSLM R6 17092002 ...
Страница 82: ...7 Random Access Adjustment Mode 78 R5976483 BARCOSLM R6 17092002 ...
Страница 106: ...9 Service Mode 102 R5976483 BARCOSLM R6 17092002 ...
Страница 108: ...10 Programmable Function Keys 104 R5976483 BARCOSLM R6 17092002 ...
Страница 112: ...A Standard Source set up Files 108 R5976483 BARCOSLM R6 17092002 ...


