


29
Power settings
If you want to make your
television start up faster, you can
set a Quick-Start Timer for one or
two specified time periods. This
will increase the standby power
consumption within these
periods compared to when the
television is in ordinary standby.
On the other hand, you can
choose to save power on a
number of other functions in the
television, such as sound, picture
and network. When you set up
power saving for the picture, a
preview shows you the picture
quality for each option which
makes it easier for you to select
the combination of power
consumption and quality that
suits you best.
In the AUTO STANDBY menu,
you can set the television to
switch off automatically after
some time without operation.
Set up the power consumption for
standby, sound, picture, and network.
The television can be set to switch itself
to standby after some time without
operation. The factory setting is 4 hours.
This function only applies in video mode,
not in audio mode.
To reduce the start-up time or set up auto
standby, bring up the STANDBY menu.*
1
To make power saving settings for sound,
bring up the SOUND menu.
To make power saving settings for picture,
bring up the PICTURE menu.
To make power saving settings for network,
bring up the NETWORK menu.
When AUTO STANDBY is activated, a message
appears on your television screen if the
television has not been operated during the
time set in the menu. The television then
switches to standby if you do not operate it.
When no source signal has been detected
for 15 minutes, the television is switched to
standby.
1
*If a Quick-Start Timer is active, the standby
indicator will light solid green briefly and
your television will switch on within seconds.
If you receive your television signal from
a connected set-top box, the television
start-up time is also affected by the start-up
time of the box. Setting a Quick-Start Timer
will increase the power consumption within
the specified period.
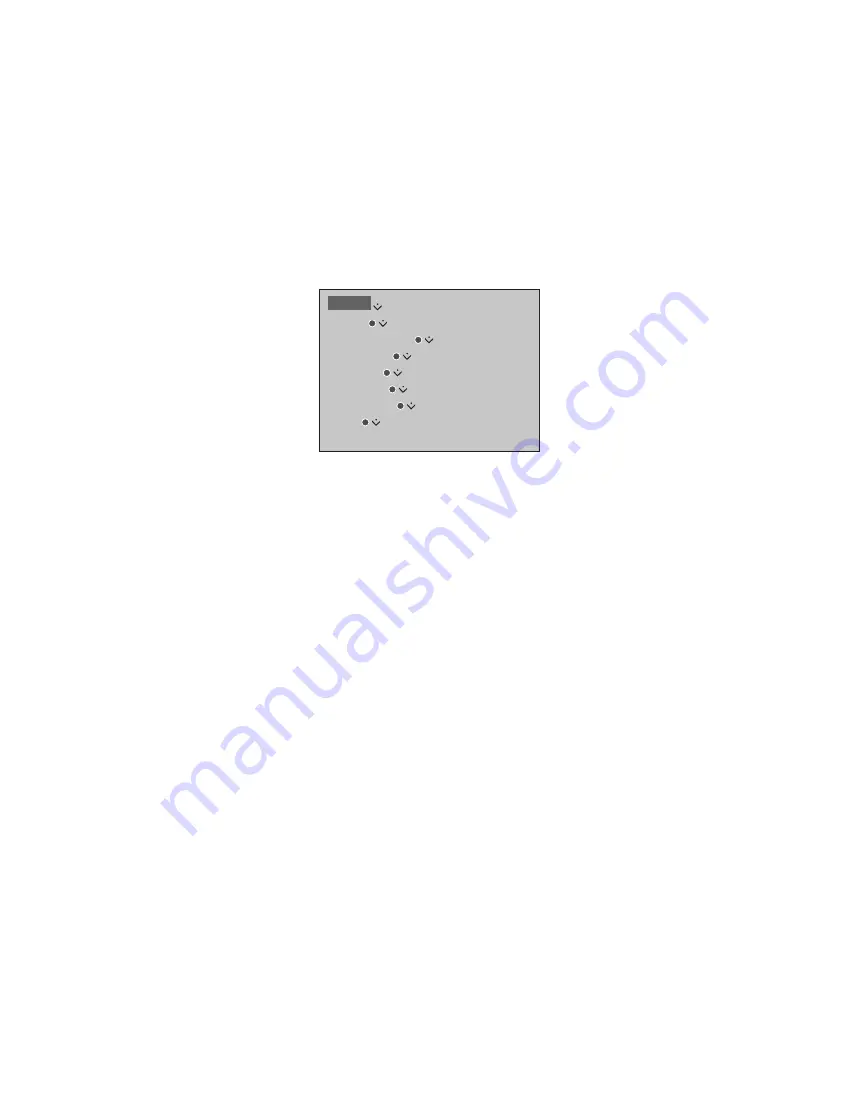
Set up the power consumption
MENU
SETUP
POWER SAVING
STANDBY
SOUND
PICTURE
NETWORK
…
Содержание BEOPLAY V1 Series
Страница 1: ...BEOPLA Y V1 BeoPlay V1 32 BeoPlay V1 40...


