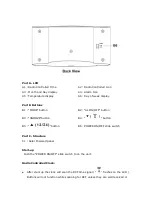
Part A- LCD
A1 : Radio Controlled Time
A2 : Radio Controlled Icon
A3 : Month and Day display
A4 : Alarm Icon
A5 : Temperature display
A6 : Day of week display
Part B Buttons
B1 : “MODE” button
B2 : “AL ON/OFF” button
B3 : “SNOOZE”button
B4 : “
” button
B5 : “
”button
B6 : POWER ON/OFF slide switch
Part C- Structure
C1 : Solar Powered panel
Start-up
Push the “POWER ON/OFF” slide switch to on the unit.
Radio Controlled Clock:
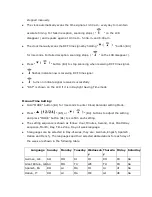
After start-up the clock will scan the DCF time signal ( “
” flashes on the LCD ).
Buttons will not function while scanning for DCF unless they are well received or
Содержание 862438
Страница 6: ......


