27
27
CHECK HEIGHT OF PRESSURE BAR
When adjusting pressure bar, the correct position of wooden gauge and 0.2mm thickness gauge
must be as shown in (Fig. 21).
1. UNPLUG OR DISCONNECT PLANER FROM
POWER SOURCE AND LOCK OUT POWER.
2. Loosen screw (1) and nut (2). Turn the screw to
the right so that the pressure bar moves upward.
(Fig. 25).
3. Place gauge block and 0.2mm thickness gauge
under the cutterhead as shown in (Fig. 26).
4. Place gauge block under pressure bar.
5. Make pressure bar touch the top of the gauge
block.
6. Turn the screw (1) tightly and replace the nut (2).
CHECK HEIGHT OF CHIPBREAKER
When adjusting the chipbreaker, the correct position of wooden gauge and 0.1mm thickness
gauge must be, as shown in (Fig. 26). Adjust process of screw and nut as shown in (Fig. 27).
1. Place wooden gauge and thickness gauge as
shown in (Fig. 26)
2. Loosen screw (1) and nut (2). Turn screw to the
right to make chipbreaker move upward.
3. Place gauge block under the chipbreaker.
4. Make chipbreaker move downwards slowly until it
touches the top of the gauge block.
5. Once adjusted, turn screw (1) tightly, and replace
the nut (2).
Fig. 25
Fig. 26
Fig. 27
Содержание IP-156
Страница 20: ...18 18 ELECTRICAL DIAGRAM...
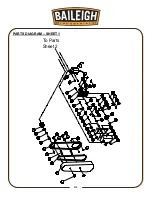
Страница 33: ...31 31 PARTS DIAGRAM SHEET 1 To Parts Sheet 2...
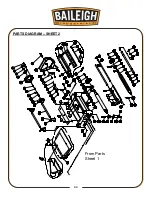
Страница 34: ...32 32 PARTS DIAGRAM SHEET 2 From Parts Sheet 1...
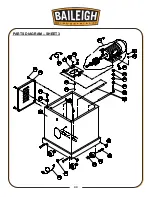
Страница 35: ...33 33 PARTS DIAGRAM SHEET 3...
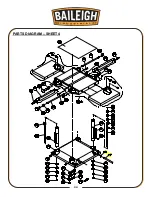
Страница 36: ...34 34 PARTS DIAGRAM SHEET 4...
Страница 43: ...41 41 NOTES...


