background image

02

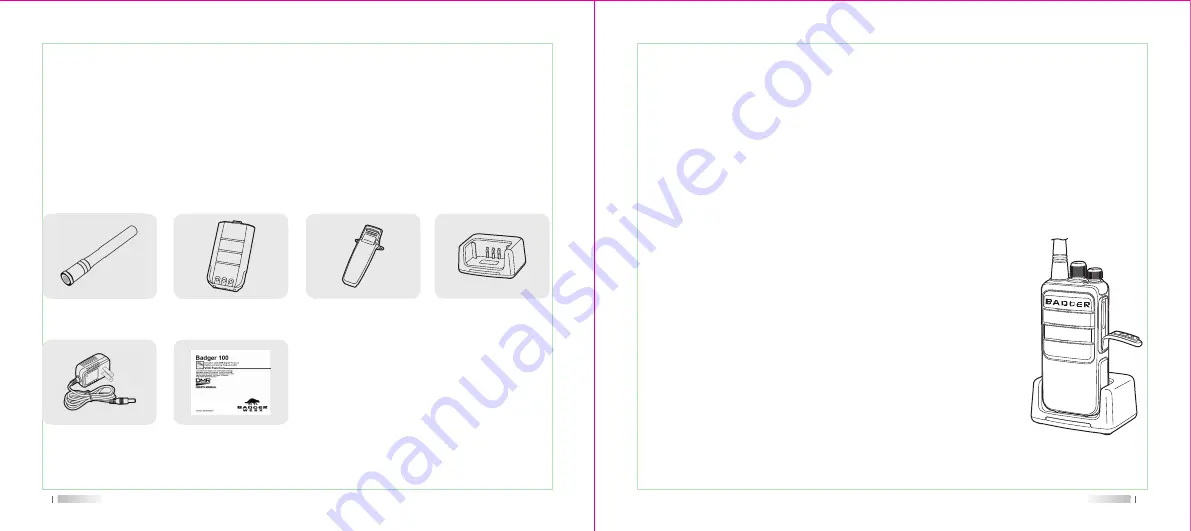
 Welcome to your Badger 100 radio! Before use, we suggest you:
  • Check the box and check for signs of damage.
  • Open the box carefully and verify the following items are in the box. If any items were
     lost or damaged during shipping, please contact your Badger Werx dealer immediately.

Parts List

User's Manual (1)

Antenna (1)

Li-ion battery (1)

Belt Clip (1)

Charger (1)*

Charger Adapter (1)*

*If Ordered Kit


03

 Please use the battery charger provided by Badger Werx to charge the battery and follow
 these steps:
  • Insert DC jack of the supplied power adapter into DC jack on the back of the charger.
  • Insert power adapter into AC outlet, the green indicator will illuminate when the charger
     is properly connected.
  • Insert the battery or radio with battery attached into the charger.
     A solid red indicator means the battery is charging normally.
     A flashing red indicator means the battery has over-discharged from non-use or
      extended storage. Normal charging has resumed when the red 
      indicator remains solid.
     A solid green indicator means the battery is fully charged.
  • Please remove battery or radio when fully charged. 

Unpacking and Checking Equipment

Charging the Battery

Содержание Badger 100

Страница 1: ...Single Call Group Call All Call Voice Prompt Channel Scanning Priority Scanning Emergency Alarm DTMF High Low Power Selectable Talk Around 32 Channels Programmable Multi Function Keys Patented 2014302...

Страница 2: ...tion equipment for a variety of business sites This product uses professional commercial and amateur frequencies You are responsible for adhering to your local regulations on frequency allocation and...

Страница 3: ...onality High Low Power Selective Voice Prompt Monitor 32 Channels Low Power Alarm SQL VOX Wide Narrow Bandwidth Programmable Lone Work Channel Scanning Priority Scanning End Tone Elimination Emergency...

Страница 4: ...Installing and Uninstalling of the Accessories Getting Acquainted Basic Operation Functions Specifications Trouble Shooting Guide Warranty Card 02 03 04 07 10 13 15 27 30 31 User s Manual www badgerw...

Страница 5: ...follow these steps Insert DC jack of the supplied power adapter into DC jack on the back of the charger Insert power adapter into AC outlet the green indicator will illuminate when the charger is pro...

Страница 6: ...once they are within the stated temperature range Keep the battery contacts clean to ensure proper charging and use Please turn off the radio before charging Do not charge the battery if the battery...

Страница 7: ...moving the Battery Installation Place the battery onto the back of the radio and slide upwards until you hear it click and lock into place Removal Be sure radio is turned off Press the lock button and...

Страница 8: ...08 09 Open speaker mic cover align jacks and insert into radio speaker mic sold seperately You can use computer programming software to configure the radio consult with your dealer for programming so...

Страница 9: ...nob Radio On Off Volume Control Knob 11 PK1 PK2 can be dual programmed for the following functions using short long press PK Options 1 Unnasigned 2 Alerts On Off 3 Emergency On 4 Emergency Off 5 High...

Страница 10: ...installed If the radio will still not power on please contact your Badger Werx dealer Volume Control Rotate the power volume control knob clockwise to increase the volume and counter clockwise to decr...

Страница 11: ...gle tone Sounds once duration set with programming software PTT 1 The PTT button enables the radio to transmit information to other radios Press PTT to communicate release to receive Pressing PTT acti...

Страница 12: ...once the channel number user ID or contact ID has been set by rotating the Channel Selector Knob Calls can also be made by using pre programmed One Touch Access Keys 17 Receiving and Answering Group...

Страница 13: ...on both radios that wish to initiate a private call Green LED illuminates when receiving Red LED illuminates when transmitting 1 When line is clear press PTT to answer 2 Keep the radio 1 2 inches 2 5...

Страница 14: ...upports up to 250 lists with 16 members for each list Scan The red LED illuminates when scanning There are two methods of scanning 1 Main Channels manual scanning Scans all channels contact groups in...

Страница 15: ...istance communication Low power 1W is for short distance communication 1 Press the programmed High Low Power key 2 A high tone indicates low power mode A low tone indicates high power mode 23 Answerin...

Страница 16: ...s 2 Mid Capacity Remaining Two beeps 3 Low Capacity Remaining One Beep 4 Very Low Capacity Remaining Long Tone Recharge or swap batteries immediately 24 VOX This function enables your radio to make a...

Страница 17: ...5KHz data voice 7K60FXE 2 5KHz 12 5KHz 57dBm ETSI TS 102 361 1 2 3 AMBE 2TM 1dB 3dB 5 Transmitter 27 Frequency Range Channel Channel Spacing Operating Voltage Battery Type Operating Temperature Stora...

Страница 18: ...The microphone may be damaged send it to a local dealer to check Turn the volume up by rotating the Volume Control Knob clockwise Only hear static noise The distance is out of the radio s range Turn o...

Страница 19: ...and serial number listed above 2 The warranty card is required for the end user to qualify for warranty service on their two way radio under the terms specified Please keep this document in a safe pla...

Страница 20: ...sting operation maintenance disassembly or adjustments 5 Damage caused by unauthorized repairs or disassembly 6 Damage caused by excessive force 7 Wear and tear during normal use The warranty period b...

Отзывы: