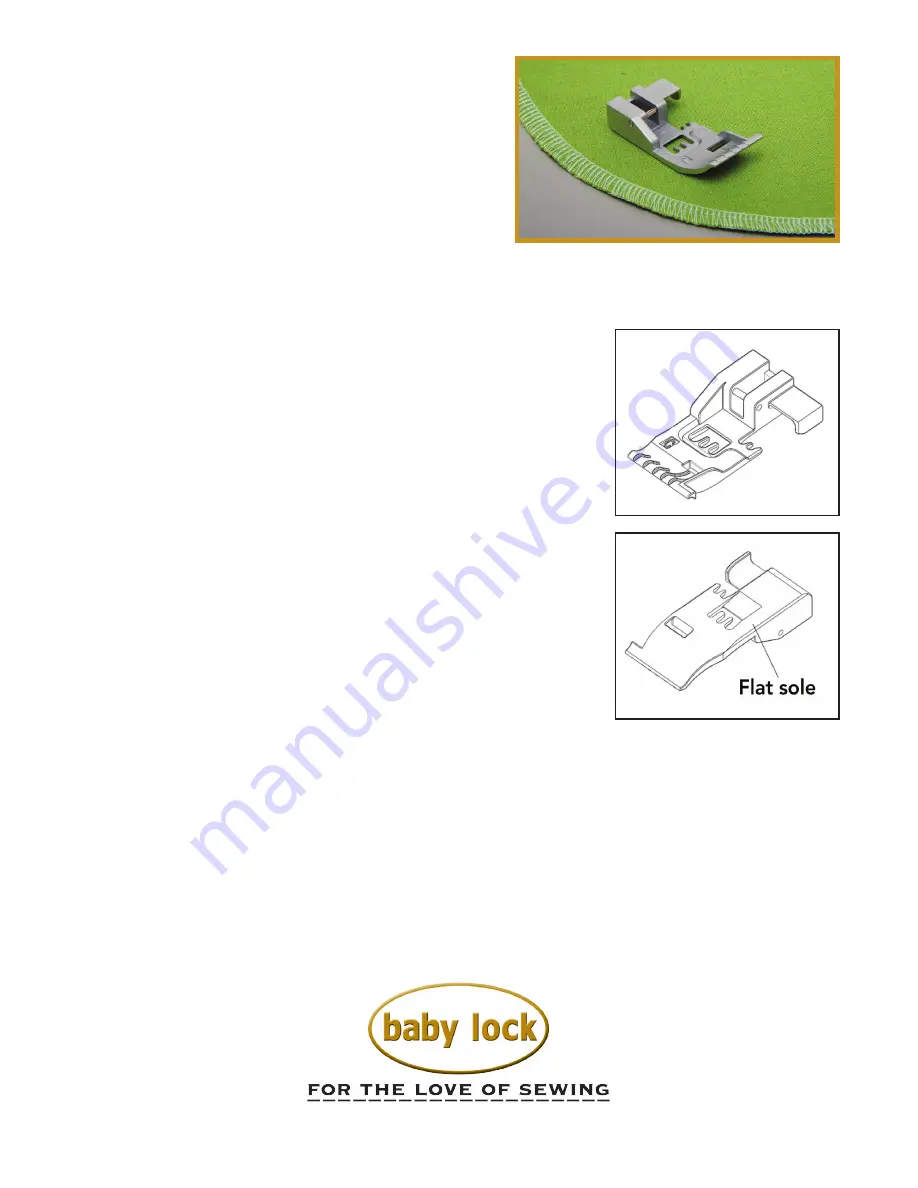
The Curve Foot is short and has a flat sole, making it a good
choice for stitching curves and sewing over cross seams. Its
short size is also good for sewing around cuffs, necklines and
children’s wear using the cover stitches.
MACHINE SETTINGS:
1. Raise the presser foot lever.
2. Lower the cutting blade.
3. Raise the needles to the highest position.
4. Push the presser foot release lever located at the back of the
presser foot holder.
5. Carefully turn the presser foot clockwise 90 degrees.
6. Slide the presser foot to the rear to remove.
TO REpLACE THE pRESSER FOOT:
1. Raise the presser foot lever.
2. Lower the cutting blade.
3. Raise the needles to the highest position.
4. Slide the foot from the left to right.
5. Align the bar of the foot with the groove in the holder.
6. Lower the presser foot lever to snap into place.
Most stitching applications can be used (select one and check
with instruction book for length and width setting for specific stitch
selection). However, the Curving Foot does not work using the
differential feed while serging since the foot does not contact the
feed dogs completely. Also, this foot will not produce chain-off
using the chain stitch.
TO RELEASE THE pRESSER FOOT:
Curving Foot
(BLE8-CVF)
Instructions
www.babylock.com


