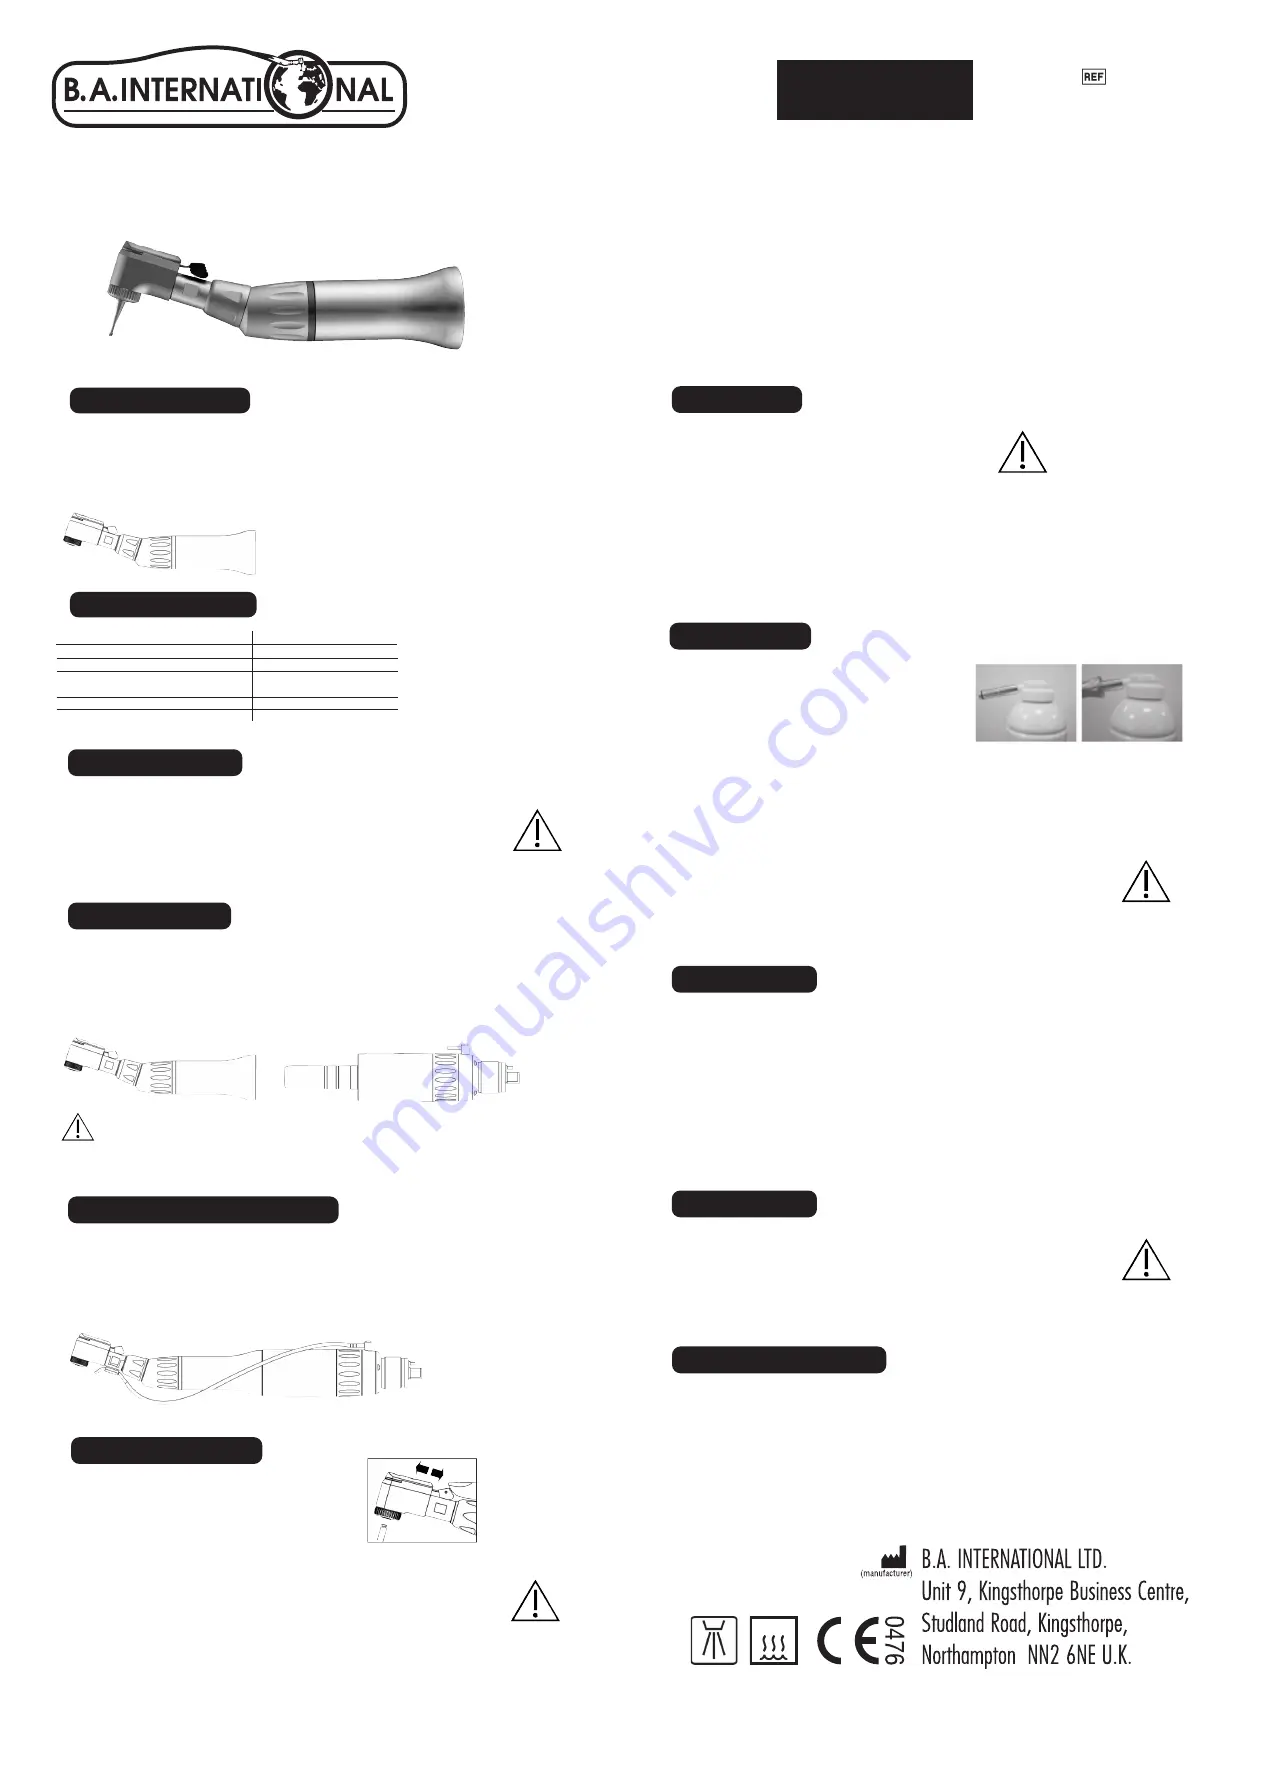
INSTRUCTIONS FOR USE
BA121T
BA-Optima
1. Product
2. Specifications
BA121T optima latch
type Contra-angle
Transmission ratio
Motor coupling
Burs
ISO 1797-1 Type 1(ømm)
Allowable Max. speed (rpm)
1:1
ISO 3964
2.35
25.000
BA121T
Contra-angle
3. Safety Notes
■
The BA121T optima contra-angle are only intended for use within dentistry as
part of dental treatment; any form of misuse or modifications to the product are
prohibited and may cause the product to fail or injure the user / patient.
■ I
f the handpiece is damaged (ie deformed caused by dropping) or improper use
(ie sterilized above suggested temperature), immediately stop using it.
■
Before operation, always make sure the product and its accessories meet the
specified Requirements.
Do not install / remove during the operation!
When water is required at the burr, connect the spray tube attachment to the water supply
nozzle of the motor and connect the other end to the water supply nozzle of the Handpiece.
Trim the tube to the required length.
* The spray tube attachment for Straight handpiece is available as an option.
5. Water and Chip Air Supply
6. Changing Bur
7. Cleaning
8. Lubrication
■
Use BA ultimate spray for maintenance, any unspecified oil not intended for lu-
bricating handpieces could shorten the lifetime and harm human body.
■
Be sure to lubricate the handpieces prior to sterilization and run the handpieces
for 20~30 seconds to emit residual oil and dirt.
■
After unpacking and prior to first use, be sure to lubricate with oil and run the
handpiece in low rotation speed for 30 seconds and in full speed for 10~20 sec-
onds to emit residual oil.
BA International suggest sterilization in accordance with EN13060
• Place handpiece in single-use sterile bag and proceed steam prevaccum sterilization. Do not
open the sterile bag before use.
• Use qualified sterilization equipment specified by the authority/government for sterilization
procedures.
• Do not use chemical steam nor immerse handpiece or part of it in disinfectant solution, oth-
erwise it could damage the handpiece and cause severe consequences.
• Sterilization holding time of a minimum of 4 minutes at 134˚C (drying time is 15 minutes)
ENGLISH
• Spray Air Pressure must
be greater than Water Pressure
and both values need to
be set at the same time
4. Installation
■
Assembly
Push the Contra-angle handpiece onto the motor
and turn it until it engages audibly.
Check the connection to the motor is secure.
■
Removal
Remove the Contra-angle
from the motor by pulling in an axial direction
Contra-Angle Handpiece
1. Push the latch forward and insert the bur to the cen-
ter of spindle and turn it until it snaps to place.
2. Push the latch forward and take out the burr.
■
Use only ISO burs which are in perfect condition (not bent or damaged)
■
Put on protective gloves to reduce the risk of infection, especially do not touch
the used burs without proper protection
■
Do not push the latch while bur is rotating it could harm internal parts or cause
an injury.
■
Make sure the bur is tightly secure before operation otherwise risks of
injury to doctors, patients, or to third party could occur.
■
Contra-angle
■
Put on protective gloves
■
Remove the bur.
■
Remove the Contra-angle handpiece from the motor.
1. Use clean cloth with mild cleaning solution to clean the handpiece / motor surface carefully,
especially groove, and remove the residues.
2. Do not immerse handpiece in disinfectant solution or water.
Not to be cleaned by ultrasonic process.
3. Cleaning solution must be non-erosive and harmless to human. Solution with 80% ethyl alco-
chol is recommended. Please also follow recommendation of the cleaning solution manu-
facturer for suggested usage.
BA International suggest
■
Contra-angle :
1. Put E-type spray nozzle on the oil can.
2. Connect handpiece with the nozzle and injet lubri-
cation oil for 2~3 seconds.
3. Clean and lubricate with BA Ultimate Spray at
least once a day after each treatment or before
high pressure and high temperature sterilization.
9. Sterilization
■
Information in this operation manual was carefully reviewed. We cannot assume
any liability for any damage arising from improper use of this product or from
use of this manual.
■
Products are subject to change without notice.
■
Products must be operated by qualified practitioners and in dental treatment.
Use for other purposes could result in dangers.
10. Disclaimer
All of our products have passed strict QC procedures before delivery. Please note that im-
proper use or not using the recommended parts and accessories or modifying our products
without our approval may shorten the lifetime of the product or cause damage. Please contact
BA International our our approved dealers with proof of purchase for service and any after
sales queries.
11. Quality and Service
Rev.2016/08
9793007
134°C


