15
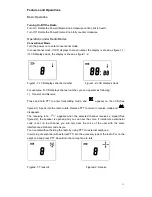
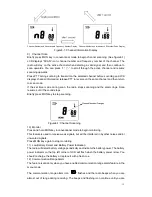
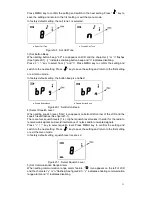
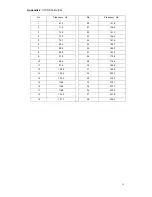
Channel Number and Non-standard Frequency Number Display Channel Number and Interference Eliminator Code Display
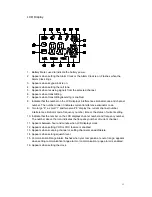
Figure5-1: Channel Information Display
9) Channel
Scan
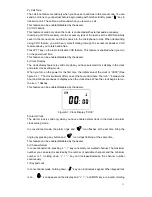
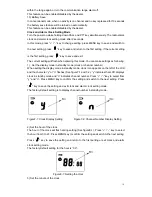
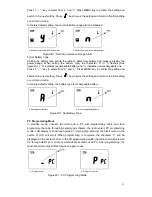
Briefly press MON key in conventional mode to begin channel scanning. (See figure6-1)
LCD displays “SCAN” icon, channel number and frequency number of the channel. The
radio will stay on the active channel when detecting a valid signal and then continue to
scan upwards. You can press “+” / “-” to scroll through the active channel and resume
scanning upwards.
Press PTT during scanning to transmit on the selected channel before scanning and LCD
displays channel information; release PTT to receive on the same channel and then return
to scan mode.
If the set time is due during scan, the radio stops scanning and the alarm rings. Scan
resumes until the sound stops.
Briefly press MON key to stop scanning.
Figure6-1: Channel Scanning
10) Monitor
Press and hold MON key in conventional mode to begin monitoring.
This feature is used to receive weak signals, but will be interfered in by other noises and/or
unwanted signals.
Press MON key again to stop monitoring.
11) Low Battery Detect and Battery Power Indication
The radio will detect battery voltage periodically and indicate the battery power. The battery
power indicator on the top left corner of LCD will flash when the battery power is low. You
should recharge the battery or replace it with a fresh one.
12) Communication Range Alarm
The feature is valid only when you have enabled communication range alarm feature in the
menu mode.
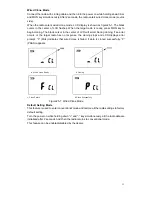
The communication range alarm icon “
” flashes and the radio beeps when you are
almost out of range during receiving. The beeps and flashing icon continue until you are


