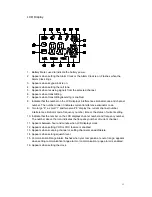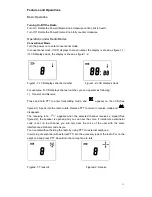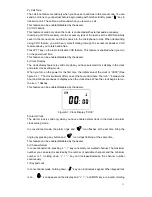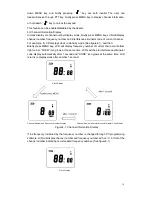
10
Getting Started
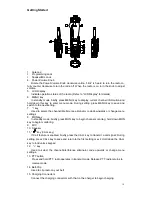
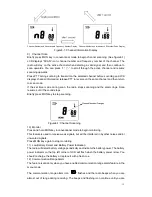
1. Antenna
2.
Programming Jack
3.
Speaker/Mic Jack
4. Power/Volume
Knob
Rotate the Power/Volume Knob clockwise until a “click” is heard to turn the radio on,
fully counter clockwise to turn the radio off. When the radio is on, turn the knob to adjust
volume.
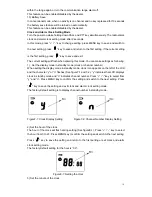
5. LCD
Display
Indicate operation status of the radio. (Refer to “LCD Display” for details)
6. MENU
key
In standby mode, briefly press MENU key to display current channel information and
hold down this key to enter menu mode. During setting, press MENU key to save and
switch to the next setting.
7. “-” key
Used to select the channel/interference eliminator code downwards or change menu
settings.
8. MON key
In standby mode, briefly press MON key to begin channel scanning; hold down MON
key to begin monitoring.
9. MIC
10. Speaker
11. “
”key (CALL key)
If Call feature is enabled, briefly press the CALL key to transmit a call signal; During
setting, press CALL key to save and return to the first setting or exit; Hold down the CALL
key to lock/unlock keypad.
12. “+” key
Used to select the channel/interference eliminator code upwards or change menu
settings.
13. PTT button
Press and hold PTT, radio operates in transmit mode. Release PTT, radio returns to
receive mode.
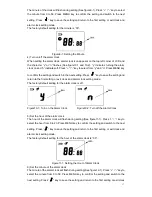
14. Belt-Clip
Used to clip radio on your belt.
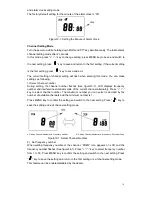
15. Charging Connectors
Connect the charging connectors with that on the charger to begin charging.


