


Room Alert 32E
AVTECH Software, Inc.
31
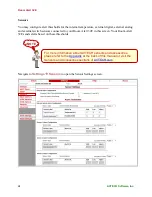
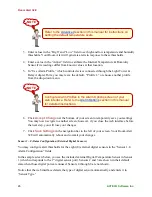
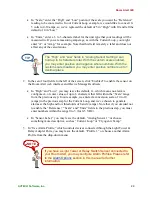
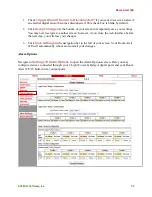
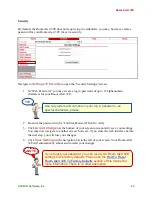
3.
Notice the circuit state of Switch 1. It should show
the normal state, which in this case is “Closed.”
(Ignore the red color coding for now. We haven’t configured the sensor yet, so it’s still
set at the default: alarm on closed.)
4.
Now put the sensor into an alarm state. To put a Motion Sensor into an alarm state, for
example, wave your hand in front of it.
5.
Look at the circuit state at the same time. You should see it switch to the opposite of
normal. In this example, if normal is “Closed,” you
see the alarm state as “Open.” (Again, ignore the
green color coding for now.)
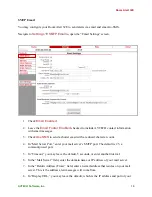
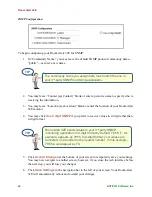
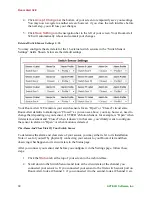
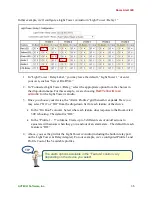
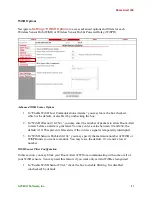
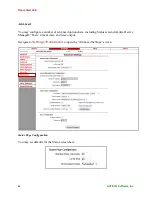
Now that you’ve checked what “Open” and “Closed” mean on your switch sensor, navigate to
Settings
Sensors
to configure your options in “Switch Sensor Settings”:
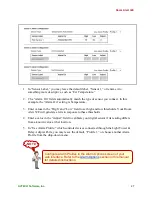
1.
In “Sensor Label,” you may leave the default, “Switch 1” (2, 3 or 4) or enter something
more descriptive, such as “Ext Motion” or “Main Entry.”
2.
In “Alarm On,” select the alarm state (“Open” or “Closed”), which you determined on
the “Status” page. In our example, the alarm state is “Open.”
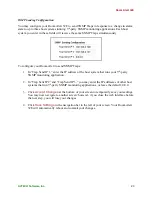
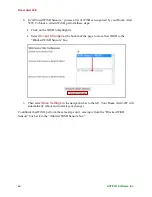
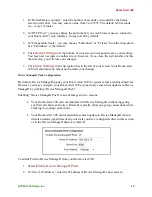
3.
In “Use Alarm Profile,” which controls devices connected through the Light Tower &
Relay Adapter Ports, you may leave the default, “Profile 1,” or choose another Alarm
Profile from the drop-down menu.
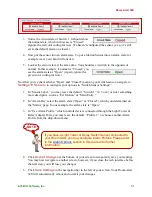
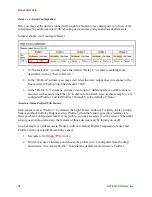
4.
Click
Accept Changes
at the bottom of your screen to temporarily save your settings.
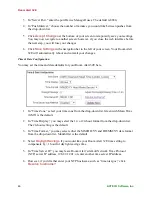
You may now navigate to another screen; however, if you close the web interface before
the next step, you will lose your changes.
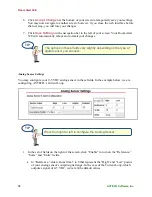
5.
Click
Save Settings
in the navigation bar to the left of your screen. Your Room Alert
32E will automatically reboot and commit your changes.
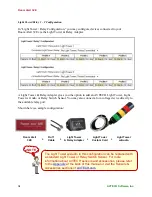
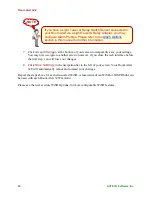
If you have a Light Tower or Relay Switch Sensor connected to
your Room Alert, you may configure Alarm Profiles. Please refer
to the
Alarm Options
section in this manual for further
information.
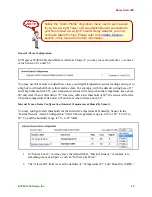
NOTE