-2-
Note:
Due to panel position difference, please place the vertical panel sticker on the removed controller
for operation convenience.
5)
(Menu)
Press this button to enter / exit the quick start menu.
Under the sub-layer of the advanced setting menu,
use this button to confirm the settings and go back to the upper layer.
6) LIVE
Press this button to stop the playback and return to the live mode.
7)
/
/
/
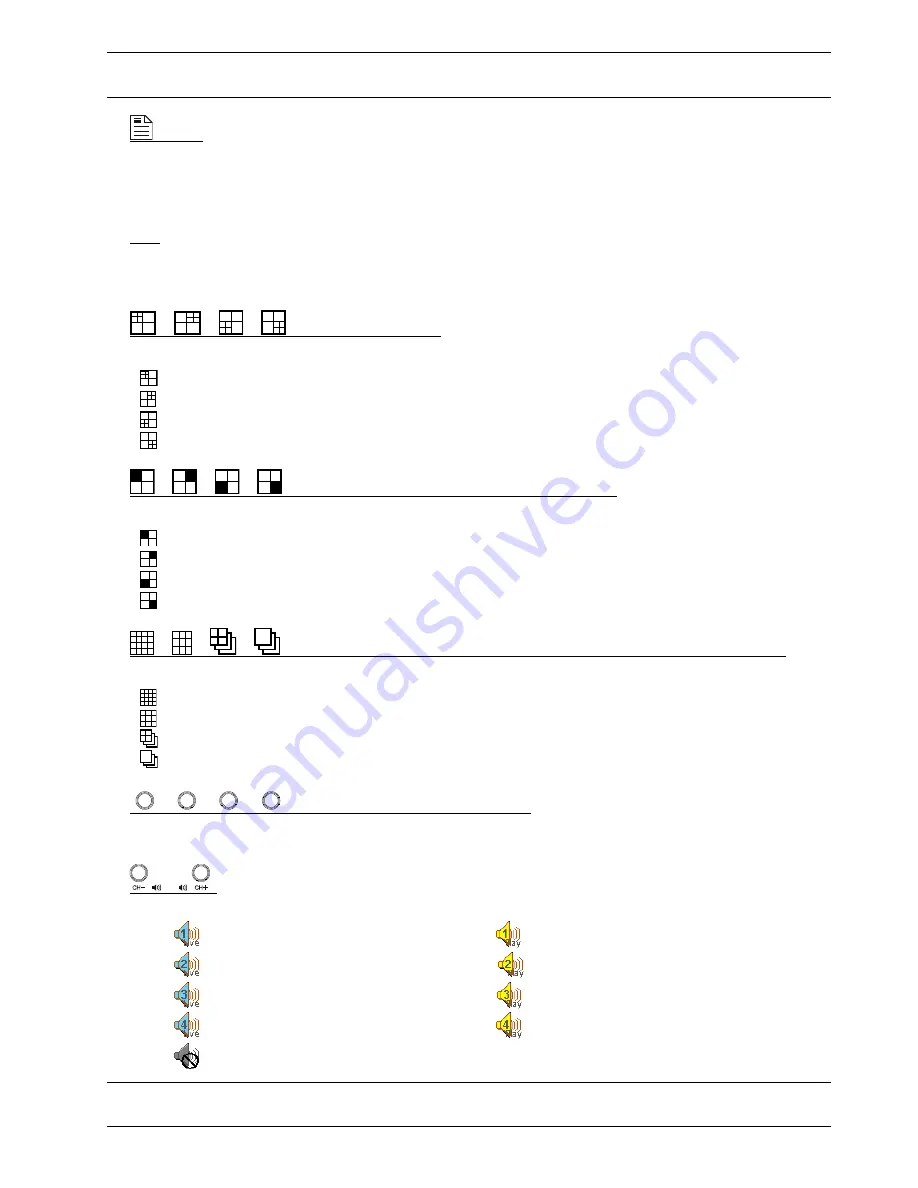
(Quad display selection)
Under the live or playback mode, press one of these four buttons to select the quad display mode.
: Display
Quad 1
mode (4-cut view of CH1, CH2, CH5 and CH6).
: Display
Quad 2
mode (4-cut view of CH3, CH4, CH7 and CH8).
: Display
Quad 3
mode (4-cut view of CH9, CH10, CH13 and CH14).
: Display
Quad 4
mode (4-cut view of CH11, CH12, CH15 and CH16).
8)
/
/
/
(Single channel selection under quad selection mode)
In the quad display mode, press one of these four buttons to select the channel display.
: Display the
upper left
channel of the selected quad mode.
: Display the
upper right
channel of the selected quad mode.
: Display the
lower left
channel of the selected quad mode.
: Display the
lower right
channel of the selected quad mode.
9)
/
/
/
(16-cut channel display / 9-cut channel display / Quad Sequence / Full Sequence)
Press one of these four buttons to switch the channel display or to activate the sequence mode.
: Display
16-cut display
.
: Display
9-cut display
.
: Press this button to activate the
Quad Sequence
mode and press the button again to exit.
: Press this button to activate the
Full Sequence
mode and press the button again to exit.
10)
1
2
3
/
4
5
6
/
7
8
9
/
0
A
B
(Number buttons for password entering)
Use these four buttons to enter the DVR password.
11)
/
Use these two buttons to select the live or playback sound of the audio channels.
Icon “
” means: Live audio of the 1
st
audio channel / Icon “
” means: Playback audio of the 1
st
audio channel
Icon “
” means: Live audio of the 2
nd
audio channel / Icon “
” means: Playback audio of the 2
nd
audio channel
Icon “
” means: Live audio of the 3
rd
audio channel / Icon “
” means: Playback audio of the 3
rd
audio channel
Icon “
” means: Live audio of the 4
th
audio channel / Icon “
” means: Playback audio of the 4
th
audio channel
Icon “
” means: The audio channel is not selected.
Note:
If you want to make a video backup with audio, please connect audio cameras to the channels
which support the audio function (CH13, CH14, CH15 and CH16).


