INSTALLATION & SETUP
-6-
STEP 2: Push the decoration covers to the camera to lock.
When the camera is mounted, find the supplied 3 decoration covers in the accessory package, and push
them to the camera to lock as shown below.
STEP 3: Connect the power, video, audio, RJ11, RJ45 connectors.
Please refer to Step 4 in “2.2 Install the Hardware (For AVI322 / 321)”.
2.4 Log In and Access the Camera
Step 1. Install the Software.
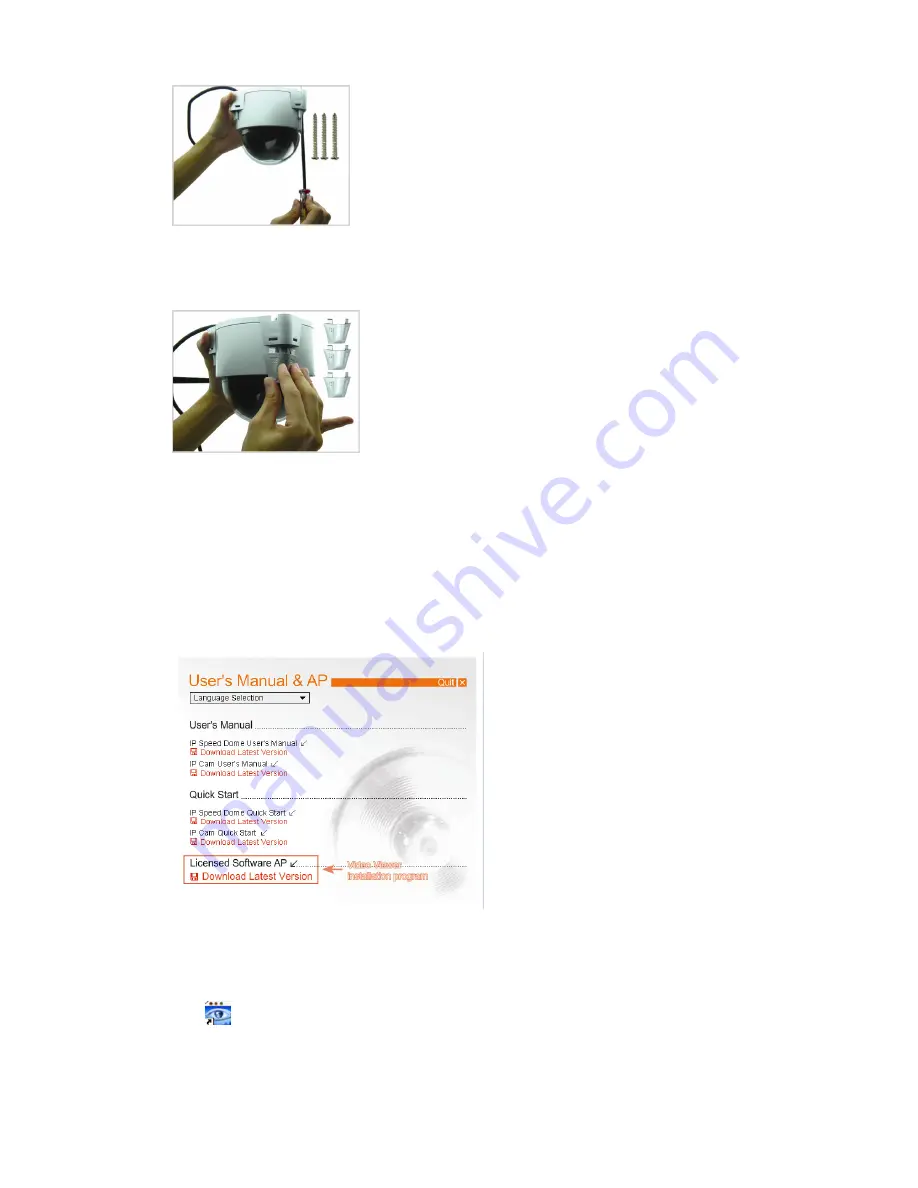
a) Place the supplied CD into your CD-ROM or DVD-ROM drive. The program will be automatically run.
b)
Click “Licensed Software AP” to install Video Viewer, or click “Download Latest Version” under “Licensed
Software AP” to download the latest version of Video Viewer from the Internet.
c)
Follow the on-screen instructions to finish the installation. When the installation is completed, a shortcut
icon “
” will be placed on your PC desktop.
Step 2. Connect the network camera to the Internet via a RJ-45 network cable.
Step 3. Enter the IP address of the camera for login.
There are two ways to enter the IP address of the camera as follows:


