


AP MISCELLANEOUS CONTROL PANEL
-28-
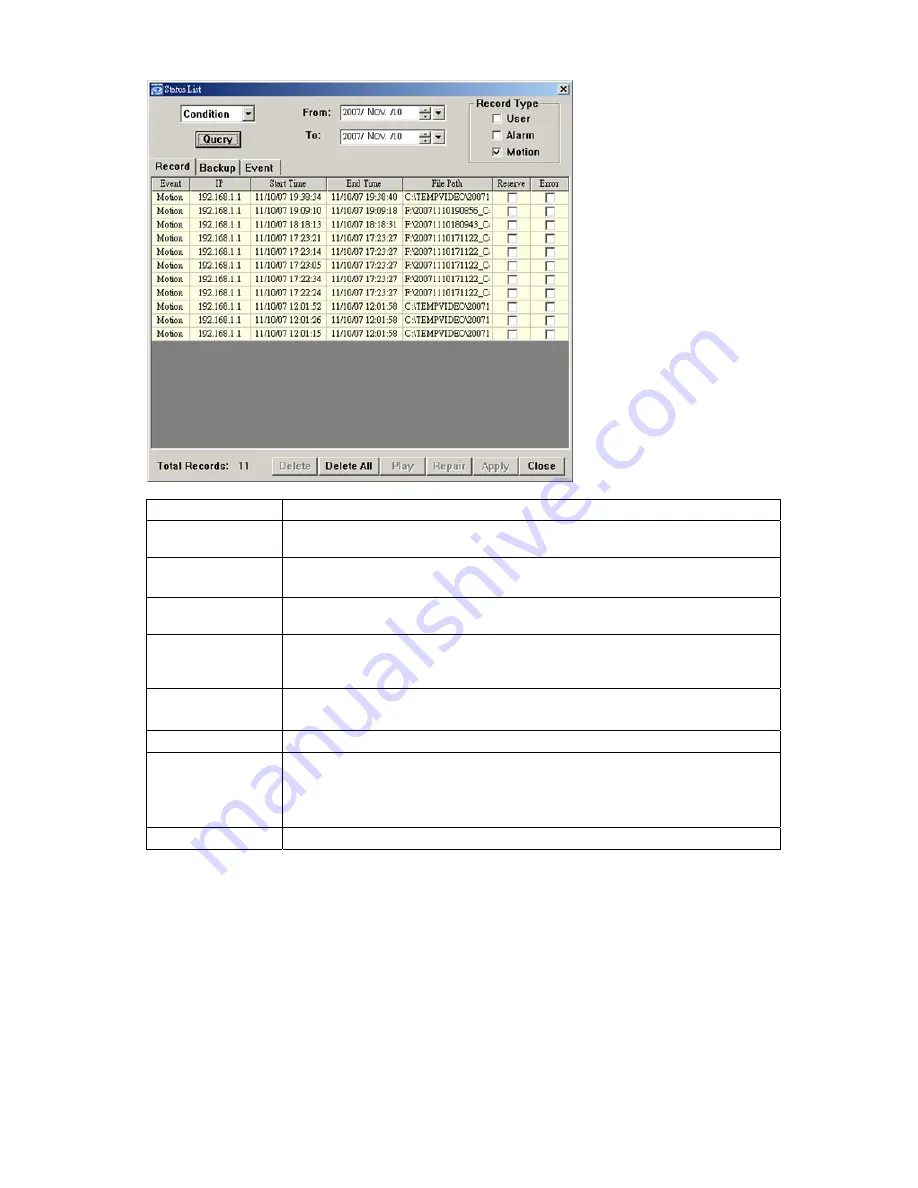
‧
Condition
Button / Function
Description
Date Selection
(From / To)
Choose the specific date range including the event / record logs you might want.
Record Type
This section is enabled only when the “Record” tab is selected.
Select the record type you want to search (User / Alarm / Motion).
Query
When all the search criteria are set, click to search the specified logs. The result will be
displayed in the log list, arranged by time from the latest to the earliest.
Delete / Delete All
Click “Delete” to remove the selected log(s), or click “Delete All” to clear the current log list.
Tip:
To select more logs all at once, press and hold the “Ctrl” key on your keyboard, and click
to select the logs you want to remove.
Play
Click to play the selected record log. The playback panel will be shown for your further
operation. For playback details, please refer to “Playback Screen” at page 31.
Repair
Click to fix the log with errors.
Apply
This button is available in the “Record” tab when the “Reserve” checkbox is checked or
unchecked.
If you want to keep an important record log for future reference and it can’t be removed, check
the “Reserve” checkbox, and click “Apply”. The selected log will be kept and won’t be deleted
when somebody accidentally or intentionally chooses it and click “Delete” or “Delete All”.
Close
Click “Close” to quit this window.


