41
Video Settings
Use the controls in the Video Settings Menu to calibrate each display input to achieve optimum picture quality.
Connect your test pattern source to the input that you are calibrating and proceed as follows.
Perform the adjustments in the order listed here.
Scheme:
Select Scheme from the Video Settings menu, then press
◄ or ► to select one of four image
quality presets (Vivid, Cinema, Game or Sport) depending on the type of program material you
are viewing. These presets automatically adjust the other image settings for optimal image
quality. Or, select User to adjust Brightness, Contrast and other settings manually.
Brightness:
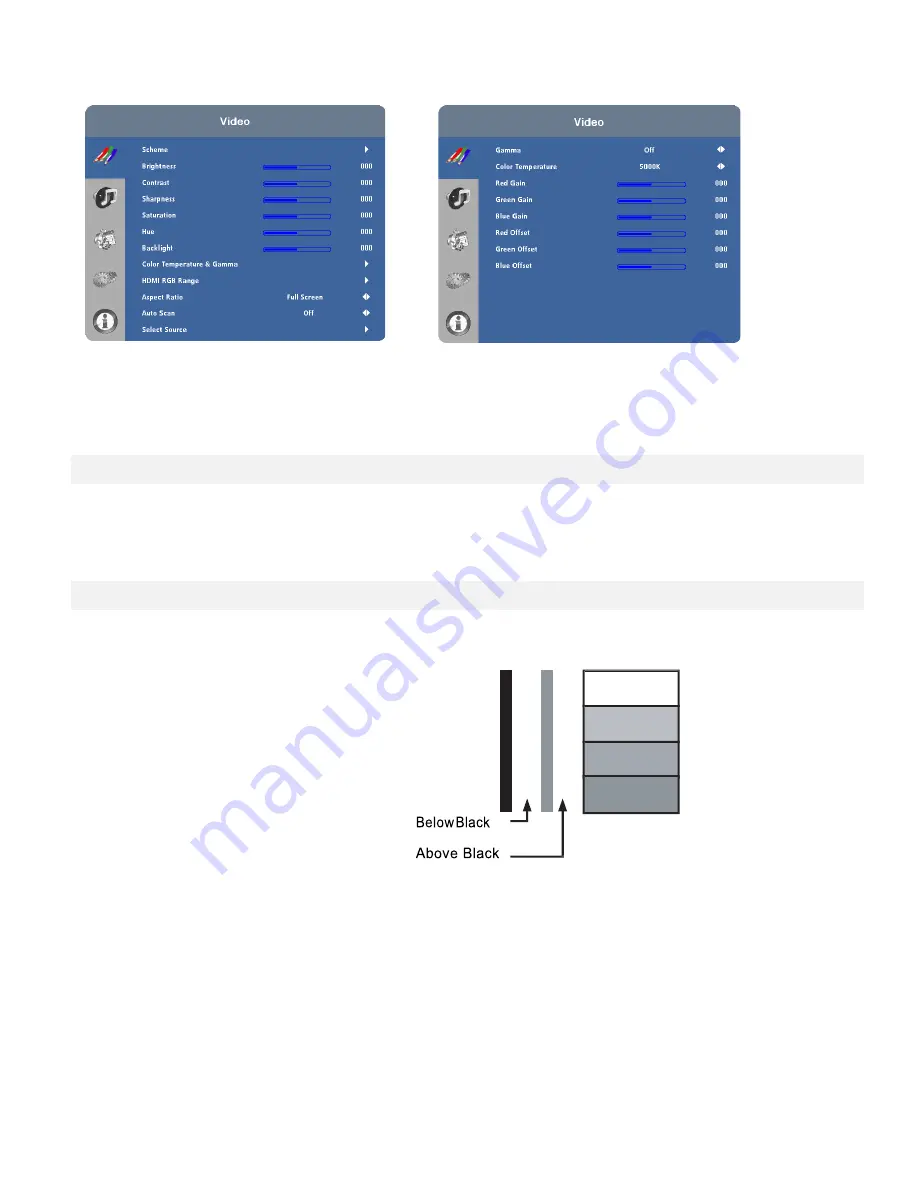
On your external test pattern source, select a PLUGE pattern. (PLUGE is an acronym for “Picture
Line-Up Generation Equipment.”) Figure 4-2 shows a typical PLUGE pattern.
Figure 4-2. Typical PLUGE Pattern for Adjusting Brightness
PLUGE patterns vary but generally consist of some combination of black, white and grey areas
against a black background. The example above includes two vertical bars and four shaded boxes.
Select Brightness from the Video Settings menu and press
◄ or ► to adjust the brightness so that:
•
The darkest black bars disappear into the background.
•
The dark grey areas are barely visible.
•
The lighter grey areas are clearly visible.
•
The white areas are a comfortable level of true white.
•
The image contains only black, grey and white (no colour).
Содержание AVF-6500 Series
Страница 10: ...10 Notes...
Страница 14: ...14 Notes...
Страница 18: ...18 Notes...
Страница 66: ...66 Notes...
Страница 71: ...71 Notes...
Страница 74: ...74 Appendix III Wall Mount Safety Notes...
Страница 75: ...75...
Страница 78: ...78 System IP Configuration Network Status Load Default Setting...
Страница 79: ...79 Firmware Update Boot Loader Upgrade...
Страница 84: ...84 Reset Device Reset NET2UART module...


