Avery Weigh-Tronix RD40RF Скачать руководство пользователя страница 18

 16

RD40RF Remote Display User Instructions

4.2  Access the RD40RF Configuration Menu

To access the configuration menu, follow these steps:

1.

From the G/N mode, press and hold  the 

HOLD/MENU

 key for three beeps (3 

seconds), then release…

SET.PAS

 is displayed.

2.

Use the numeric entry procedure, shown at left, and enter the password 640, 
then press the 

PRINT/SELECT

 key to accept it …

RD40RF

 is displayed.

3.

Press the 

PRINT/SELECT

 key…

RS232

, the first menu item, is displayed.

Use the menu navigation legend below to move through the menu and set your choices 
for the parameters shown in the menu in 

Figure 4.1

Menu Navigation

HOLD

MENU

G/N

PRINT

SELECT

Selects displayed option and 
moves up/down in menu structure

Moves right in the menu structure

Moves up in the menu structure
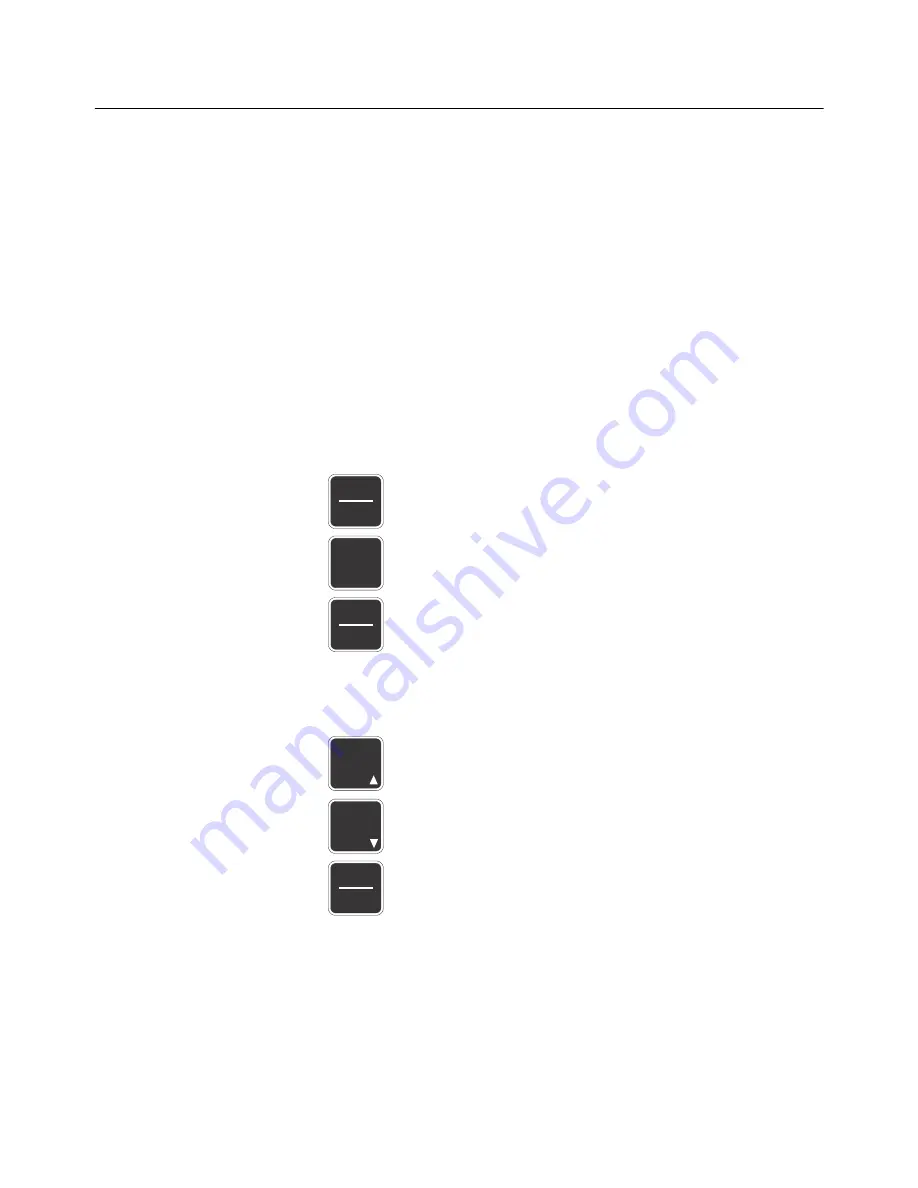
Numeric Entry

RM

HOLD

MENU

M+

Press this key to enter a value
on the screen and increment 
the value being entered

Press this key to decrement
the numeric value being entered

Press this key to move the 
numeric entry cursor one position
to the right

The RS232 section of the menu is only used for special applications. You need to 
choose what form of communication your situation requires and set up your system 
accordingly. Each type is explained in section 

4.3

 and refers to the menu in 

Figure 4.1


under the CONF.RF (configure RF) menu item.

Содержание RD40RF

Страница 1: ...RD40RF Remote Display Agricultural Remote Display User Instructions 43122 0011 Issue AB May 2013...

Страница 2: ...er license Full acknowledgment of the source must be given Avery Weigh Tronix is a registered trade mark of the Avery Weigh Tronix LLC This publication was correct at the time of going to print howeve...

Страница 3: ...ns 8 Setting the Backlight Operation 9 Entering Viewing the Audible Keypad Setting 10 Interface with a 640 Series Indicator 11 RD40RF Operation 11 Using with the 1040 2040 Series Indicators 12 RD40RF...

Страница 4: ...or soft keys Displayed messages appear in bold italic type and reflect the case of the displayed message 1 1 2 Special Messages Examples of special messages you will see in this manual are defined bel...

Страница 5: ...ing DOs and DON Ts DO DO NOT Wipe down the outside of standard products with a clean cloth moistened with water and a small amount of mild detergent Attempt to clean the inside of the machine Use hars...

Страница 6: ...4 RD40RF Remote Display User Instructions 1 7 Declaration of Conformity CE approval...

Страница 7: ...Interference Regulations of the Canadian Department of Communications Le pr sent appareil num rique n met pas de bruits radio lectriques d passant les limites applicables aux appareils num riques de...

Страница 8: ...ddition these indicators must be fitted with the factory installed RD40RF option or the field installed RM 200 Transceiver A RS 232 serial port must be available to connect the RM 200 After installati...

Страница 9: ...mer then plugs into the 10 17VDC 2 pin connector on the bottom of the RD40RF Front End Loader or Combine When installing into a front end loader than a 10 17 VDC power cable is included simply wire th...

Страница 10: ...del 640 but has only a 2 pin 10 17 VDC connector and an antenna on the bottom of the indicator See Figure 3 1 RAM MOUNT STANDARD V MOUNT PRINT SELECT HOLD MENU G N TARE M RM ON OFF CLEAR ZERO kg Auto...

Страница 11: ...ight operation 1 From the G N mode press and hold the HOLD MENU key for two beeps 2 sec then release A LIST is displayed 2 Press the HOLD MENU key repeatedly until BKLGHT is displayed 3 Press the PRIN...

Страница 12: ...d 10 Press G N key twice BKLGHT is displayed 11 Press the G N key Indicator returns to the G N mode 3 3 Entering Viewing the Audible Keypad Setting The Model RD40RF keys have audible feedback that can...

Страница 13: ...full control of the Model 640 from the seven keys on the RD40RF 3 4 1 RD40RF Operation Once the system has been properly programmed check the operation observing the following l The wireless RD40RF s...

Страница 14: ...assembly to communicate with the RD40RF If there is another RD40RF remote used in the area and is interfering then the setting must be changed To find out what settings are recommended please contact...

Страница 15: ...nload routine is started The display shows 0 Load the weight of the first ingredient When the target is met press TARE again if there are more ingredients to load To view the gross weight during the l...

Страница 16: ...0 Service manual on how to turn on off serial ports 3060 default Comm port settings for the RD40RF l Baud 9600 l Data Bits 8 l Parity None l Stop Bits 1 l Handshake None l Power ON Pressing the HOLD k...

Страница 17: ...RD40RF Remote Display User Instructions 15 4 Wireless Configuration 4 1 Configuration Menu Figure 4 1 shows the configuration menu for the RD40RF Figure 4 1 Configuration Menu...

Страница 18: ...parameters shown in the menu in Figure 4 1 Menu Navigation HOLD MENU G N PRINT SELECT Selects displayed option and moves up down in menu structure Moves right in the menu structure Moves up in the men...

Страница 19: ...s User can access on the RD40RF which RF scale channel which scale the RD40RF will communicate with when selected RF 01 through RF 10 For proper SPT PT operation the RD40RF s and the Model 640 indica...

Страница 20: ...nfigured for network scale ID 1 4 4 Viewing or Changing the Active RF Channel The user can select the proper RF channel scale specific that the RD40RF will communicate with so if there are multiple sc...

Страница 21: ...fy the settings have been configured properly l If the RF system still does not operate contact the Avery Weigh Tronix Service Department at Phone 1 800 458 7062 1 507 238 4461 If the product needs to...

Страница 22: ...20 RD40RF Remote Display User Instructions...

Страница 23: ......

Страница 24: ...4461 Fax 507 238 4195 Email usinfo awtxglobal com www agscales com Avery Weigh Tronix UK Foundry Lane Smethwick West Midlands England B66 2LP Tel 44 0 8453 66 77 88 Fax 44 0 121 224 8183 Email info aw...

Отзывы: