


35146AR
48
Add Camera(s) to the Timeline Search Viewing Pane
When the Search Screen is opened, the cameras that were in the Viewing Pane in the Live Screen will appear,
however, cameras can be arranged separately in the Search Screen to facilitate the desired search.
To add cameras to the Search Screen:
1. In the Search Screen, click a camera in the
Camera List
.
—OR—
2. Click and drag a camera from the camera list to the
Viewing Pane
.
Customize the Camera Tile Layout
Changing the layout of the viewing pane allows for viewing multiple cameras. All cameras will begin playback of
recorded video at the time designated on the horizontal Timeline Search Bar.
1. Click the
Grid
button.
2. Click on the desired grid.
3. Assign the available cameras to the desired camera tiles.
Perform a Timeline Search
Customize the camera tile grid in the Search Screen Viewing Pane if desired.
Select a Date (and Time) from the
Timeline Search Date Picker
.
On the Preview Search Bar, click the
Timeline Search Date Picker
.
Select the desired
Date (and specific time)
, and then the timeline will update
automatically.
Use the
Play/Pause, Stop, Play Forward/Backward
, and
Skip Forward/Backward
playback controls to control video playback during your search.
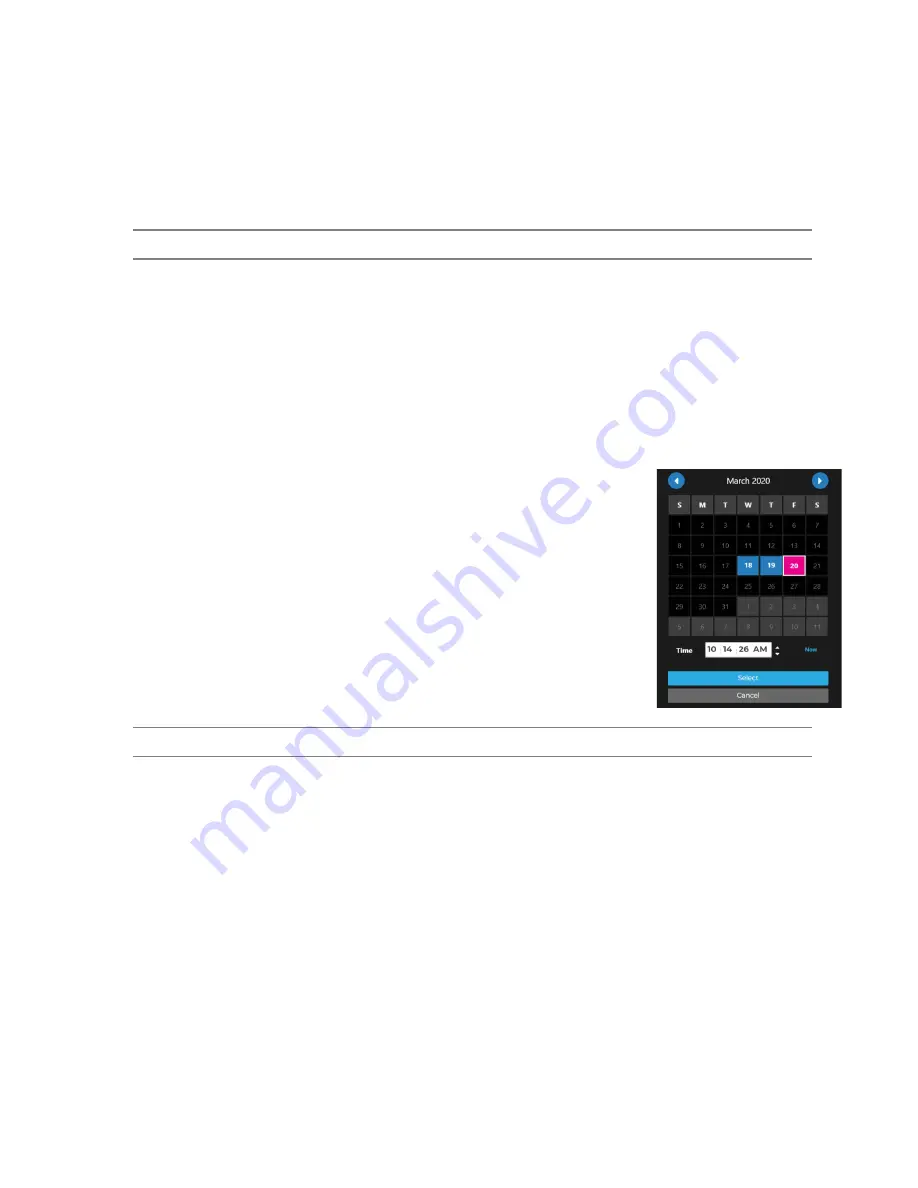
Perform a Timeline Date/Time Search
1. Customize the camera tile grid in the Search Screen Viewing Pane if desired.
2. In the Search Screen, click the
Date / Time Picker
.
3. Select a
date
from the calendar, and then designate a
time
if desired.
4. Click
Select
.
5. Click
Play
.
Note
To automatically update the time, click
Now
. To automatically exit the Date/Time Search, click
Cancel
.


