AL37219C-EVB-A2-User Manual-1.1-20090327
©2008-2009 Copyright by AverLogic Technologies, Corp. 14
4.7 Auto Sequence Submenu
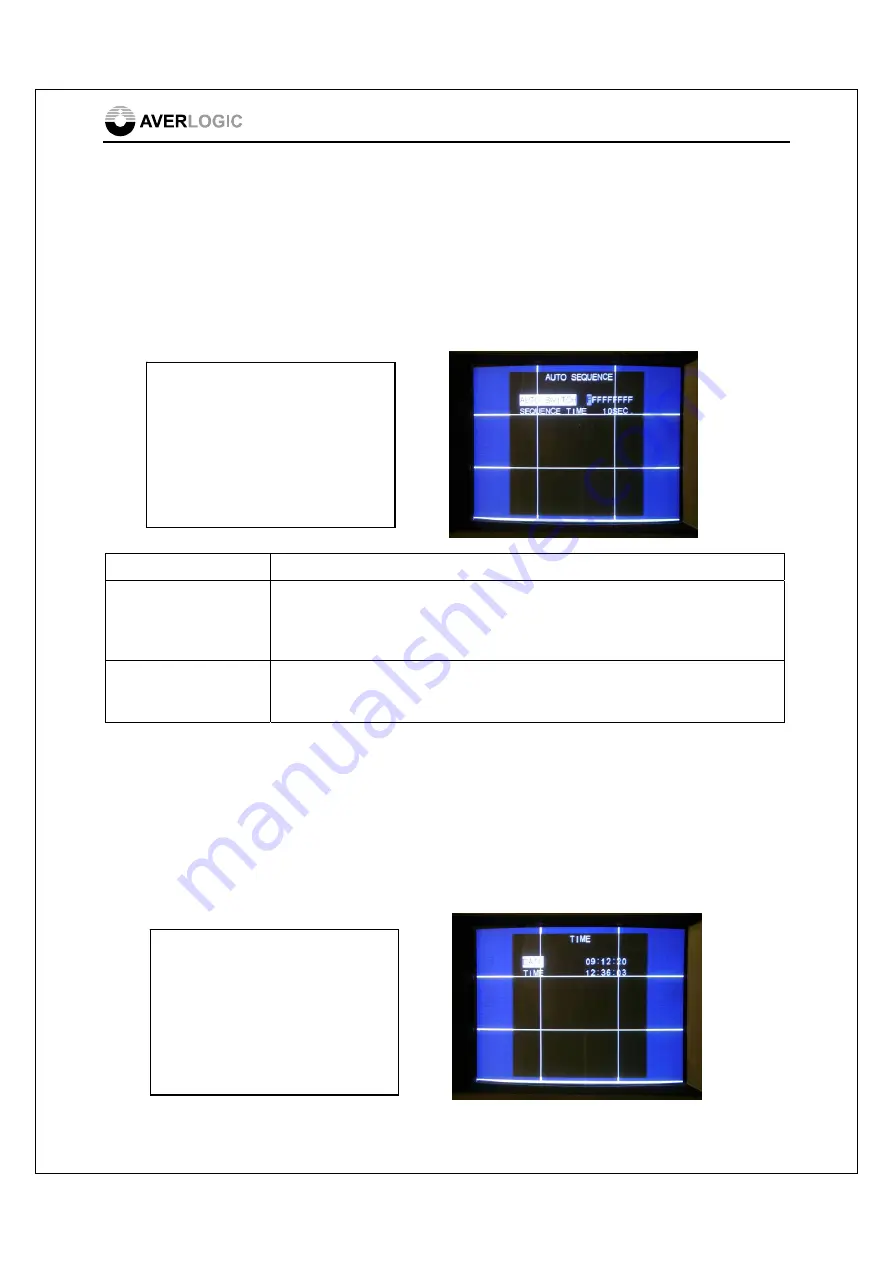
The Auto Sequence function allows you to automatically display video from different
cameras in sequence, one after the other, in full screen mode. The Auto Sequence
camera images to be displayed can be configured in this OSD menu item. Once you
have entered the Auto Sequencing sub menu, use the UP/DOWN keys to select
between the two configuration line items.
Option Description
Auto Switch
The nine option fields in this configuration item represent the nine cameras in
order (1-9). Use the FREEZE key to tab through the 9 camera fields. If you
want a particular camera image to be included in the Auto Sequence display
mode, toggle the camera’s option field from “F” to the camera number.
Sequence Time
This represents the time interval, during Auto Sequencing, before
changing to the next camera in sequence. Use the LEFT or RIGHT keys
to adjust the time interval.
4.8 Time Submenu
The Time Submenu allows you to set the date and time for the board. Use the
UP/DOWN keys to toggle between
Date
and
Time
. Once you have highlighted the
configuration line item (Date or Time), use the FREEZE key to tab through the
different option fields (e.g. YY, MM or DD). Once you have highlighted a specific field,
use the LEFT/RIGHT keys to adjust the field.
AUTO
SEQUENCE
AUTO SWITCH
1 2 3 4 F 6 7 8 F
SEQUENCE TIME
10 Sec.
TIME
DATE 08:02:20
TIME 12:05:48


