7(18)
6.
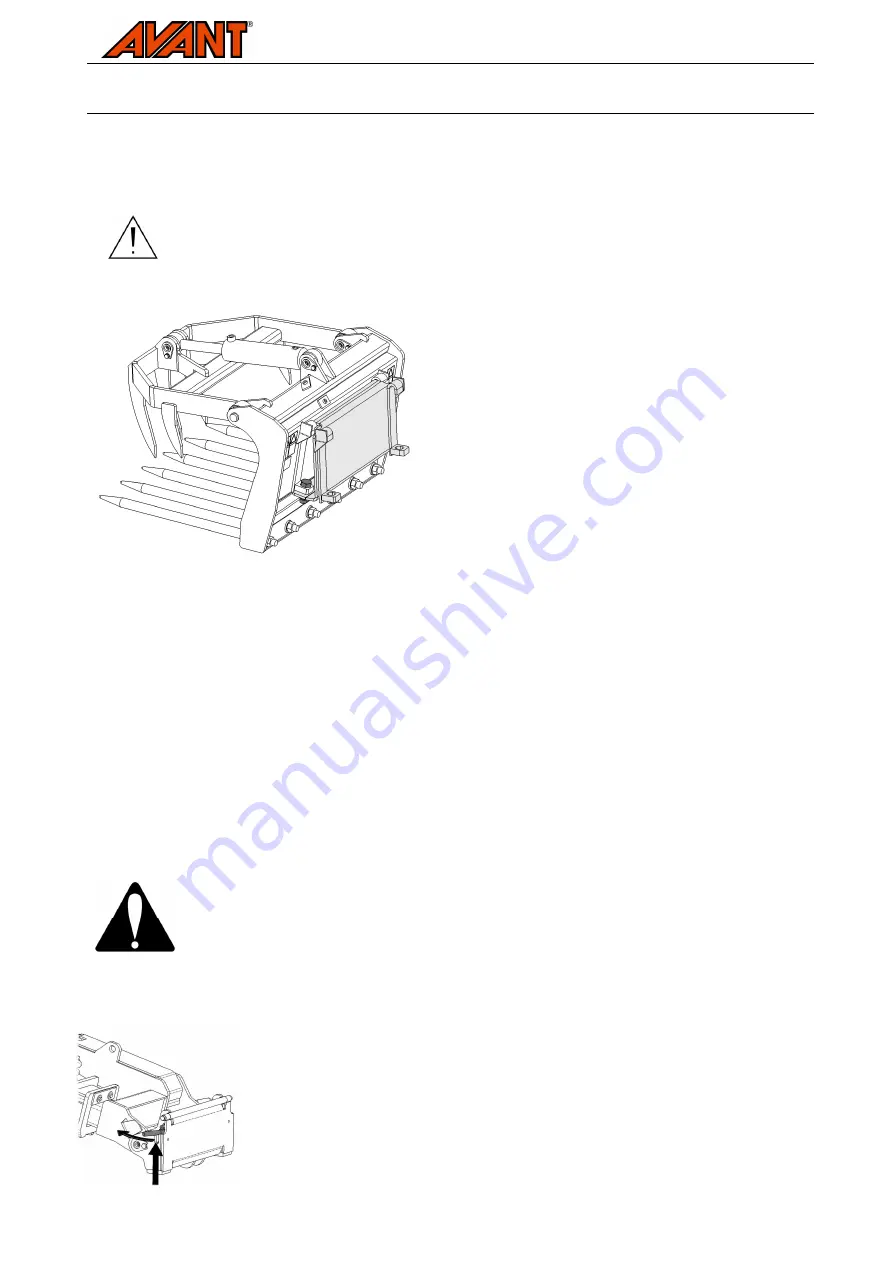
Assembling the silage forks
Attach the silage forks to the loader as shown in the instructions below. The attachment should be attached
to the loader to make it easier to assemble the hydraulic kit. If the hydraulic components are already
installed, the section 6.2 in this manual can be omitted.
The adapter A34037 must be fitted, when the silage forks are used with a 500-, 600- or
700-series loader to limit the down tilting range of the silage forks. If used without the
adapter, the boom tilting range allows the silage fork tines to hit the front tyres of the
loader, and the wheels will get damaged.
Attach the adapter to the silage forks with the
provided screws. Tighten securely and check the
tightness regularly. Contact your AVANT-dealer if
you need the adapter.
6.1.
Attaching the silage forks to the loader
Attaching the silage forks to the loader is quick and easy, but it must be done carefully. If the attachment is
not locked to the loader, it may fall from the loader and cause hazardous situations. In the worst case, the
attachment may slide to the driver’s area along a raised boom. For this reason, the attachment must under
no circumstances be lifted or moved when it has not been locked. To prevent hazardous situations, always
follow the instructions provided in the following pages. Also remember the safety instructions in Chapter 3.
These instructions are applicable to mounting the silage forks to the boom quick attach plate
of AVANT loaders that have standard quick attach locking. If your machine is equipped with a
hydraulic locking, refer to the relevant manuals for additional mounting instructions.
The attachment is attached to the AVANT loader boom quick attach plate and the counterpart on the
attachment. The locking is semi-automatic; the locking latches are released as the locking pins hit the pin
guides when the boom front plate is tilted towards the loader.
Never move or raise an attachment that has not been locked.
The attachment is attached to the loader as follows:
Step 1:
•
Lift the quick attach plate locking pin / locking pins up and turn them backwards
into the slot so that they are locked in the upper position.
•
If your loader is equipped with a hydraulic attachment locking system, see
additional instructions about the use of the locking system from the relevant
manuals.
•
Ensure that the hydraulic hoses are not in the way during installation.
Содержание A2868
Страница 18: ......


