background image

20

O

p

e

ra

ti

o

n

21

O

p

e

ra

tio

n

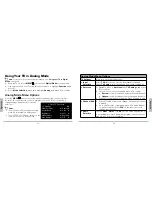
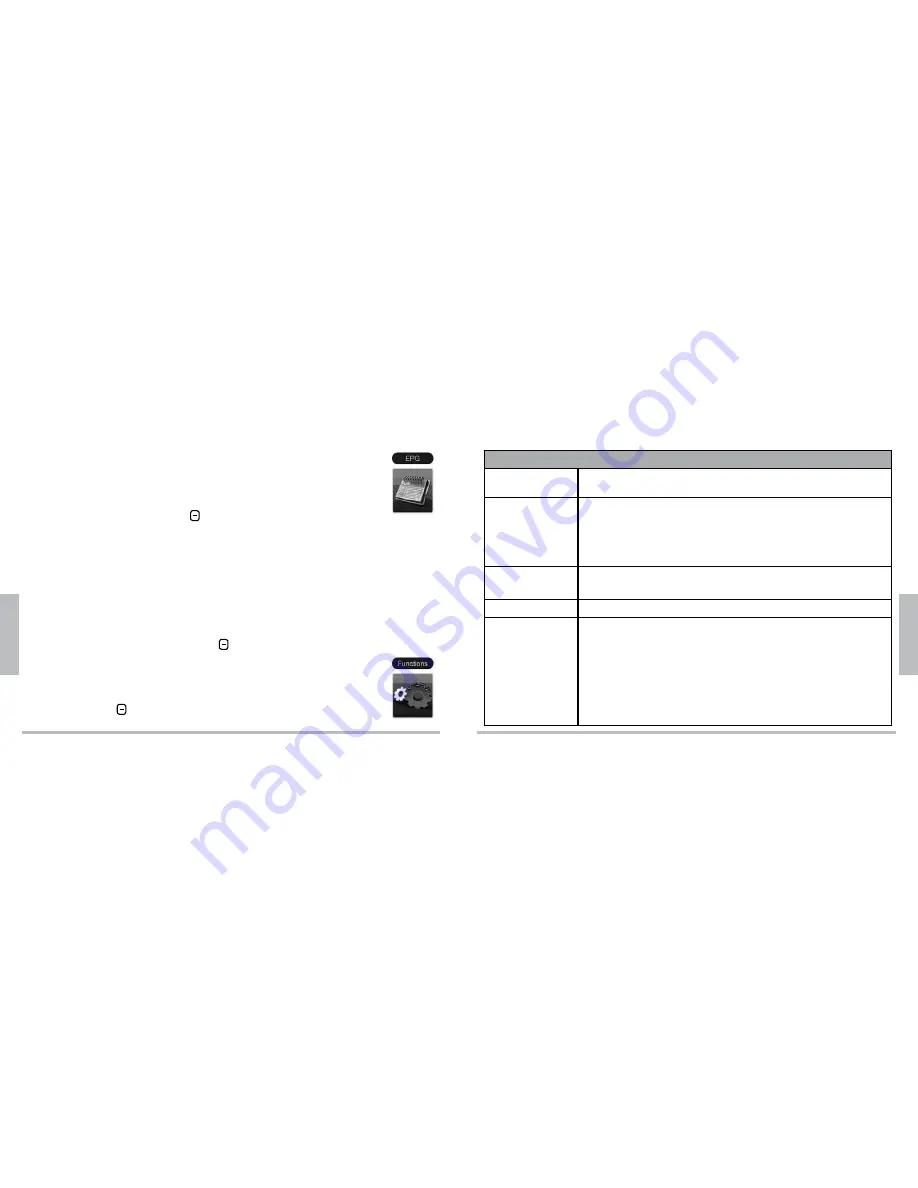
Using the Electronic Program Guide (EPG)

The EPG gives an overview of the available programs and shows 

program names, starting and ending times, and detailed information. 

(Availability and amount of program details depend upon broadcasters.)

1.

  Select 

EPG

 from the 

MENU

   or press 

EPG

 on your remote. 

2.

  Use 


 to navigate through the EPG menu. Press 

 to view detailed 

program information.

Notes: 


„

Time Zone must be set to get correct EPG times. See the “

Functions

“chart on page 22.


„

Detailed EPG information is only available for over-the-air digital broadcasts; not cable or 

analog.

Setting up Functions

1.

  Select 

Functions

 from the 

MENU

   to enter setup for twelve submenus. 

2.

  Use the joystick or 


 on your remote to navigate to the submenus. 

3.

  Press 

 to enter specific settings in each submenu.

4.

  Use 


 to change settings, and press 

 to save.

5.

  Press 

MENU

   to exit.

Functions

Brightness

Select desired brightness from 0% to 100%. Brightness affects 

battery consumption. Dimmer settings extend battery life.

Mode Selection

Select 

Analog

Digital

, or 

External Input

. Press 

 to cycle 

through options, and press 

 to go to the selected mode.


„

Analog

 and 

Digital

 both allow input selection for 

TV Air


and 

TV Cable

, explained below. 


„

External Input

 does not allow for Input Selection.

Input Selection

Select 

TV Air

 to receive over-the-air broadcast channels.

Select 

TV Cable

 to receive channels from cable companies.

Closed


Caption

Select a caption option: 

CS 1-6

CC 1-2

TEXT 1-2

, or 

OFF

.

Aspect Ratio

Select 

Auto

16:9

, or 

4:3

.


„

Auto

 defaults to original broadcast format in Digital mode. 


„

16:9

 stretches the picture to fill the screen, sometimes 

resulting in distortion.


„

4:3

 shrinks the picture and adds black bars on the sides

Note: 

Pressing and holding 

 changes the Aspect Ratio temporarily.

When you turn the TV off, the Aspect Ratio setting will revert to the option 

as last selected or used in the 

Function

 or 

Hot menu

.

Содержание Auvio 16-923

Страница 1: ...XX XXX User s Guide Please read this User s THE PERFORMANCE YOU NEED TM 7 High Resolution Portable Digital TV Please read this user s guide before using your new TV User s Guide 16 923 ...

Страница 2: ... 15 Connecting an External Antenna 16 UsingYourTV in Digital Mode 17 Searching for Channels 18 Verifying Digital Signal Strength 19 Editing Channels 19 Using the Electronic Program Guide EPG 20 Setting up Functions 20 HOT Menu 23 Viewing Current Channel Information 25 UsingYourTV in Analog Mode 26 Analog Mode Menu Options 26 View Channel Information 29 Connecting an External Video Audio Device 30 ...

Страница 3: ...uctions Always be careful when using your product To reduce the risk of fire electrical shock and other injuries keep these safety precautions in mind when installing using and maintaining your TV 1 Read these instructions 2 Keep these instructions 3 Heed all warnings 4 Follow all instructions 5 Do not use this product near water 6 To clean unplug and separate from all power sources and use a dry ...

Страница 4: ... C 3 Separate the rechargeable Lithium Polymer battery from the TV when you are not using it for extended periods 4 Keep the unit away from direct sunlight 5 Do not leave the battery inside of a car when the temperature outside is high Doing so can cause explosions and other overheating problems 6 To prevent overheating do not place the product inside any bag or case while powered on 7 Handle care...

Страница 5: ...standby mode Skip to the next or previous channel Change the volume Navigate menus and EPG Press to confirm selections Hold down to change Aspect Ratio MUTE Turn the sound on off METER View the signal strength of the current channel EPG Press to access electronic program guide Number Pad Go directly to a channel PREV Switchbetweencurrent andlastviewedchannel InManual Channel Searchmenu eraseaninpu...

Страница 6: ...nnect it to a standard household outlet wCaution The adapter s center tip must be set to positive and its plug must fit the portable TV s DC 12V jack The supplied AC adapter meets these specifications Using an adapter that was not included may not meet the TV s specifications and could damage the TV or the adapter Do not leave the adapter plugged into the AC outlet or connected to the TV when you ...

Страница 7: ... life See Setting Up Functions on Page 20 Do not burn or bury batteries Do not puncture or crush Do not disassemble Use only the supplied Lithium Polymer battery Remove the battery if you do not intend to use your TV for an extended time Never allow loose cells to short circuit against battery tabs or other conductive items Keep loose cells and battery packs out of reach of children If the electro...

Страница 8: ...g vehicle The TV is surrounded by other electronics If the picture is not clear with the built in antenna extended try placing your TV near a window or connecting to an external antenna nNote Digital Mode requires the TV to be stationary You cannot watch digital channels in a moving vehicle Installing the Battery in Your Remote Control 1 Press the tab on the battery compartment tray and slide the ...

Страница 9: ...ur TV in Analog Mode on page 26 1 Slide the MAIN POWER switch on the back of the TV to ON Your TV enters standby mode 2 Press and hold G on the top of the TV to turn on 3 Press MENU to access the settings menu 4 Use the joystick on your TV or on the remote to select one of the following system settings then press to confirm nNote If you connect an external antenna keep the built in antenna stored ...

Страница 10: ...channel numbers directly 3 Select Tune and press to find selected channel Examples Digital Channel Number 5 1 5 1 Tune RF Channel Number 19 1 9 Tune Select BACK on screen or to erase an input nNotes RF Channel numbers differ from digital channel number Manually tuned channels automatically appear in the Ch Edit list Verifying Digital Signal Strength Press METER on the remote or select METER from t...

Страница 11: ... Press MENU to exit Functions Brightness Select desired brightness from 0 to 100 Brightness affects battery consumption Dimmer settings extend battery life Mode Selection Select Analog Digital or External Input Press to cycle through options and press to go to the selected mode Analog and Digital both allow input selection for TV Air and TV Cable explained below External Input does not allow for I...

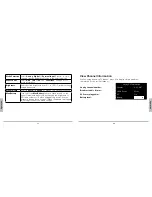
Страница 12: ...PG channel information and automatic time will be incorrect and will either display the wrong time or not display at all Factory Reset Restore the default factory settings n Note Channel data will not be reset To reset channel data use Auto Channel Search menu page 18 After Factory Reset is complete your TV will automatically restart HOT Menu Your TV s HOT menu allows you to quickly enter setup me...

Страница 13: ...battery life Time and Date n Note Time Zone must be set See page 22 Shows when AC or DC power is connected Signal strength Current broadcast resolution TV converts to appropriate resolution for the TV appears when Closed Caption service is available appears when multilingual audio tracks are available appears when a show is broadcast in multi channel Dolby Digital surround sound which the TV conve...

Страница 14: ...tions TV Settings Mode Selection Analog Aspect Ratio Auto Brightness 60 Menú Idioma English Max Battery Off Analog Mode Menu Options TV Settings Press to enter four submenus Input Selection Select TV Air to receive over the air broadcast channels Select TV Cable to receive channels from cable companies Autoscan 1 Navigate down to Autoscan from TV Settings and press to confirm 2 Choose one of the f...

Страница 15: ...ult is English Max Battery Turn on off the Max Battery function When turned on the unit will maximize battery life by changing the brightness to 60 and volume to 10 when using battery power You can manually change these settings When the adapter is plugged in settings revert to the menu settings View Channel Information While viewing an analog TV channel press to display simple broadcast informati...

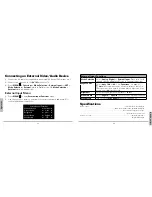
Страница 16: ... 60 Menú Idioma English Max Battery Off External Input Functions Mode Selection Select Analog Digital or External Input Press to cycle through options and press to go to the selected mode Aspect Ratio Select Auto 16 9 or 4 3 See Functions on page 21 n Note In External Input mode all video displays so that it fills the screen from left to right To get black bars on either side of the picture select...

Страница 17: ...on from the TV s sensor Use the remote control no more than 19 feet away from yourTV If the TV sensor s LED does not flash when a button is pressed replace the battery on the remote Why am I getting poor or no sound Make sure the MUTE function is off and the volume is turned up Choose another language on the HOT menu The channel might not broadcast in the currently selected language If using headp...

Страница 18: ...ted warranty period NHENS DIGITAL INC will supply new or rebuilt replacements for defective parts as may be deemed 3 This Warranty DOES NOT APPLY to products that have been damaged due to abuse misuse accident alteration modification negligence line power surges connection to improper voltage supply or settings accident acts of God and tampering or products that have been serviced by any unauthori...

Страница 19: ...ence Auvio was established by a group of technophiles to provide high quality audio and video products without the high sticker price The Auvio philosophy is for you to experience audio and video as it was intended to be pure and distortion free We know electronics can be intimidating Auvio simplifies your experience by providing the right products with the right specs to work with your equipment ...

Отзывы: