


Chapter: Building a Survey Quality Surface
162
Lesson: Building Surfaces from Survey Data
5.1.2 Creating the Survey Surface
1. On the
Prospector
tab of the
Toolspace
,
right-click on
Surfaces
and select
⇒
Create Surface
.
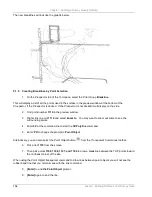
2. Confirm that
TIN surface
is
selected as
Type
.
3. Enter
Survey
for the
Name
.
4. Set the
Style
to
Border &
Contours
.
5. Confirm the
Surface layer
is set
to
C-TOPO-Survey
.
This layer name that includes the surface
name as a suffix was setup in an earlier
exercise through the Drawing Settings
command.
6. Click
<<OK>>
to close the
Create Surface
dialog box and
create the surface.
At this time the surface has not been given any data so it is not displayed. However, it has been created and
you will see it in the
Prospector
. This is where you will access the surface definition commands and add data
to the surface.
5.1.3 Adding Point Group Data to a Surface
Point information contained in a
Point Group
can be added to a
Surface
through the
Prospector
. Once the
Point Group
is added the
Surface
is automatically rebuilt to incorporate and display the new data.
1. On the
Prospector
tab of the
Toolspace
, expand
Surfaces
.
2. Expand the
Surface
Survey
.
3. Expand the
Definition
node under
Survey
.
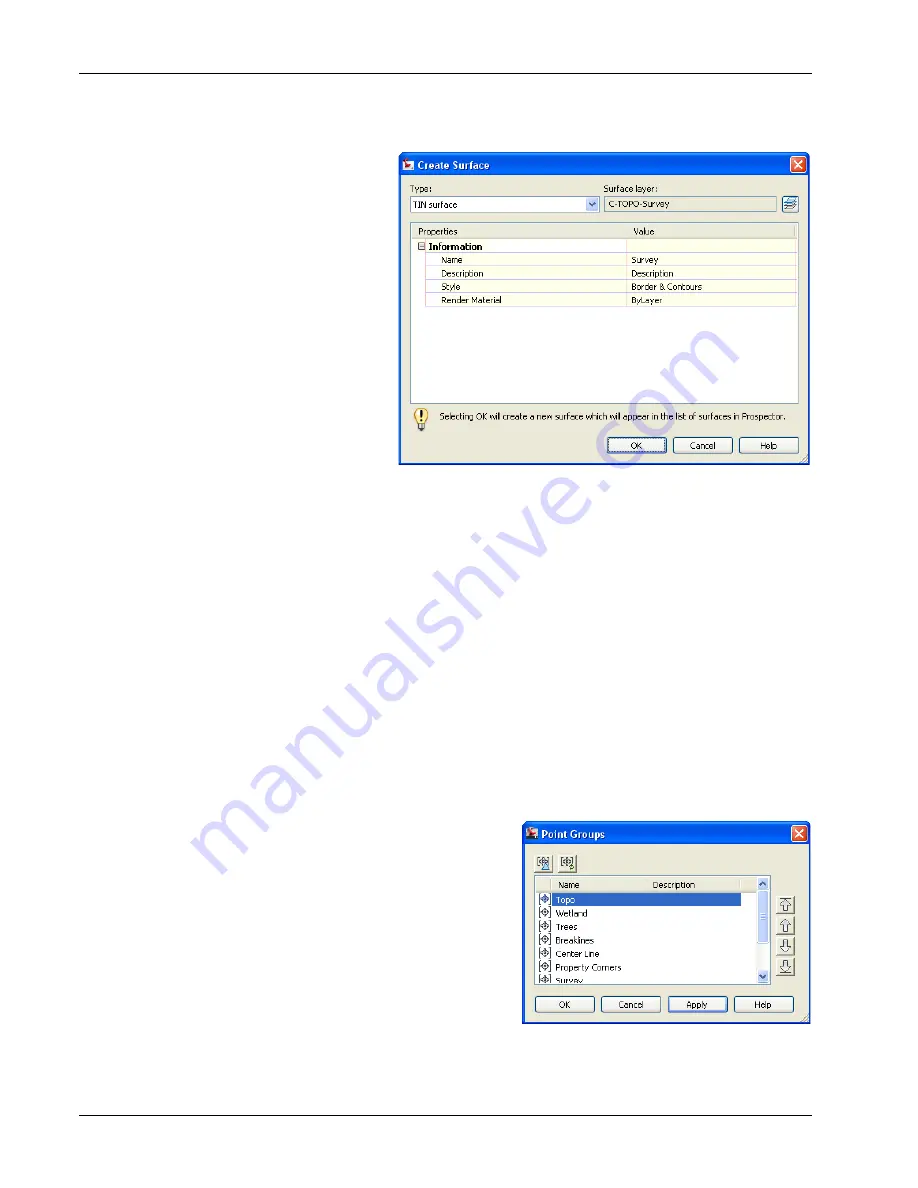
4. Right-click on
Point Groups
under
Definition
and select
⇒
Add
.
5. Select the
Point Group
Topo
.
6. Click
<<OK>>
to add the point group data to the
surface.
The surface is built with the point group data and displays 5 foot contours colored brown and green with a
yellow border. This display is controlled by the surface style you selected when you created the surface. If
the surface is not visible turn on and thaw the layer
C-TOPO-Survey
.


