19
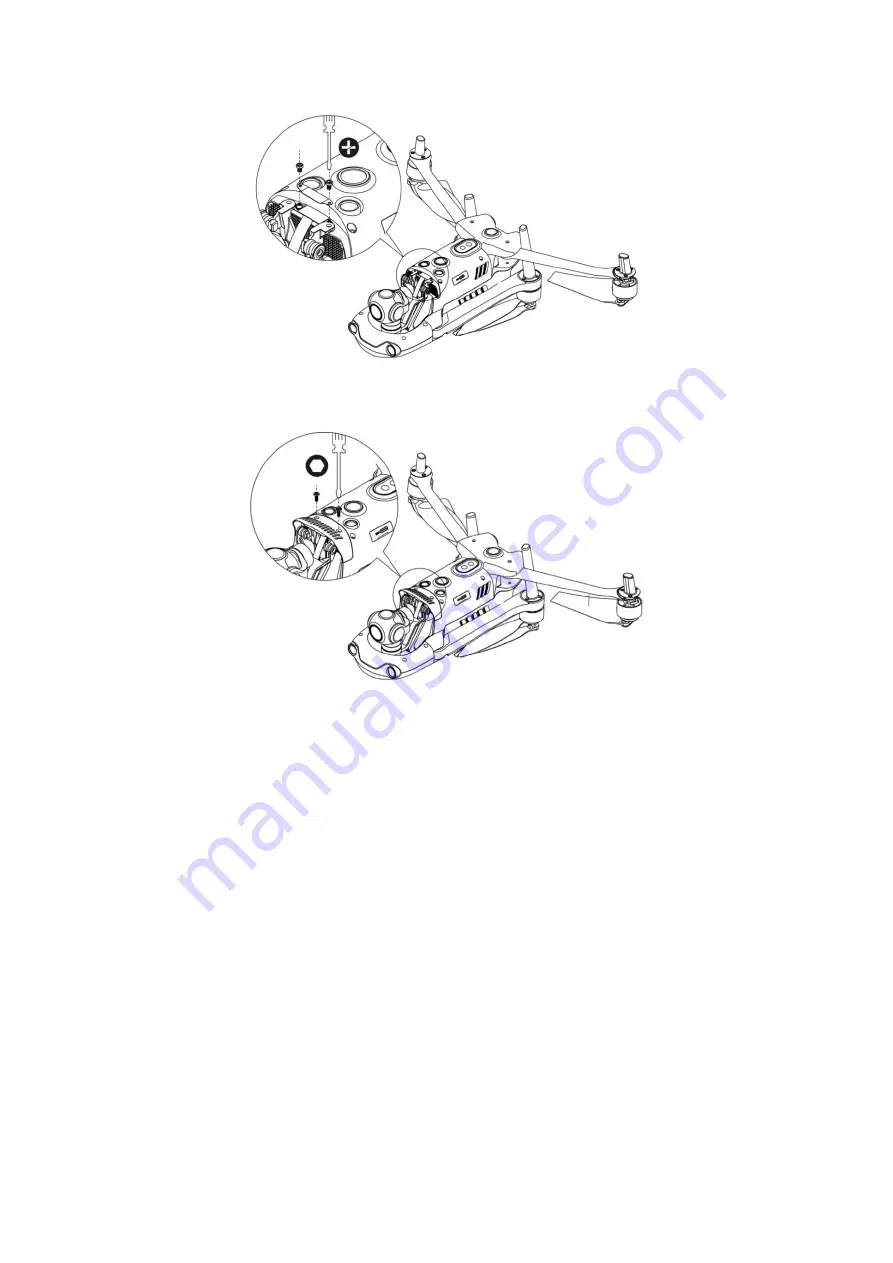
3. Insert a screw into a hole of the decorating part of the gimbal, and then screw it
in with a T6 screwdriver until the screw is fixed but not tightened. For the other
screw, repeat the same step. Fully tighten the two screws with a screwdriver.
4. Power on the aircraft. If the connector cable is successfully connected, the
gimbal will automatically rotate to perform a self-check.
5. Camera
The camera supports multiple photography modes, including Single, Burst, AEB,
Periodic, and HDR. Images are saved in DNG or JPG format, while videos are
recorded in MOV or MP4 format. Images and videos can be stored on the SD card
or the storage device of the aircraft.
Equipped with a 1-inch sensor, the camera can capture photos with a resolution of
up to 20 million pixels and record 5472x3076 P30 videos at a bit rate of 120 Mbps
or higher. The aperture range is from f/2.8 to f/11.
6. Use the Micro SD Card
Before you turn on the aircraft, insert a micro SD card into a port, as shown below.
EVO II Pro V3 aircraft supports SD cards of up to 256 GB in size. If you plan to record
high-definition videos, we recommend using a Class 10 or UHS-3 Micro SD card.
Содержание EVO 2 PRO
Страница 1: ...1 EVO II Pro V3 User Manual 2022 09 ...


