5
Use the PRESET UP or PRESET DOWN buttons on the remote to select the preset number from 1-10 you wish to use. Then
press the ENTER button on the remote or UNPAIR/ENTER on the micro system to store. When stored the display will show
PRESET X STORED.
Once a station is saved to a preset you will no longer see # EMPTY when pressing the MEMORY button, instead the station
name or frequency will appear.
Recalling station presets
To recall a stored preset station press the relevant numeric button on the remote control.
For example to recall the station stored on preset 3 press the numeric button 3. And to recall a station stored on location 10,
press the 10+ button and then the O button.
Alternatively, press the MEMORY button, use PRESET UP / PRESET DOWN on the remote to select the stored preset station,
then press the enter button to start.
Switch the input mode to CD & follow the instructions below to load a CD/ MP3CD.
1.
Press the OPEN/CLOSE button on the micro system or remote, when the disc compartment cover slides fully to the
left; insert a disc into the spindle (label facing outwards)
2.
Press the OPEN/CLOSE button once more to close the drawer.
3.
When the door is closed READING will appear on the display as the unit detects compatible audio tracks.
Playing a CD/ MP3CD
1.
After loading a CD in the steps above, the disc will be read and playback will begin automatically from track 01
2.
To stop playback press the
■
STOP button on the micro system or on the remote.
3.
To pause playback press the
►
Il PLAY/PAUSE button micro system or on the remote during playback. To resume
playback press the
►
II PLAY/PAUSE button once more.
Skipping tracks on a CD/ MP3CD
1.
Skip to the next track on a disc by pressing [
] button on the micro system or the remote control.
2.
Skip to the previous track by pressing [
] button on the micro system or the remote control.
Fast searching tracks CD/ MP3CD
1.
To fast forward a track during playback press and hold [
] on the micro system or remote control.
2.
To fast rewind a track during playback press and hold [
] on the micro system or remote control.
NOTE: When using the BT connection, you can listen to audio wirelessly from a BT audio device (For example an MP3 player)
within 10 meters of the Micro System unit.
Make sure you are in BT input mode. When selected the BT LINK text on the display will flash while the system tries to
connect to previously paired devices. If no devices are found the BT LINK text will continue to flash to indicate it is ready for
pairing a new device. Enable the BT function on your audio device and search fora device labelled Audizio Tours in the
available list. Select and enable pairing for the Audizio Tours device. lf prompted for a password enter 0000.
If pairing is successful the micro system will play a melody and the BT LINK text will stop flashing.
If the connected device goes out of range, the micro system will attempt to connect for 2 minutes. When the device comes
into range the unit will reconnect again automatically.
To remove a paired device using the micro system, press and hold the UNPAIR/ENTER button on the micro system or press the
UNPAIR button on the remote The BT LINK text will begin flashing again.
Note: If you turn off either device before pairing is complete the process will need to be repeated when powered ON again.
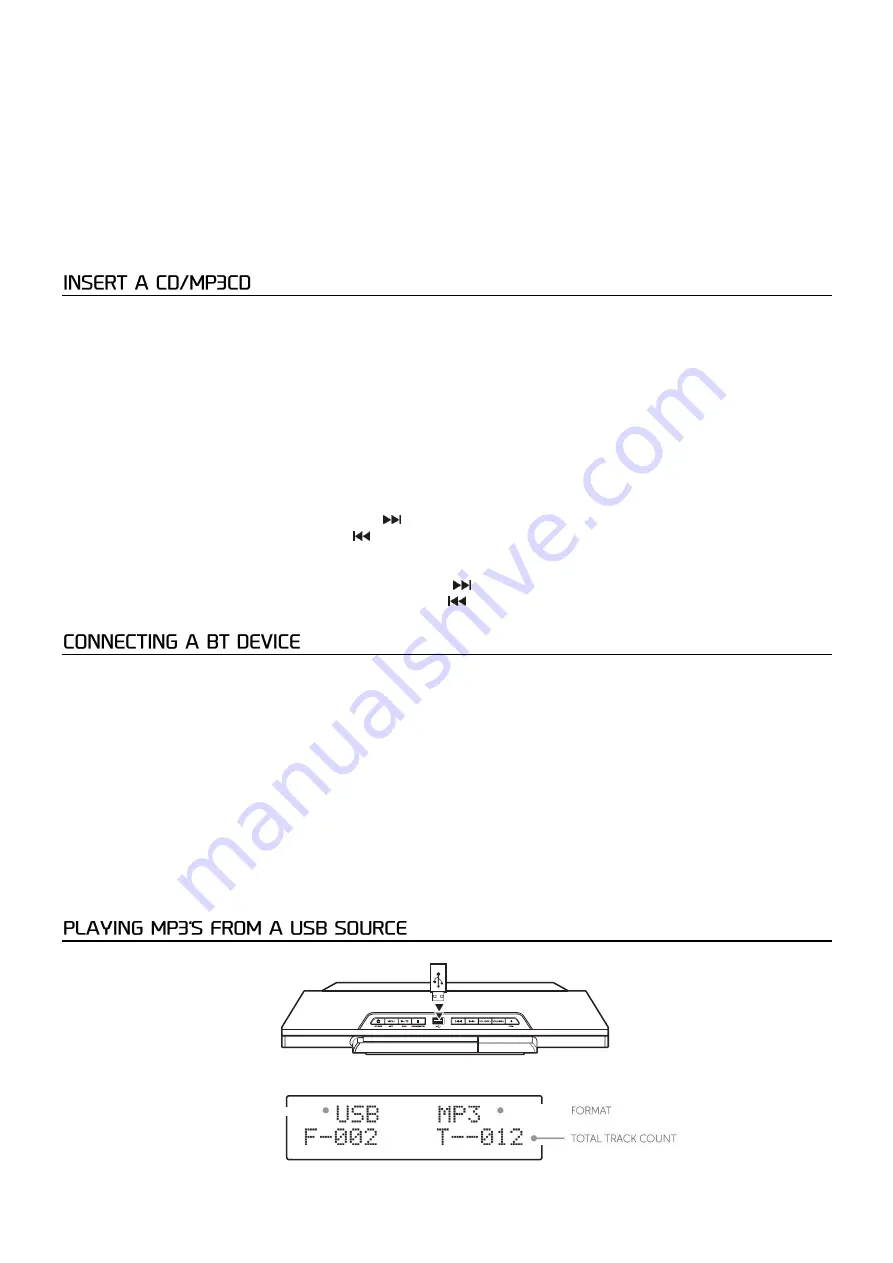
insert a compatible USB flash drive into the USB port on the top of the micro system and switch to USB input mode
The unit will scan the USB flash drive and display the total number of tracks found on the drive. Playback of track 01 will
begin automatically.
Tracks inside folders are listed as part of the total number of tracks.
- -


