11
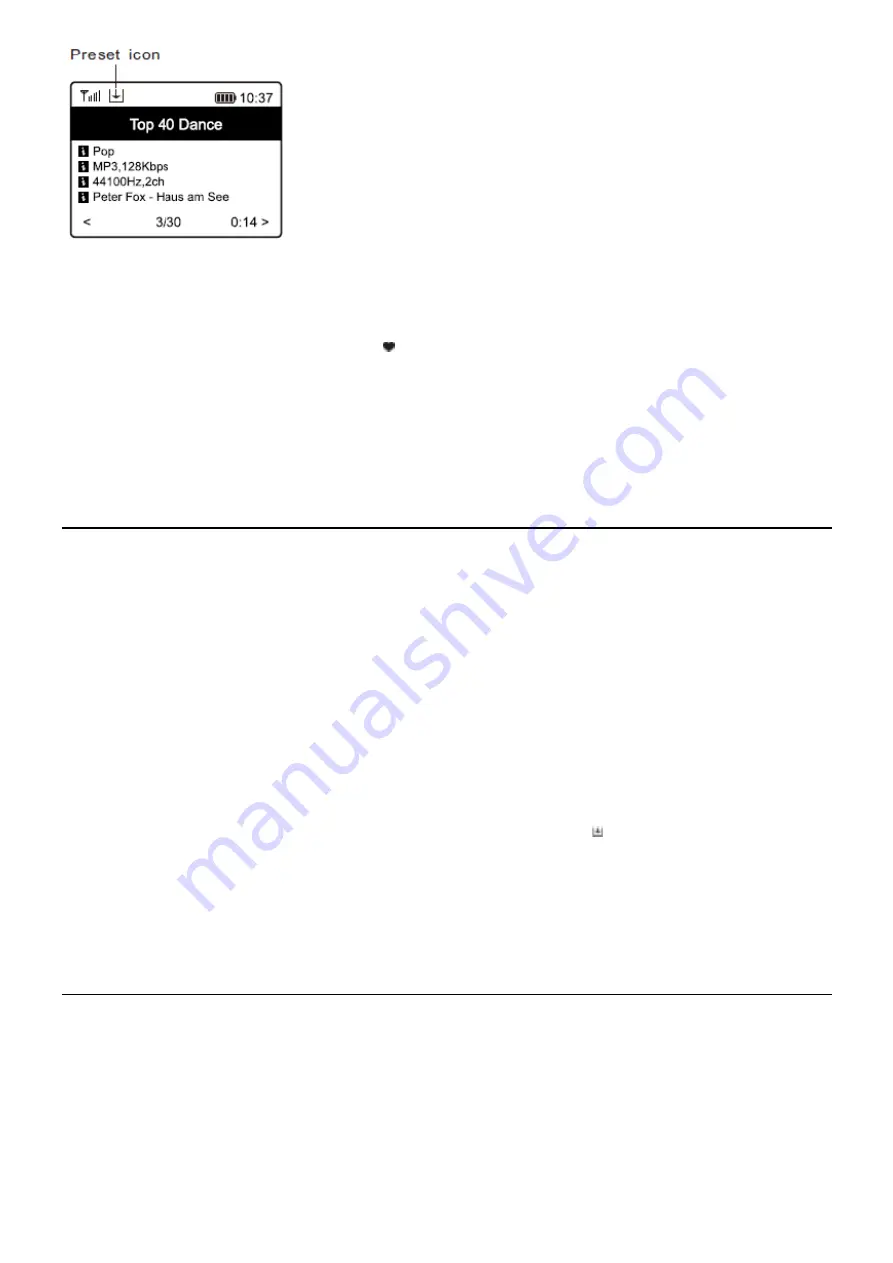
The new added station will always show in the last item on the Favorite list. You can store up to 99 presets.
There are 4 dedicated preset buttons to quickly access the top 4 favourite station. Press and hold the numeric button on the
radio unit to preset the channel.
Recall a station
Press the button on the remote control or press the
[ ]
briefly on the radio unit to recall the list of presets, or navigate to
My
Favourite
on the main menu and select it to confirm.
Edit your favorite list
On the Favorite list, choose the radio station you want to edit then press the
[
►
]
button on the remote control (or press
[
►
]
on the unit). It will enter the Edit menu with the following options:
•
Move down - To move down the ranking of a station
•
Move up - To move up the ranking of a
•
Delete - To delete a particular station
MEDIA CENTRE
The device supports UPnP and is DLNA-compatible. This provides the opportunity to stream music from your network.
However, this requires you to have a compatible device in your network that can function as a server. This can be e.g., a
network hard drive or a conventional PC with e.g., Windows 8 via which access to the shared folder or media sharing is
permitted. The folders can then be browsed and played on the radio.
Note:
Please make sure your computer laptop is on the same Wi-Fi network as the Radio before you start using this function.
Music streaming
• Once the UPnP/DLNA compatible server is configure to share media files with your
radio, you can start music streaming.
• On the main menu, select
Media Centre and choose UPnP.
• It may take a few sec
onds for the radio to complete the scan for available UPnP servers. If no UPnP servers are found, it will
show
Empty List
.
• After a successful scan is done, select your UPnP server.
• The radio will show the media categorie
s available from the UPnP server, e.g. 'Music', 'Playlists' etc.
• Choose the media files that you wish to play.
You can set the mode of playback under
Configuration > Playback setup
.
My Playlist
You can make your own playlist for the UPnP music files. Choose and highlight the song you want to add to playlist, press and
hold the
[Dial/Select]
knob or press and hold the
[OK]
button on remote, until the sign appears. The song will be added to
My playlist
.
Clear My Playlist
Remove all songs in “My Playlist” t
o allow a new playlist to be prepared.
Note:
If you have DLNA compatible servers available, follow the steps described above to browse the audio files from DLNA
compatible device on the radio to play.
DAB +
If there is Digital Audio Broadcasting (DAB) in your area, the Radio can pick up the DAB stations as well (no internet
connection is required). The Radio supports both DAB and DAB+.
Place the radio close to the window and extend the antenna as far as it can go to get the best reception. Sometimes you may
need to adjust the direction of the antenna to improve reception.
On the main menu, scroll to
DAB Radio
or use the
[Mode]
button on remote to switch to DAB Radio. Press
[OK]
to start.
It will ask whether you want to
Scan DAB Station
. Press
[OK]
to start scanning and it will show the progress on the number of
channels received. When it is done, a preset page will be displayed for your action.


