background image


©


Audipack 

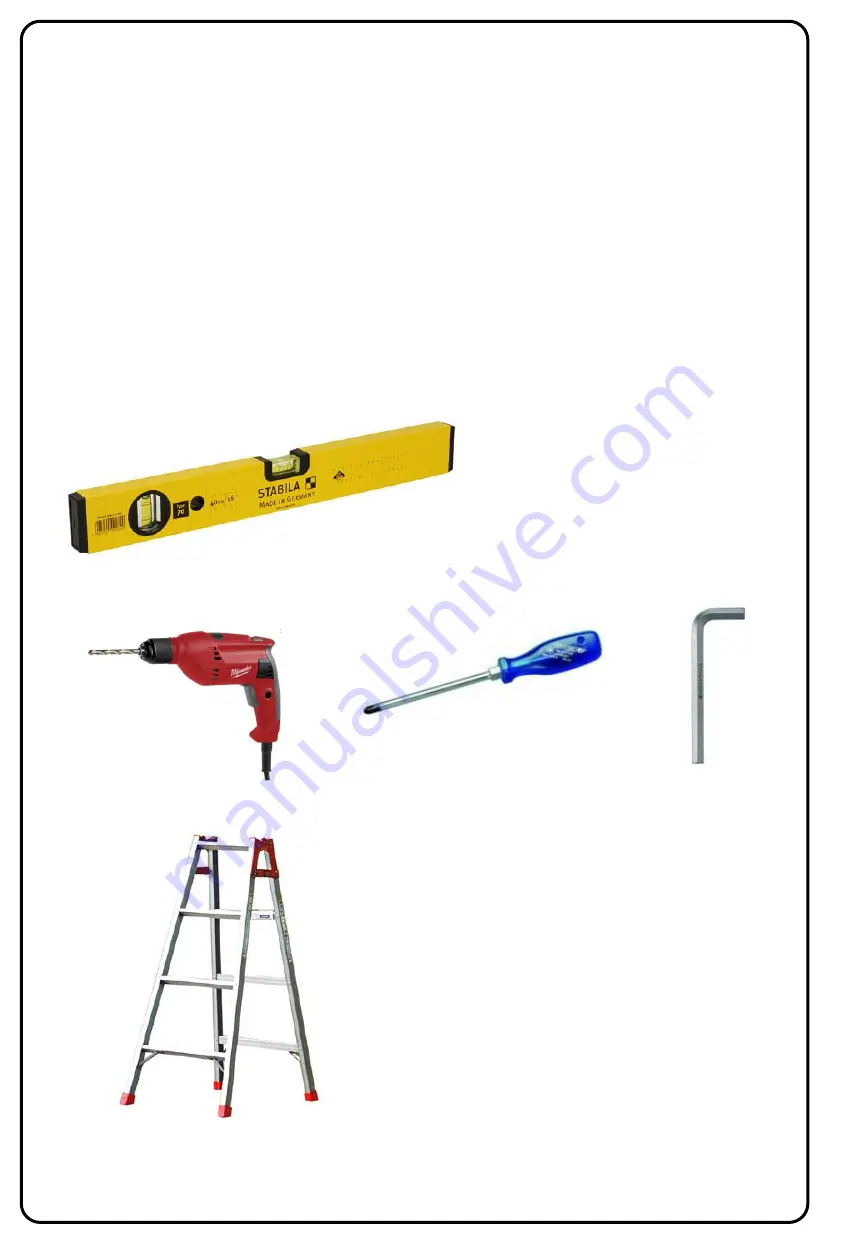
What do we need? 


8 pieces M6x16 alan screw for the motor  

12 pieces M6 x 20 alan screws for the tubes 

12 pieces M6 x 25 alan screws with rings and nuts for the bearrings 

18 pieces M8x16 alan screws 

8 pieces 8x20 ringen 

3 pieces M5x8 schroef 

4 pieces M6x20 alan screw with rings 

4 pieces M8x25 with rings and nuts for mounting an optional PWM-ST arm 

Use applicable wall mounting materials.


Содержание DWS-Smart

Страница 1: ... Audipack DWS Smart Wall mounted lift system ...

Страница 2: ...or the tubes 12 pieces M6 x 25 alan screws with rings and nuts for the bearrings 18 pieces M8x16 alan screws 8 pieces 8x20 ringen 3 pieces M5x8 schroef 4 pieces M6x20 alan screw with rings 4 pieces M8x25 with rings and nuts for mounting an optional PWM ST arm Use applicable wall mounting materials ...

Страница 3: ...nents are to be attached to the aluminium profiles turn the sleeves to the inside Install the 4 green bearrings in a way that they are not fixed installed but that the can settle during assembly in the next steps Use 12 pieces M6 x 20 alan screws for the tubes 12 pieces M6 x 25 bolts with rings and nuts for the bearrings ...

Страница 4: ...mounting ears together with the 2 long aluminium tubes The position of the push bar must be adjusted in position in a later stage Use 18 pieces M8 x 16 alan bolts and square nuts Use 8 pieces 8x20 spacer rings for the mounting ears Projector holder Push bar Mounting ear 4x Tube 2x ...

Страница 5: ... Audipack 3 Slide in the projector frame assembly in the wall frame assembly Be sure the green bearrings are not over tightend and they are free to settle ...

Страница 6: ...can be installed too with 2 x M5x8 screws but better is to wait as long as possible The over length of cables can be put in the short tube through the bottom this to organize the cables of the lift system and keep them free from moving parts Always make sure that the 2 tubes are 680 mm with the motor retracted in lowest position Cable inlet 680 mm ...

Страница 7: ... Audipack 5 Install the lift with a specific distance from the floor The height position is free to choose use 1250 mm when the systems is used in combination wit the floor support option 1250 mm ...

Страница 8: ...illed holes or drill new holes for the projector that is being used Use proper monting material to install the projector Please refer to the user guides of the projector to position the projector on the right horizontal position Projector directly to the projector holder Projector installed with optional PWM ST arm ...

Страница 9: ...de of the projection set to configure the right distances between projector and board Audipack 8 When a Smart board is being applied to the system be sure to position the mounting ears behind in the plastic strip of the bord On the board to plastic strips are attached these are used to lock and secure the board The supplied M5x8 screws and large washers clamp the plastic strip to the mounting ears...

Страница 10: ...l middle position for each direction always use potential free contact closures dry contacts switching time delay of at least 0 5 seconds for up and down direction For use with an external controll system the standard cable can be modified by cutting of the switch and use below listed attached colour scheme to activate the system Second option is to use a new control cable with an RJ45 connector P...

Страница 11: ...2011 05 Audipack Single column connecting diagram Connect column and controll to ports 1 ...

Страница 12: ...ditions de vente et de livraison de Audipack s appliquent à tous les livraisons de Audipack Cette conditions sont disponible sur le site internet de Audipack www audipack com où seront envoyé par poste sur demande Audipack reserves the right to make changes in specifications and other information contained in this document without prior written notice The information provided herein is subject to ...

Отзывы: