16
Setting the audio output level
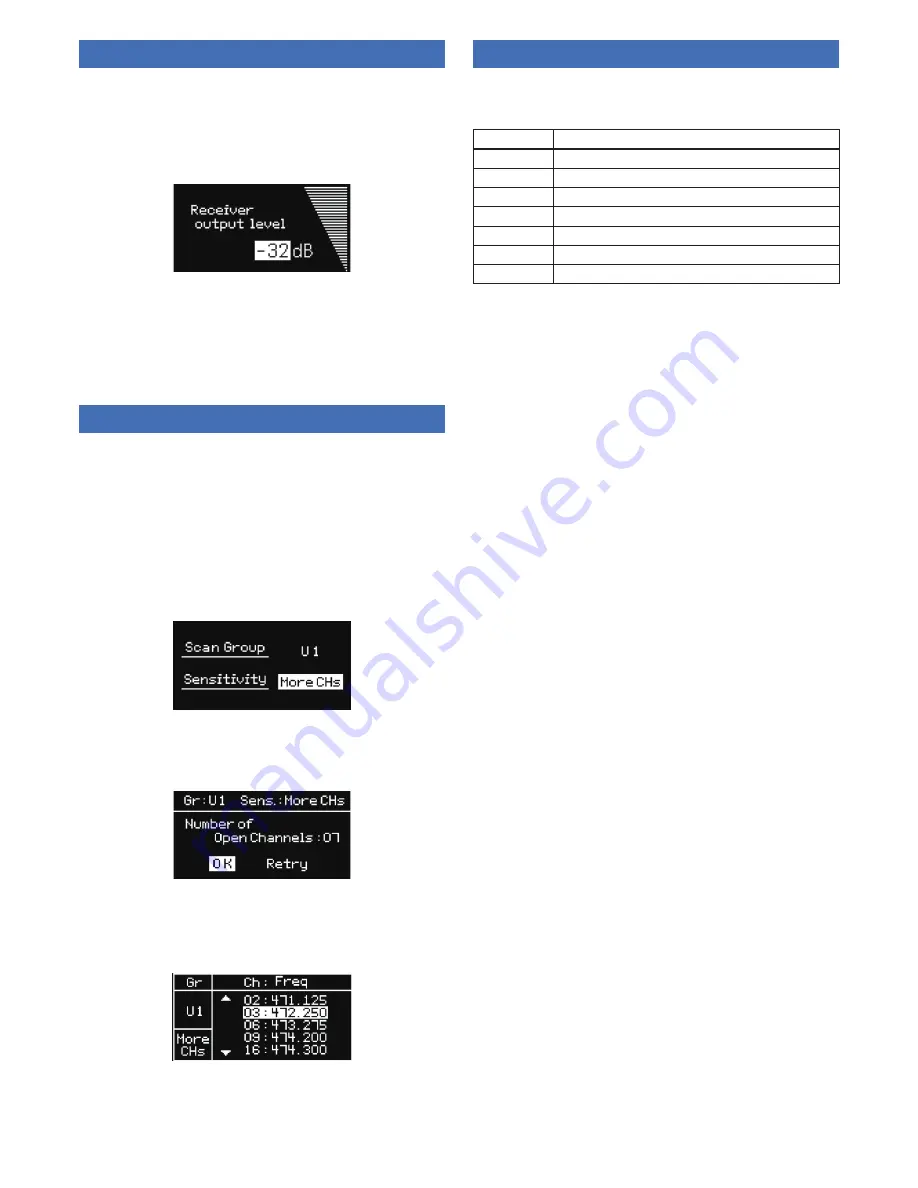
1. From the main menu, turn the control dial, select [Audio] and
then press the control dial.
2. Turn the control dial and set the audio output level.
• The level changes 2dB +/- each time you turn the control dial.
• It can be set from -60 to 0 dB.
3. Press the control dial.
• The setting is complete.
Scanning for free channel
Scan unused channels in the surrounding area currently being used.
1. From the main menu, turn the control dial, select [Group Scan]
and then press the control dial.
2. Turn the control dial and set the group. After selecting the
group, press jet control dial.
3. Turn the control dial to select the scanning sensitivity. After
selecting the scanning sensitivity, press jet control dial.
• The scan starts.
4. Confirm the scan result, turn the control dial to select [OK] and
then press the control dial.
• Select [Retry] to rescan.
5. Available channels and frequencies are displayed in a list. Turn
the control dial to select free channels and then press the
control dial.
• The setting is complete.
Setting transmitters via IR sync
This function allows you to make transmitter settings on the product
and then automatically configure the transmitter via IR sync. Setting
items and setting values are shown as follows.
Item
Setting value
Freq
Current setting, No change
Name
Current setting, No change
RF Power
Low:10mW, High:30mW, No change
Gain
-10 to +20dBm, No change
Lock
Lock, No change
Battery
Alkaline, Ni-MH, No change
HPF
OFF, ON, No change
1. From the main menu, turn the control dial, select [TX Setting]
and then press the control dial.
2. Turn the control dial to select each item and then press the
control dial.
3. Turn the control dial to select the setting value and then press
the control dial.
4. Turn the control dial to select [Scan Start] and then press the
control dial.
• A standby screen is displayed. Refer to “XXX” (p. XX).


