14
15
Windows Installation
Windows Installation
4. Double Checking Connectivity
To double check the connection, go to PC
sound settings by following:
PC Settings > Control Panel > Hardware and
Sound > Sound
Here you can see whether Sono is visible to
the PC and you can make it the computers
default sound device by pressing ‘Set Default’.
You would need to do this for both the
‘Playback’ and the ‘Recording’ Device to use
both the inputs and the outputs of Sono
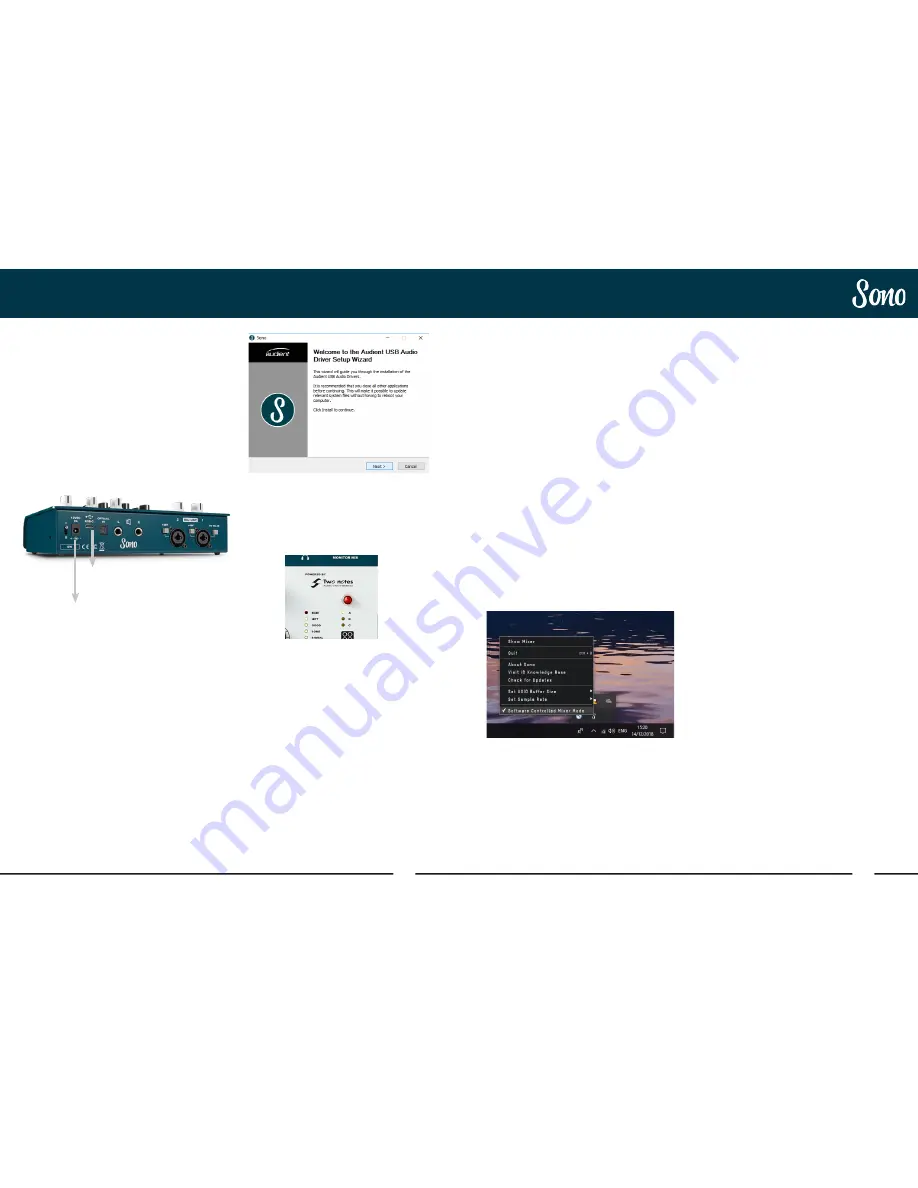
Sono Icon
Once installed, the Sono icon can be found
in the Windows system tray (it may be in the
hidden icons area).
Please note, on Windows, the Sono icon will
only appear when the Sono is connected and
powered on.
More details regarding the system tray menu
can be found on page 33.
System Requirements
• Windows 7 or later (64 bit)
• Intel Core 2 @ 1.6 GHz, or AMD
equivalent
• 1 GB RAM Minimum
Connect Sono
Using the USB cable provided, connect
Sono to your computer’s USB port. Then
connect the included 12v DC power adaptor.
Download the Latest Sono Software
Head to our website for the latest version of
our Sono software:
audient.com/products/downloads/sono
Open the downloaded .exe file to start the
installer. Follow the installer process through,
heeding any instructions from the installer.
Once the installer has completed, we would
recommend rebooting both the Computer
and the Sono before use.
Status Light
Once connected, the status light of the Sono
will illuminate.
If at any time the status LED turns off
during normal operation please check all
connections and if further problems develop
please contact Audient support.
To Mains
Power
(100v - 240v)
To USB Port


