12
13
MacOS Installation
MacOS Installation
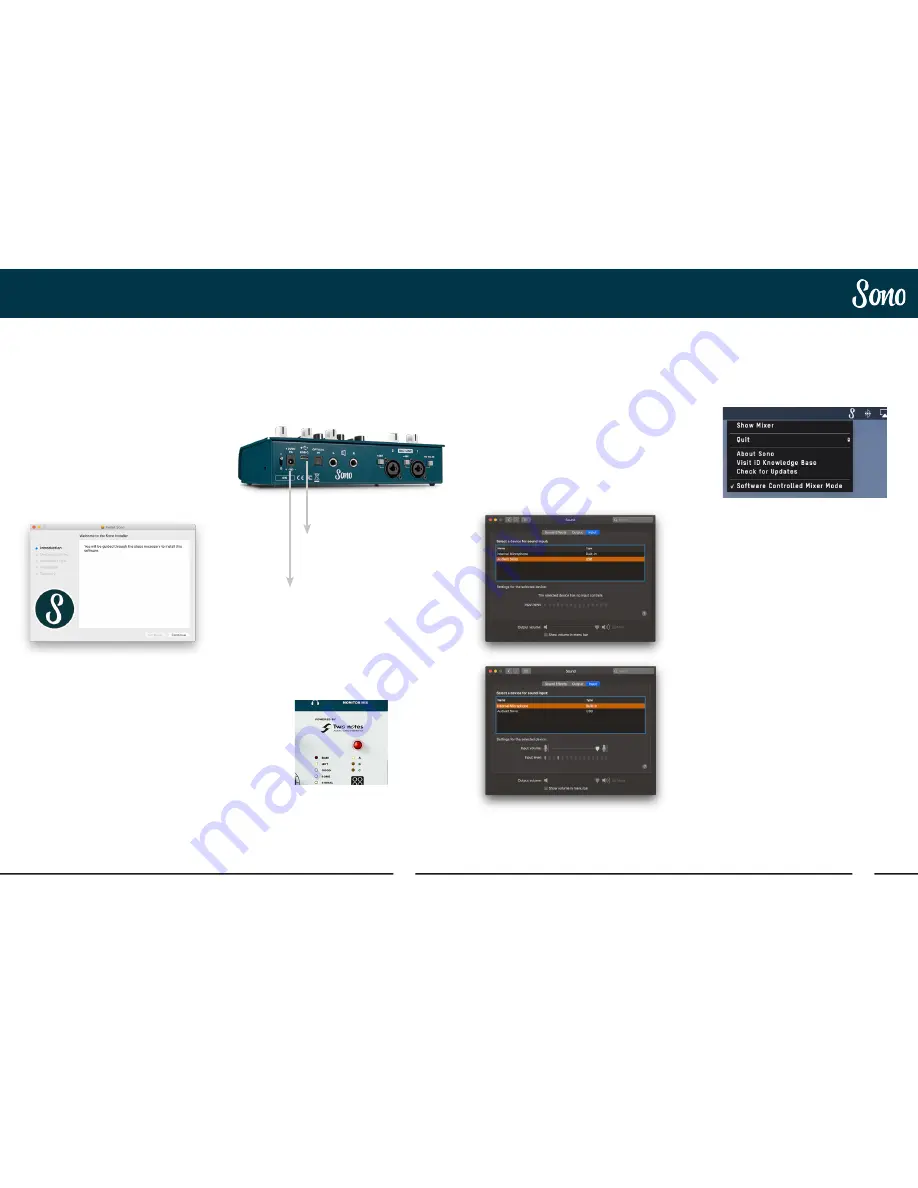
4. Double Checking Connectivity
To ensure Sono has been detected by your
computer, navigate to:
Macintosh HD > Applications > System
Preferences
Check that Sono is set as your audio device for
both the input device and the output device. It’s
also recommended to disable system sounds
so you don’t get annoying dings while you are
recording.
Menu/Task Bar Icons
On MacOS, the Sono icon appears in the
menu bar in the top right hand corner of the
screen. This gives you quick access to various
functions of the Sono.
Show Mixer
If the mixer window has been hidden, this will
bring it back to the forefront.
Quit
Fully closes the Sono mixer application.
About Sono
Displays information regarding the current
version of the Sono mixer application.
Visit Sono Knowledge Base
Opens a browser windows for the Audient
Helpdesk with helpful articles and FAQ’s.
Check for Updates
The Sono app will check with the Audient
update server for any available firmware
updates for Sono.
System Requirements
• MacOS: 10.7.5 (Lion) or later (64 Bit)
• Mac: Intel CPU, 1GB RAM Minimum
Download the Latest Sono Software
Head to our website for the latest version of
our Sono Software:
audient.com/products/downloads/sono
Open the downloaded .pkg file to start the
installer. Follow the installer process through,
heeding any instructions from the installer.
Connect Sono
Using the USB cable provided, connect
Sono to your computer’s USB port. Then
connect the included 12v DC power adaptor.
Status Light
Once connected, the status light of the Sono
will illuminate.
If at any time the status LED turns off
during normal operation please check all
connections and if further problems develop
please contact Audient support.
To Mains
Power
(100v - 240v)
To USB Port


