


MC DTC Series
– User manual
25 / 51
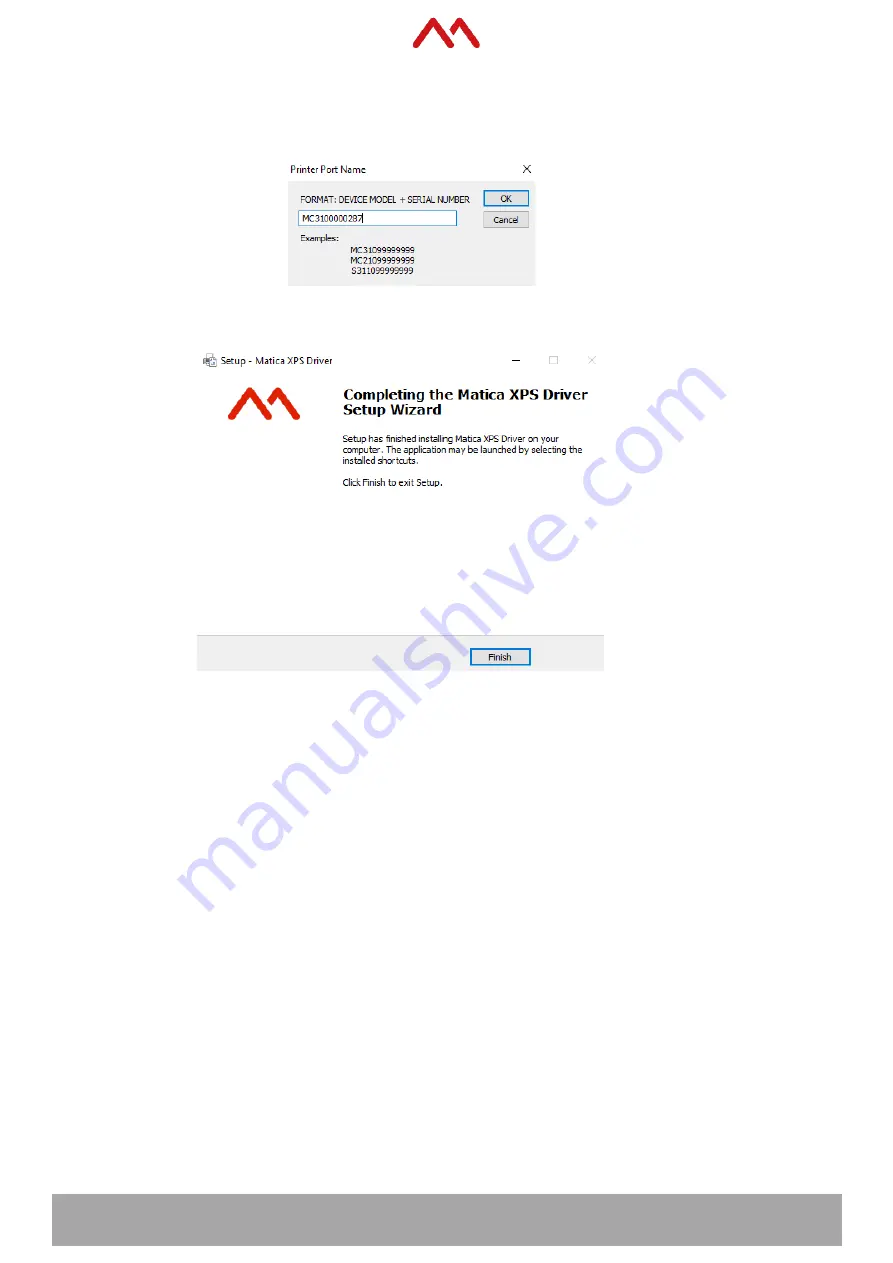
10. For DHCP connections the following dialog box appears.
It enables you to add the printer port name per the guidance provided. I.e. model name + 7 digit serial
number
11. Click
Finish
to complete the Matica XPS driver setup wizard
6.1.2.2
Static IP
Follow the steps below to set the printer to Static IP.
1. Ensure the driver was installed using USB connection, switch ON the printer and connect to the USB
port.
2. Connect the Ethernet cable (not supplied) to your PC and to the printer whilst the USB cable is still
connected.
Then switch the printer OFF and ON again.
3. Go to
Control Panel
>
Devices and Printers
>
right click on MC DTC
>
Printer Properties
then select
the
Network
tab.


