Chapter 3. Local Operation
20
2
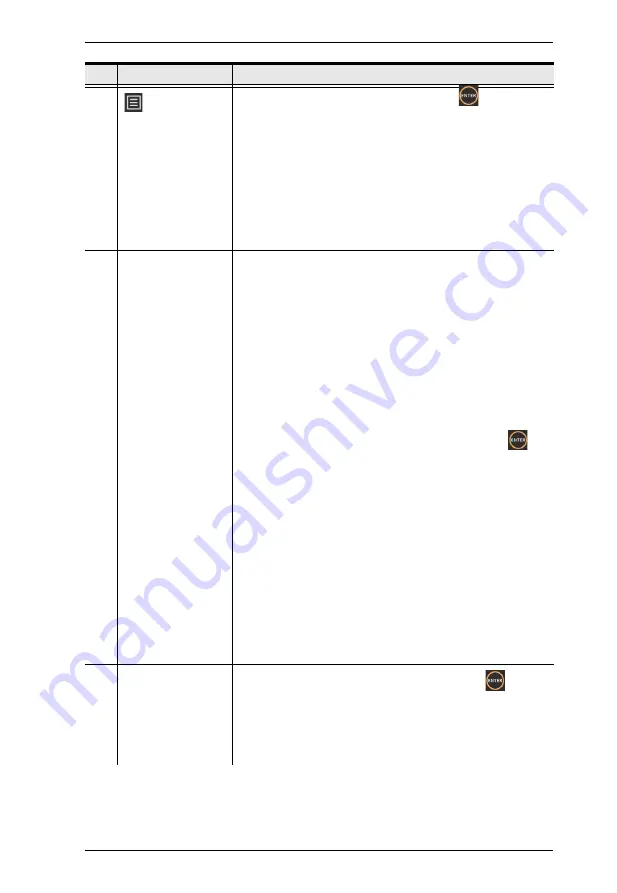
Options
Navigate to this icon and press the
Enter
button/
pushbutton to access the following functions:
Remotely control a selected display. For details on
remote display control, see
View or configure VP2730’s settings. For details on
system settings, see
Power off the VP2730.
3
Display settings
Identify the display port (A, B, or C) that the display device
is connected and shows the following information.
Device name: To change the device name, log in the
web interface as administrator, and then go to
General
>
Device Information
.
Auto switching: Automatically switches to a newly
detected source. This option is only available for
Display A.
Resolution: To edit the resolution and ratio, navigate to
this field in the OSD, and then press the
Enter
button/pushbutton.
Display ratio
Scale to whole:
Fully extends the video to the four
sides of the display.
Auto fit:
Proportionally scales the video to fit the
display without cutting any content off. This may
leave some blank on either the top and bottom or
the left and right of the screen.
Auto cut:
Proportionally scales the video to fully fill
the display. The content that goes out of the
display range will be cut off.
4
Screen capture
Navigate to this field and then press the
Enter
button/
pushbutton to capture the screen. The captured image is
saved to the storage device connected to the V2730’s USB
ports. Make sure you have a storage device inserted to the
V2730 for this function to be available.
No. Name/Information
Description
Содержание VP2730
Страница 1: ...7 x 3 Seamless Presentation Switch with Streaming HDBaseT VP2730 User Manual www aten com...
Страница 62: ...Chapter 4 Remote Operation 54 This Page Intentionally Left Blank...
Страница 74: ...Chapter 5 RS 232 Serial Commands 66 This Page Intentionally Left Blank...
Страница 122: ...Chapter 4 Video Presentation Control App 80 This Page Intentionally Left Blank...


