


EN 18
Note:
Once the child lock is activated and no timer function has been set
(only the clock is displayed), the oven will not work. If the child lock
is activated after a timer function has been set, the oven will work;
however, the settings cannot be changed.
When the child lock is activated, oven functions or additional functions
cannot be changed. The cooking process can only be ended by turning
the ‘oven function dial’ to ‘0’.
The child lock remains activated even after the oven has been switched
off. The child lock needs to be deactivated before you can select a new
programme.
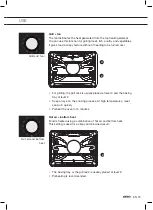
Oven lamp
• The oven lamp will light automatically if the oven door is opened or
if the oven is switched on.
• After the end of the cooking process, the lamp stays lit for another
minute.
• You can switch off the oven lamp by pressing the ‘lamp button’.
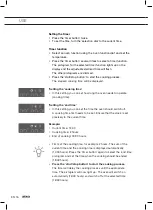
Sound signal
The volume of the sound signal can be set if no timer function has been
activated (only the time is displayed).
• The ‘Oven function dial’ must be in the ‘0’ position.
• Press and hold the ‘temperature button’.
Bars appear on the display that are (partly) fully lit.
• Turn the ‘selection dial’ to select one of three volume levels (one,
two or three bars lit) or no sound (no bar lit).
• The setting will be saved automatically after 3 seconds and the time
will be displayed.
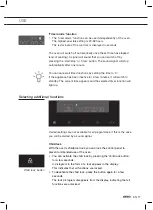
Reduce display contrast
• The ‘oven function dial’ must be in the ‘0’ position.
• Press and hold the ‘lamp button’ for 5 seconds.
Bars appear on the display that are (partly) fully lit.
• Turn the ‘selection dial’ to adjust the dimming level of the display
(one, two or three bars).
The setting will be saved automatically after three seconds.
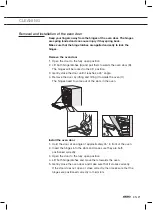
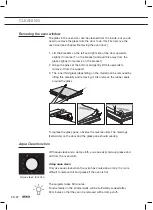
Lamp button
Temperature button
Lamp button
USE
Содержание OX4511C
Страница 1: ...Instructions for use Oven OX4511C OX4592C OX6511C OX6592C...
Страница 2: ...EN 2 EN Instructions for use EN 3 EN 28 Pictograms used Important information Tip...
Страница 29: ...EN 29...
Страница 30: ...EN 30...
Страница 31: ...EN 31...


