6-13
ASUS TS700-E8-PS4 V2, TS700-E8-RS8 V2
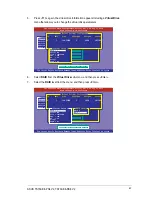
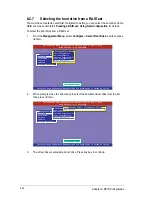
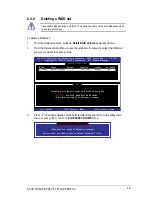
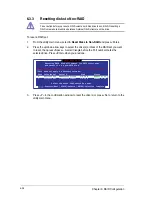
3.
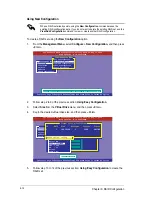
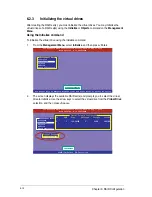
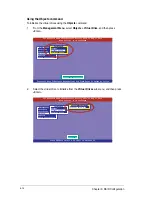
Press <F10> to start initialization. When prompted, select
Yes
from the
Initialize?
dialog box, and then press <Enter>.
Initializing a virtual drive erases all data on the drive.
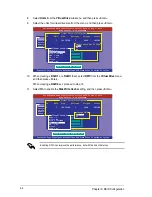
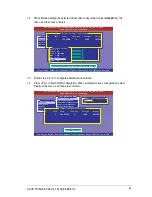
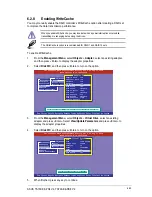
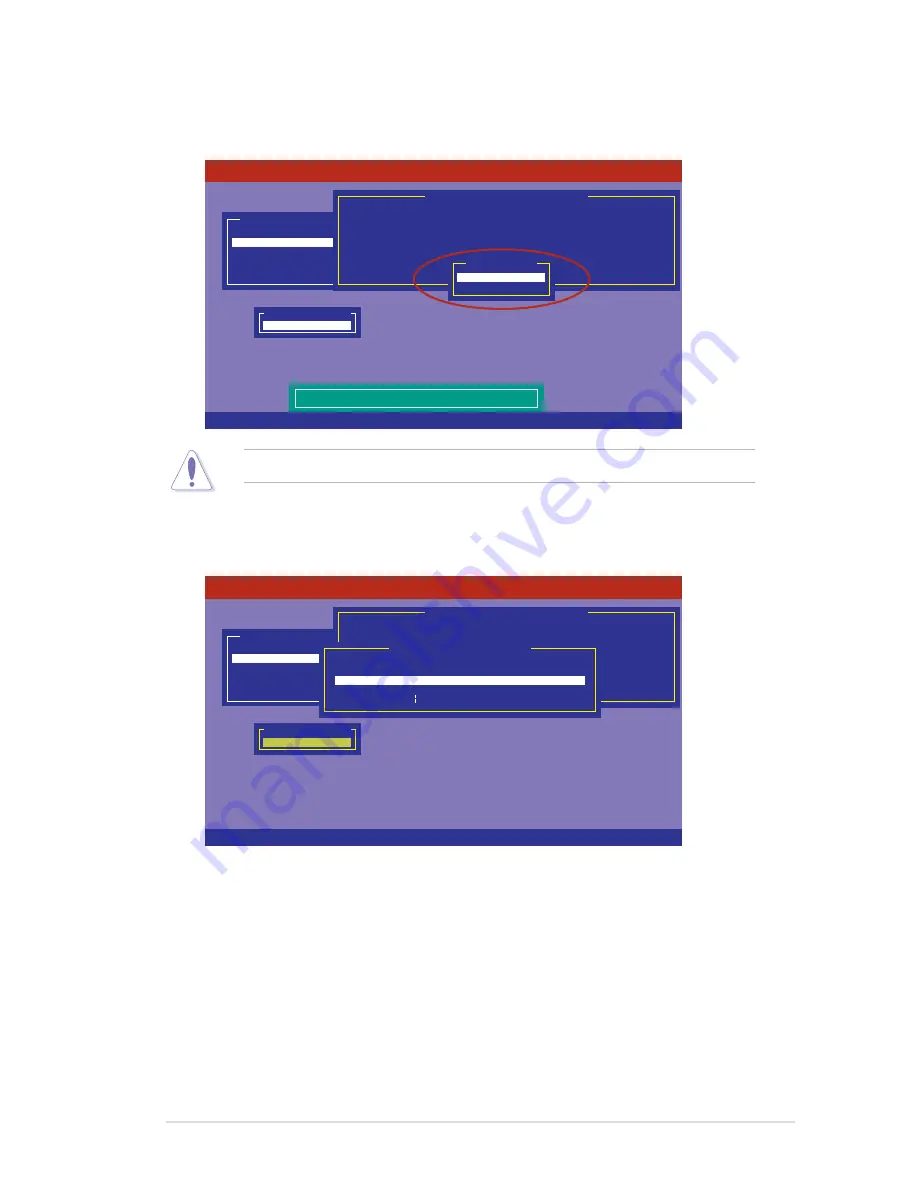
4.
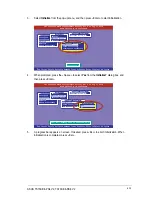
A progress bar appears on screen. If desired, press <Esc> to abort initialization. When
initialization is completed, press <Esc>.
SPACE-(De)Select, F10-Initialize
LSI Software RAID Configuration Utility Ver C.05 Sep 17,2010
BIOS Version A.10.09231523R
Init Will Destroy Data On Selected VD(s)
Configure
Initialize
Objects
Rebuild
Check Consistency
Management Menu
Easy Configuration - ARRAY SELECTION MENU
Virtual Drive(s) Configured
LD RAID Size #Stripes StripSz Status
0 1 148.580GB 2 64KB ONLINE
Virtual Drive 0
Virtual Drives
Yes
No
Initialize?
SPACE-(De)Select, F10-Initialize
LSI Software RAID Configuration Utility Ver C.05 Sep 17,2010
BIOS Version A.10.09231523R
Configure
Initialize
Objects
Rebuild
Check Consistency
Management Menu
Virtual Drive(s) Configured
LD RAID Size #Stripes StripSz Status
0 1 148.580GB 2 64KB ONLINE
Virtual Drive 0
Virtual Drives
Init of VD Is In Process
VD 0 Initialization Complete. Press Esc..
100% Completed
Содержание TS700-E8-PS4 V2
Страница 1: ...Server User Guide TS700 E8 PS4 V2 TS700 E8 RS8 V2 ...
Страница 24: ...Chapter 1 Product Introduction 1 12 ...
Страница 60: ...Chapter 2 Hardware Setup 2 36 ...
Страница 141: ...5 49 ASUS TS700 E8 PS4 V2 TS700 E8 RS8 V2 5 8 2 View Smbios Event Log Press Enter to view all smbios event logs ...
Страница 150: ...5 58 Chapter 5 BIOS Setup ...
Страница 188: ...6 38 Chapter 6 RAID Configuration ...
Страница 209: ...Appendix This appendix includes additional information that you may refer to when configuring the motherboard Appendix ...
Страница 210: ...A 2 Appendix Z10PE D16 WS block diagram ...
Страница 214: ......


