


6 - 1 0
6 - 1 0
6 - 1 0
6 - 1 0
6 - 1 0
C h a p t e r 6 : D r i v e r i n s t a l l a t i o n
C h a p t e r 6 : D r i v e r i n s t a l l a t i o n
C h a p t e r 6 : D r i v e r i n s t a l l a t i o n
C h a p t e r 6 : D r i v e r i n s t a l l a t i o n
C h a p t e r 6 : D r i v e r i n s t a l l a t i o n
6.
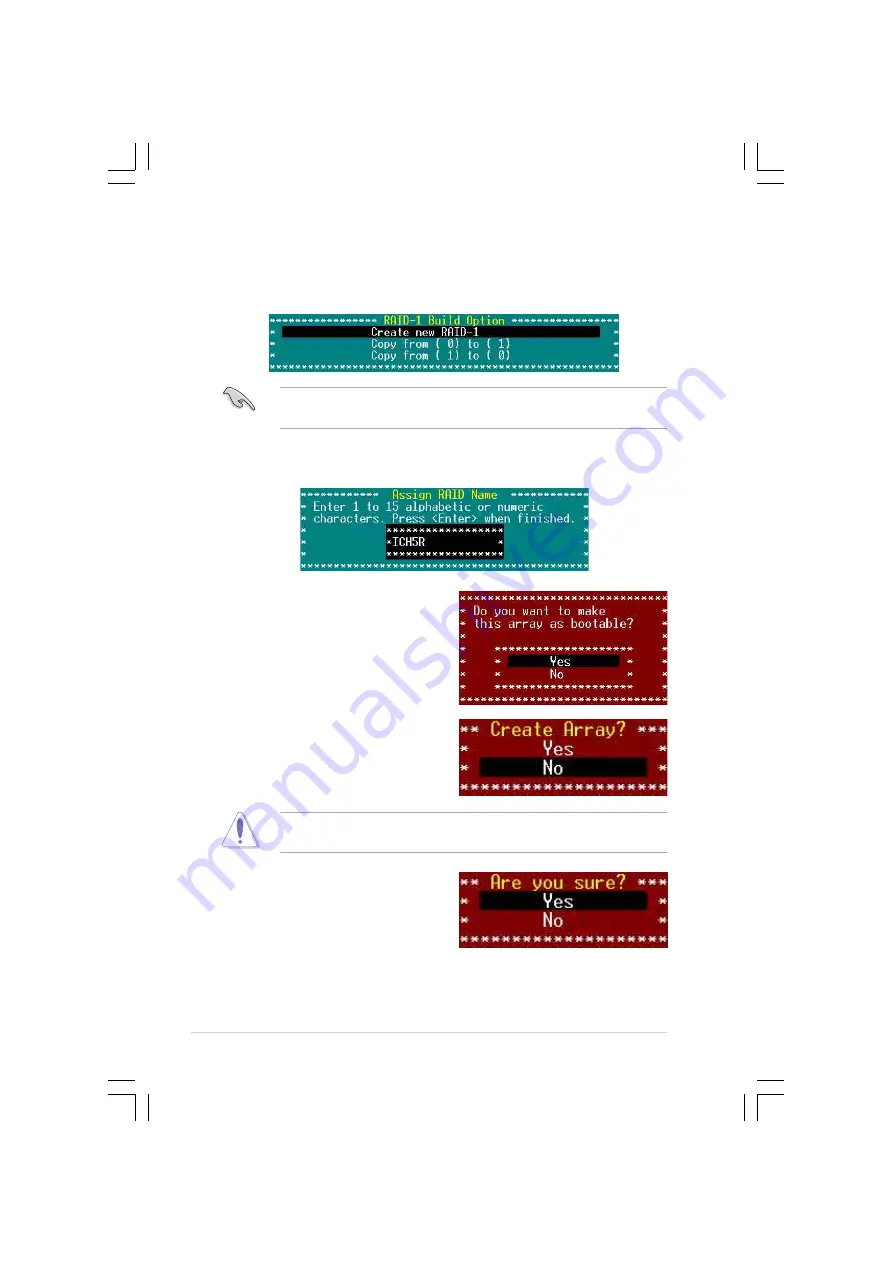
Select C r e a t e n e w R A I D - 1
C r e a t e n e w R A I D - 1
C r e a t e n e w R A I D - 1
C r e a t e n e w R A I D - 1
C r e a t e n e w R A I D - 1 from the RAID-1 Build Option menu, then
press <Enter>.
The RAID-1 Build Option menu also allows you to create a RAID 1
set from a RAID 0 set or vice-versa.
7.
When prompted, use the keyboard to assign a name for the RAID 1 set,
then press <Enter>.
8.
If you want to make the array
bootable, select Y e s
Y e s
Y e s
Y e s
Y e s from the
menu, then press <Enter>.
9.
When prompted to create the RAID
1 set, select <Yes>, then press
<Enter>.
The utility erases all data from the selected hard disk drives. Make
sure to backup all important data before creating a RAID set.
10. When a confirmation dialogue box
appears, select <Yes>, then press
<Enter>.