5-6
Chapter 5: RAID configuration
Clear disk data?
[Y] YES [N] Cancel
7. After selecting the hard disk drives, press
<F7> to create the RAID 0 set. A pop-up
window appears.
8. Press <Y> to delete all data from the hard disk drives, or <N> to
continue creating the RAID set without deleting the data on the disks.
You will lose all data on the drives if you clear the disk data!
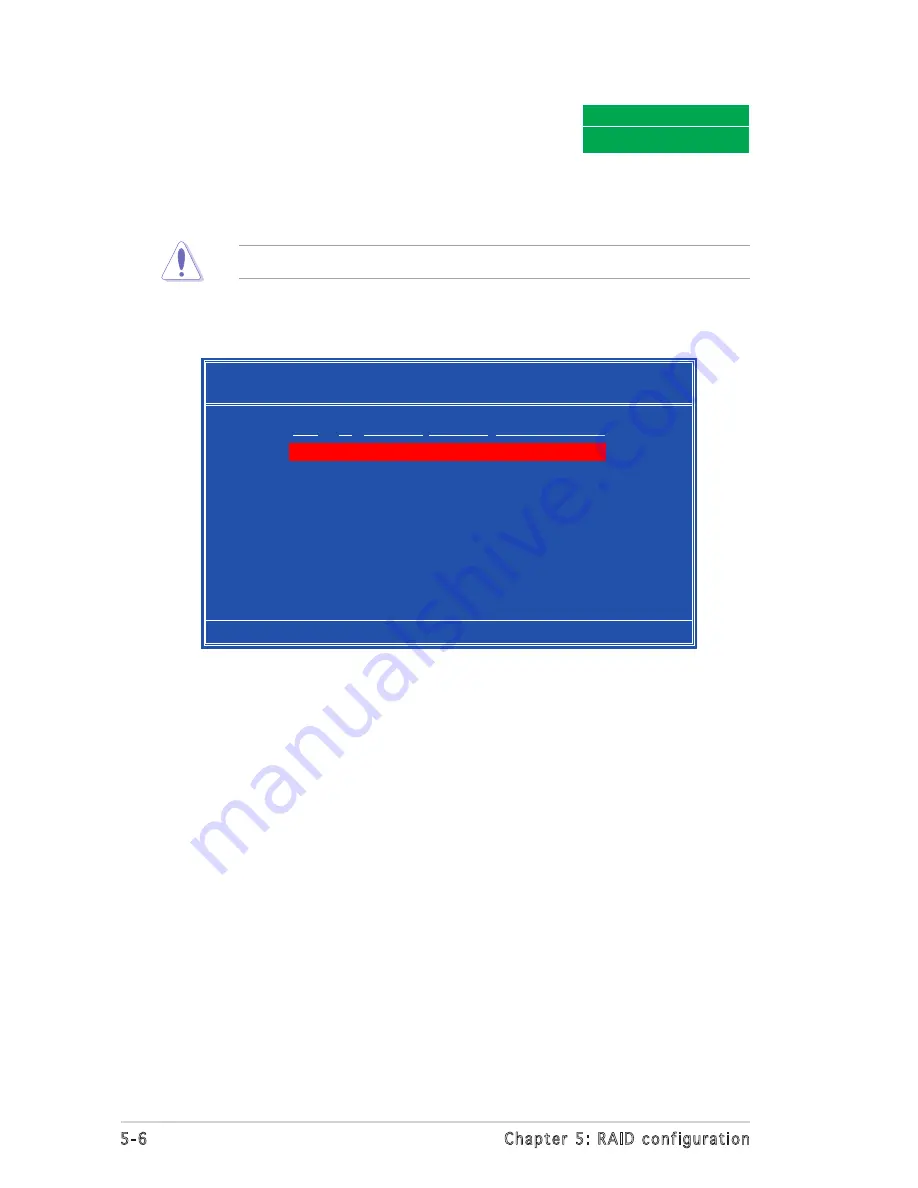
9. The utility displays the created RAID 0 set. Press <Ctrl+X> to save
your settings and exit the utility.
[Ctrl-X]Exit [
↑↓
]Select [B]Set Boot [N]New Array [ENTER]Detail
NVIDIA RAID Utility Oct 5 2004
- Array List -
Boot Id Status Vendor Array Model Name
No
4 Healthy NVIDIA
STRIPING XXX.XXG
Содержание K8N-LR
Страница 1: ...Motherboard K8N LR ...
Страница 13: ...1 Product introduction This chapter describes the motherboard features and the new technologies it supports ...
Страница 14: ...ASUS K8N LR Chapter summary 1 1 Welcome 1 1 1 2 Package contents 1 1 1 3 Special features 1 2 ...
Страница 18: ...1 4 Chapter 1 Product introduction ...
Страница 50: ...ASUS K8N LR Chapter summary 3 1 Starting up for the first time 3 1 3 2 Powering off the computer 3 2 ...
Страница 94: ...4 40 Chapter 4 BIOS setup ...
Страница 96: ...ASUS K8N LR Chapter summary 5 1 Setting up RAID 5 1 5 2 NVIDIA RAID configurations 5 3 ...
Страница 116: ...6 8 Chapter 6 Driver installation ...
Страница 118: ...ASUS K8N LR Appendix summary A 1 K8N LR block diagram A 1 ...
Страница 119: ...ASUS K8N LR A 1 A 1 K8N LR block diagram ...
Страница 120: ...A 2 Appendix A Reference information ...


