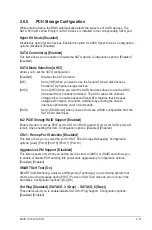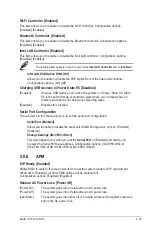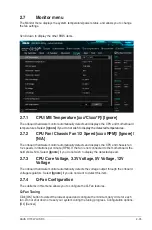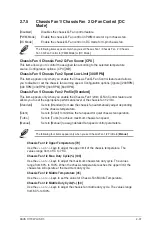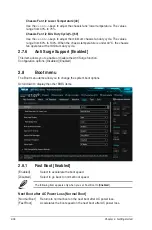
iGPU Multi-Monitor [Disabled]
This item allows you to empower both integrated and discrete graphics devices for the
multi‑monitor output. The CPU graphics shared system memory size is fixed at 64 MB.
Configuration options: [Disabled] [Enabled]
RC6(Render Standby) [Enabled]
Allows you to enable or disable render standby support. Configuration options:
[Disabled] [Enabled]
DVMT Pre-Allocated [32M]
Allows you to select the amount of system memory allocated to DVMT 5.0 used by the
CPU Graphics. Configuration options: [32M] [64M] [96M] [128M] [160M] [192M] [224M]
[256M] [288M] [320M] [352M] [384M] [416M] [448M] [480M] [512M]
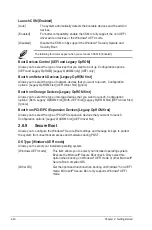
DMI/OPI Configuration
This item allows you to control various DMI (direct media interface) to run at PCI‑E 2.0 speed.
DMI Max Link Speed [Gen2]
Allows you to configure the DMI speed. Configuration options: [Auto] [Gen1] [Gen2]
[Gen3]
PEG Port Configuration
Allows you to configure the PEG Port settings.
Enable Root Port [Enabled]
Allows you to configure the root port. Configuration options: [Disabled] [Enabled] [Auto]
PCIEx16_1 Link Speed [Auto]
Allows you to configure the PCIEx16 speed for slot 1. Configuration options: [Auto]
[Gen1] [Gen2] [Gen3]
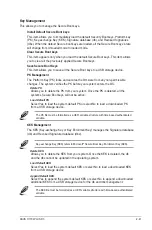
Memory Configuration
Allows you to configure the memory configuration parameters.
Memory Remap [Enabled]
Set this item to
[Enabled]
to support DRAM address remapping for 64‑bit operating
systems. Configuration options: [Enabled] [Disabled]
2.6.4
PCH Configuration
PCI Express Configuration
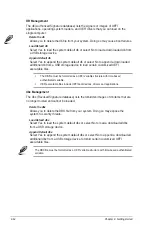
This item allows you to configure the PCI Express slots.
PCI-E Speed [Auto]
This item allows your system to automatically select the PCI Express port speed. When
set to [Gen1], the PCI‑E port runs at PCI‑E 1.0 speed. When set to [Gen2], the PCI‑E
port runs at PCI‑E 2.0 speed. Configuration options: [Auto] [Gen1] [Gen2]
2‑30
Chapter 2: Getting started
Содержание H170I-PLUS D3
Страница 1: ...Motherboard H170I PLUS D3 ...
Страница 10: ...x ...
Страница 15: ...ASUS H170I PLUS D3 1 5 Top of CPU Bottom of CPU Bottom of CPU Top of CPU ...
Страница 19: ...ASUS H170I PLUS D3 1 9 2 3 To remove a DIMM B A ...
Страница 34: ...1 24 Chapter 1 Product introduction ...
Страница 80: ...2 46 Chapter 2 Getting started ...


