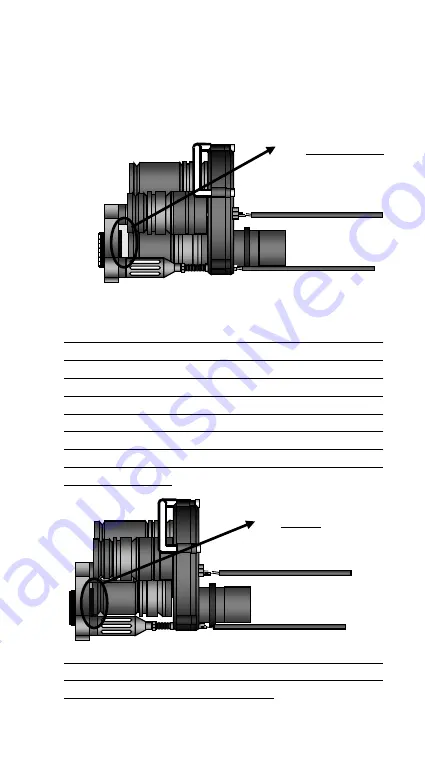
7.
Fully insert the 3 arms (IV) of the ROTARION PHOTO
through the 2 holes where the handle was located
before and through the central hole of the ROTARION
carousel until they stop and exit the ends of the 3
arms (A) through the base of the ROTARION.
NOTE: If you have fully inserted the 3 arms (IV) of the
ROTARION PHOTO through the 2 holes where the handle
was previously located and through the central hole of the
ROTARION carousel and do not see the arms through the
back of the ROTARION (A), but the shutter (VIII) touches
the eyepieces (C), you must remove the ROTARION PHOTO
completely from the ROTARION and replace the 3 short
arms (VII) by the additional set of 3 arms of greater length
included in the box.
You must ensure a space/gap of 4mm to 5mm between the
shutter and the optics (B) similar to the one indicated in
the top drawing of this page in Item 7.
(A)
(A)
(A)
(A)
(C) No OK!
(B) OK! 5mm gap.
Содержание Rotarion Photo
Страница 1: ......


