Dynamix DW-01Plus/H Gateway User Manual
- 19 -
2.1.4 Essential Configuration via Telnet Command Line interface
This section describes how to setup Dynamix DW-01Plus/H via Telnet command line
interface. Please follow procedures below to configure essential items before you use
Dynamix DW-01Plus/H gateway.
2.1.4.1 Save Data and Reboot
After any configuration has been made, user has to save all data and reboot system to
make configurations take effect.
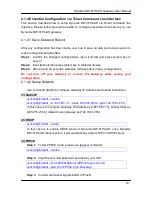
Step 1.
Confirm the changed configurations, input [commit] and press [enter] key to
save it.
Step 2.
Input [reboot] then press [enter] key to restart Gateway.
Step 3.
After around 40 seconds, Gateway will take effect in new configurations.
Do not turn off your Gateway or remove the Gateway while saving your
configuration.
2.1.4.2 Setup Network
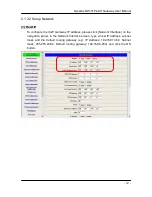
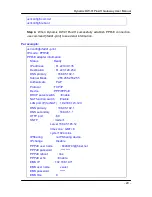
Use command [ifaddr] to configure Gateway IP Address and related information.
(1) Static IP
usr/config$ ifaddr
–
mode 0
usr/config$ ifaddr
–
ip 192.168.1.11
–
mask 255.255.255.0
–
gate 192.168.1.254
In this case is to configure Gateway IP Address as [192.168.1.11], subnet mask as
[255.255.255.0], default router gateway as [192.168.1.254].
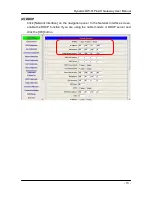
(2) DHCP
usr/config$ ifaddr
–
mode 1
In this case is to enable DHCP mode of Dynamix DW-01Plus/H, once Dynamix
DW-01Plus/H reboot system, it will automatically capture IP from DHCP server.
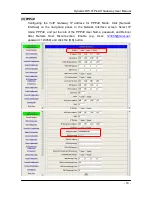
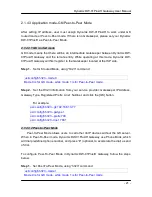
(3) PPPoE
Step 1.
To Set PPPoE mode, please use [pppoe] command:
usr/config$ ifaddr
–
mode 2
Step 2.
Input the user id & password provided by your ISP:
usr/config$ ifaddr
–
id 84460791@hinet (PPPoE login account)
usr/config$ ifaddr
–
pwd 123 (PPPoE login Passowd)
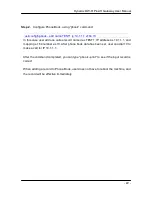
Step 3.
Commit and reboot Dynamix DW-01Plus/H.

