User Manual
Ashley-Edison International Ltd
Page 19
Using the Camera In Detail
Powering on the camera
• Switch on the camera by keeping Button “Power” depressed till the two
indicator lights on the top half of the camera shine.
• Open the top half of the camera.
• A welcome picture will appear on the inner LCD screen.
• When the welcome picture disappears, the power on test result of the
system including the hardware and software version No of the camera will
display on the upper half of the screen. Meanwhile, a blue loading bar
appears at the bottom of the inner LCD screen to indicate the camera
initialization progress. After 100% loading, a flash image below appears in
the inner LCD screen.
Basic Temperature Measurement
•
For basic temperature measurement first ensure that a suitable
temperature range is set and that the image is in focus, two methods are
then available,
dynamic real time temperature measurement
and
static
temperature measurement.
Dynamic Real Time Temperature Measurement
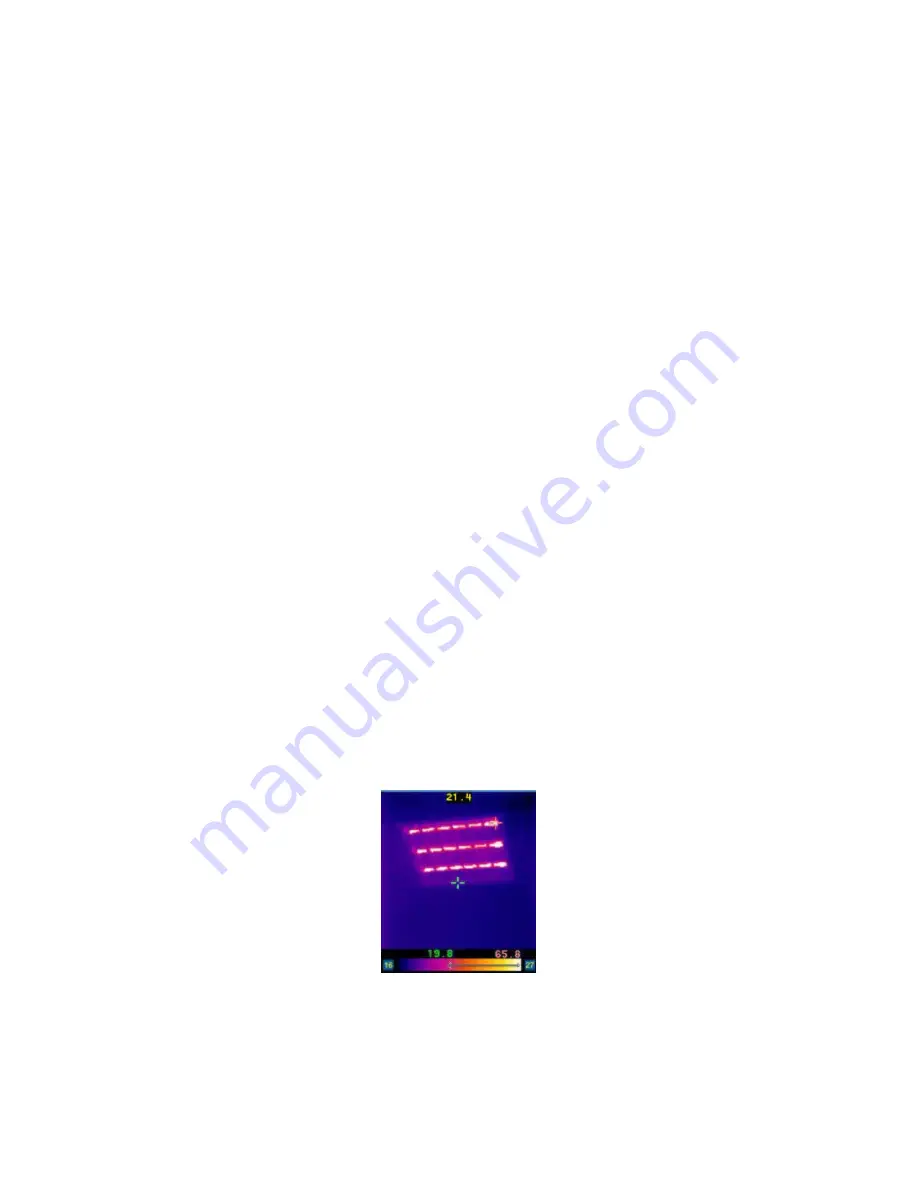
• Palette lies at the bottom of the screen, with its upper and lower limits
displayed at the two ends.
• Two temperatures are present just above the palette. The first one indicates
the lowest temperature, and the second indicates the highest scene
temperature. There are two arrows on the palette, which indicate the specific
color corresponding to the lowest and highest temperature respectively.
• The
center
temperature is displayed in top of the screen.


