4
*
Check
filters bi-weekly,
Clean
quarterly or as needed, and
Replace
annually
3. AIR PURIFIER OPERATION
3.1.
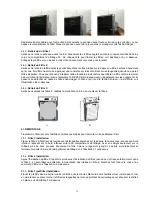
Unpack your air purifier making sure you remove all packaging materials, including the protective coverings from
the filters.
3.2.
Plug the unit into a suitable 110VAC power outlet. As with any electronic device, using an approved surge
protected outlet or power bar is recommended.
3.3.
Once connected to a live power source the unit will chime once, the LED display will flash briefly and the Stand-By
Indicator (L 5.4) will illuminate continuously until the power button is pressed.
3.4.
Pressing the power button once will turn the unit on and allow you to set the fan speed and shut-off timer. Pressing
the power button again will turn the unit off.
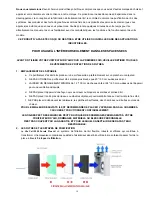
4. MAIN
PARTS
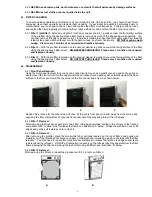
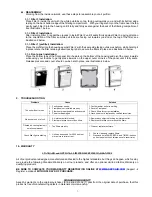
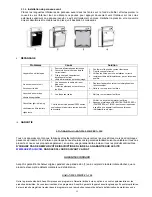
A
Front View
B
Front Air Intake Slots
C Front Panel
D Filter
1
E
Filter
2
F
Filter
3
G Fan
H
Side
Air
Intake
Slots
I Power
Button
J
Clean Air Exhaust
K Function Buttons
L LED Display
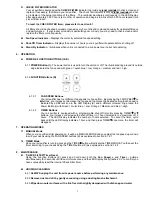
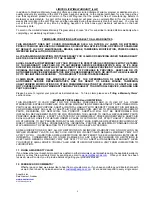
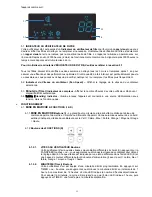
5. LED DISPLAY (L)
Your air purifier is equipped with a full function LED display which shows the operating status of the unit as follows:
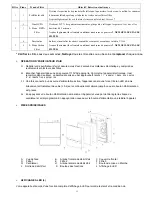
Filter Stage
Filter Type
Purpose / Care & Cleaning
1
1
Washable Prefilter
Captures larger particles such as dust, hair, pollen, pet dander and prolongs life of other filters
Gently vacuum, hand wash and rinse under tap, air dry*
2
2
True HEPA
2-Stage HEPA Filter
Captures 99.97% of smaller particles such as germs, viruses and bacteria to 0.3 microns
Gently vacuum front side using dusting brush*
DO NOT WET THIS FILTER
3
3
4
Purity Plus
2-Stage Carbon Filter
Removes and neutralizes odor causing Volatile Organic Compounds ~ VOCs
Gently vacuum front side using dusting brush*
DO NOT WET THIS FILTER
5
5.3
5.1
5.2
5.4

