


HARDWARE INSTALLATION
2
Use the following instructions below to install a PCIe 2.0 6Gb/s SATA
RAID controller.
Step 1. Unpack
Unpack and remove the PCIe 2.0 6Gb/s SATA RAID controller from the
package. Inspect it carefully, if anything is missing or damaged, con-
tact your local dealer.
Step 2. Power PC/Server Off
Turn off computer and remove the AC power cord. Remove the sys-
tem’s cover. For the instructions, please see the computer system
documentation.
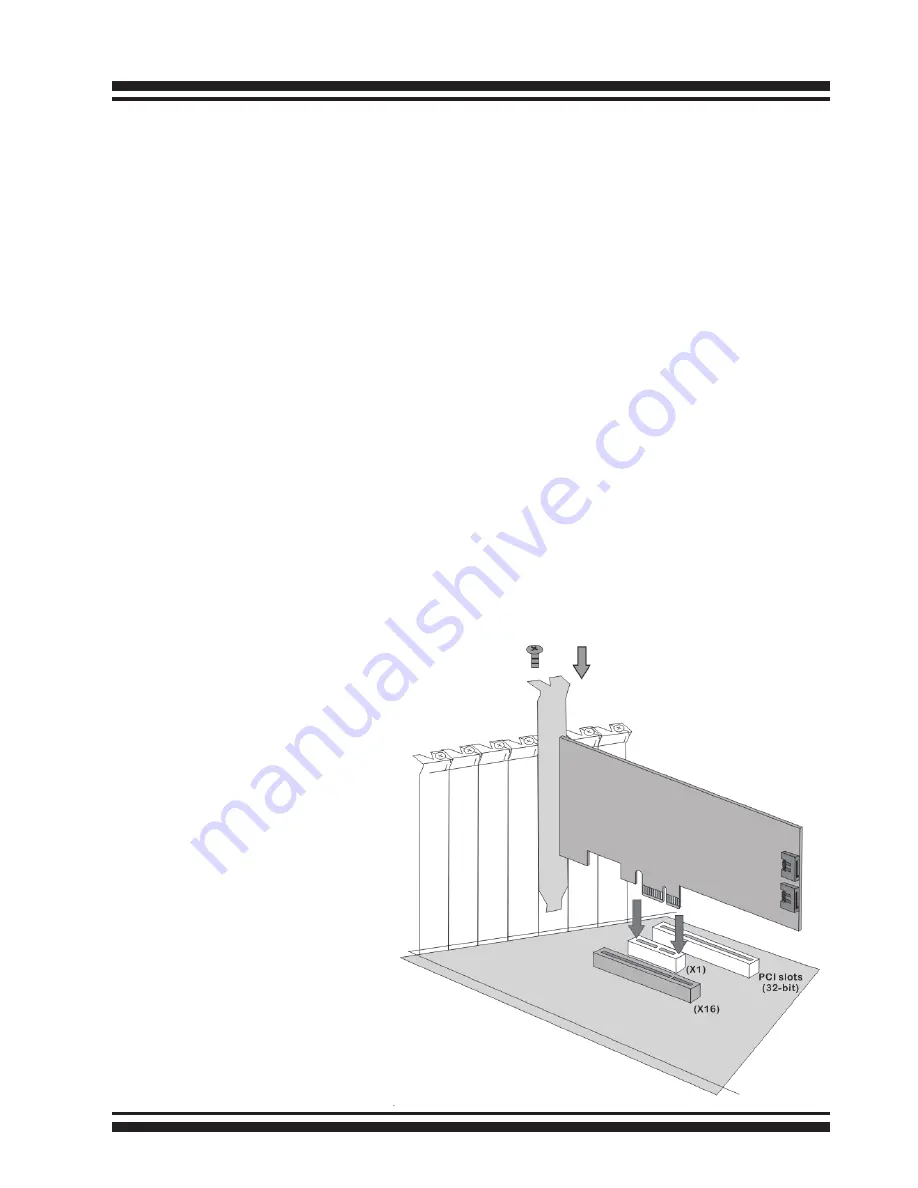
Step 3. Install the PCIe 6Gb/s SATA RAID Cards
To install the 6Gb/s SATA RAID controller, remove the mounting screw
and existing bracket from the rear panel behind the selected PCIe 2.0
slot. Align the gold-fingered edge on the card with the selected PCIe
2.0 slot. Press down gently but firmly to ensure that the card is prop
-
erly seated in the slot, as shown on Figure 2-2. Then, screw the brack-
et into the computer chassis.
Figure 1, Insert into a
PCIe slot


