164
Cleaning and Inspecting
1. Wash all parts in parts cleaning solvent and dry with
compressed air.
2. Clean all gasket material and sealant from mating sur-
faces.
3. Inspect bearings, shafts, and housing for excessive
wear, cracks, or discoloration.
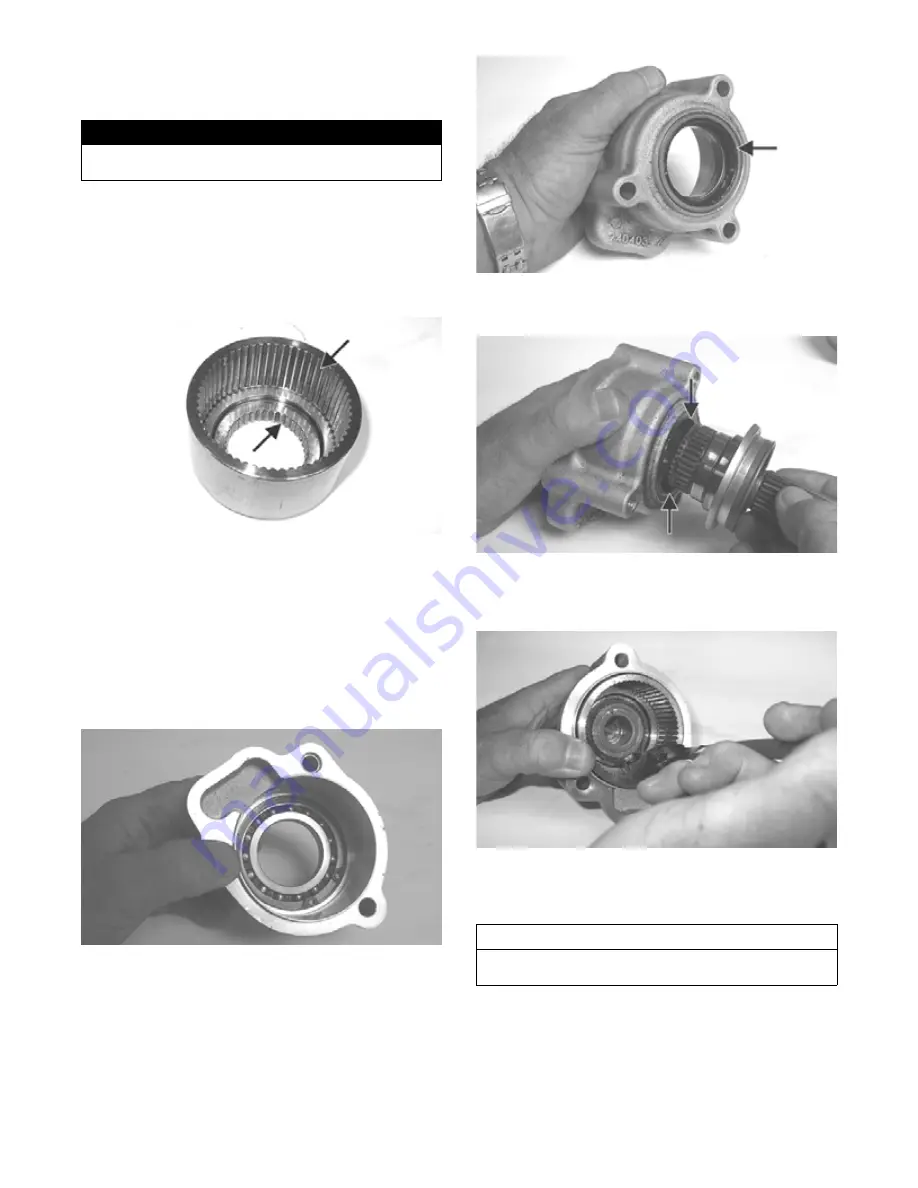
4. Inspect the clutch basket for wear in splines or cracks
in the housing.
GZ178A
5. Inspect the clutch pack for signs of discoloration.
NOTE: The clutch pack is not a serviceable compo-
nent. If worn, discolored, or damaged in any way, it
must be replaced.
Assembling/Installing
1. Install a new bearing into the input housing and secure
with the snap ring (flat side directed away from bear-
ing).
GZ184
2. Using a suitable seal driver, install a new oil seal into
the front of the input housing until the seal is flush
with the housing.
GZ182A
3. Apply grease to the lips of the oil seal; then install the
input shaft into the input bearing and housing.
GZ179A
4. Install the clutch basket onto the input shaft and
secure with the snap ring (flat side directed outward);
then install the clutch pack into the basket.
GZ176
5. Using a new gasket, install the assembled rear drive
input shaft/housing onto the rear drive gear case and
secure with the three cap screws. Tighten to 23 ft-lb.
INSTALLING
1. Tilt the gear case to the left side and place into the
frame from either side making sure the front spacer is
in place; then apply molybdenum grease to the splines
of the drive coupler.
2. Making sure the washer is inside of the differential,
slide the rear drive shaft into the differential.
! WARNING
Always wear safety glasses when working with com-
pressed air.
AT THIS POINT
For servicing the input shaft, pinion gear, needle bear-
ing, and axle seal, see Front Differential in this section.


