KEEP THESE INSTRUCTIONS FOR FUTURE REFERENCE
DANGER- To avoid possible electric shock, special care should be taken since water is employed in the use of aquarium equipment. For each of the following
situations, do not attempt repairs yourself; return the appliance to an authorised service facility or discard the appliance.
This product is designed for indoor use and the illumination of aquariums only and will provide a good and safe service life, provided that these instructions
are followed. Failure to do so may result in serious personal injury or property damage.
If you are in any doubt about the installation or operation of this product, please consult a qualified and experienced electrician.
Check that the voltage and frequency rating on the product label is the same as your electrical supply before proceeding further.
WARNING- To guard against injury, basic safety precautions should be observed, including the following:
1. Disconnect all appliances in the aquarium from the mains supply socket before putting your hands in the water or maintaining the Luminaire. Never pull
on the cord to remove the plug from the socket, instead grasp the plug and pull to disconnect.
2. Always support the Luminaire when fitting to the tank frame, or adjusting the suspension height to physically prevent it from falling into the water.
3. Do not operate the Luminaire less than 20cm above the aquarium water level.
4. Regularly check the security of all your Luminaire legs or suspension mechanism parts.
5. Do not look directly into the light source.
6. Do not touch the light source while it is on. Allow the light source to cool before touching it.
7. The Luminaire can get HOT. Never touch the Luminaire while it is operating, allow adequate time for it to cool before attempting any maintenance.
8. If the appliance falls into water DO NOT reach for it. Disconnect from the power supply before attempting to retrieve it. If electrical components of the
appliance get wet unplug the appliance immediately. If the appliance shows any sign of water leakage disconnect from the power supply immediately.
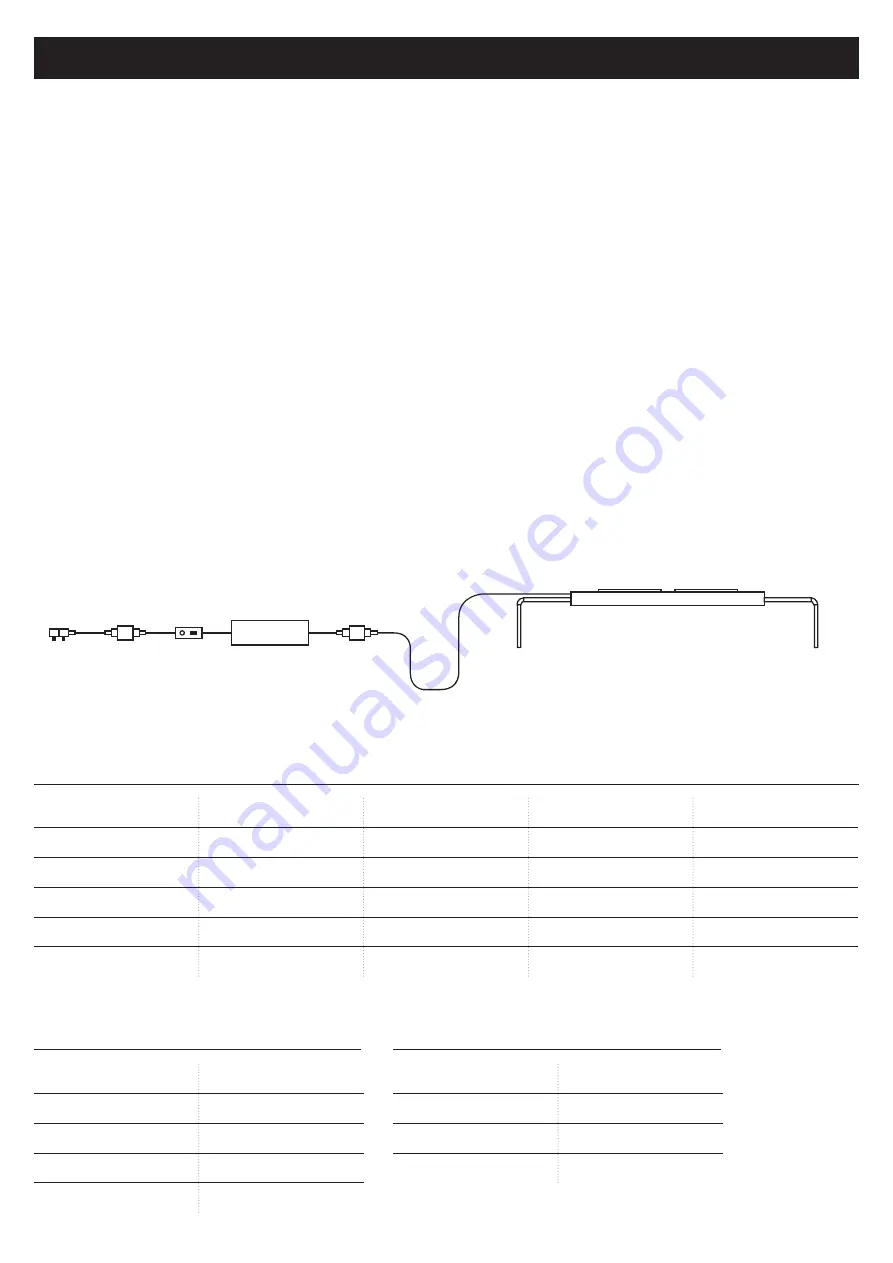
9. To avoid the possibility of the appliance plug or socket getting wet, position it to one side of the wall socket. A ‘drip loop’ should be arranged for each
cord connecting to a power socket. The ‘drip loop’ is that part of the cord below the level of the socket, or connector, which prevents water travelling
along the cord to the socket. Illustration 1.
10. Do not use the appliance other than for its intended use. The use of non-Arcadia attachment or accessories is not recommended and may cause an
unsafe condition.
12. Do not install or store the appliance where it will be exposed to extremes of weather or temperatures below freezing.
TECHNICAL SPECIFICATIONS
Code
Model
LED nominal wattages
Dimensions
Suits aquarium sizes
AH30M / AH30F
S6-30
5w x 12, 3W x 6
235 x 205 x 31mm
30 – 60cm
AH45M / AH45F
S6-45
5W x 24, 3W x 12
460 x 205 x 31mm
45 – 60cm
AH60M / AH60F
S6-60
5W x 32, 3W x 16
560 x 205 x 31mm
60 - 90cm
AH90M / AH90F
S6-90
5W x 48, 3W x 24
860 x 205 x 31mm
90 – 120cm
AH120M / AH120F
S6-120
5W x 64, 3W x 32
1160 x 205 x 31mm
120 x 150cm
Input voltage
100~240VAC
Input current
2A
Operating frequency
50/60Hz
Output voltage
24VDC
Output current
6.3A
Body
Aluminum
IP rating
IP65
Operating temperature
0 – 40oC
Storage temperature
-10 – 50oC
ELECTRICAL SPECIFICATION
1. DRIP LOOP
CONSTRUCTION
M = Marine / F = Freshwwater
READ AND FOLLOW ALL SAFETY INSTRUCTIONS
Illustration 1


